Hi everyone,
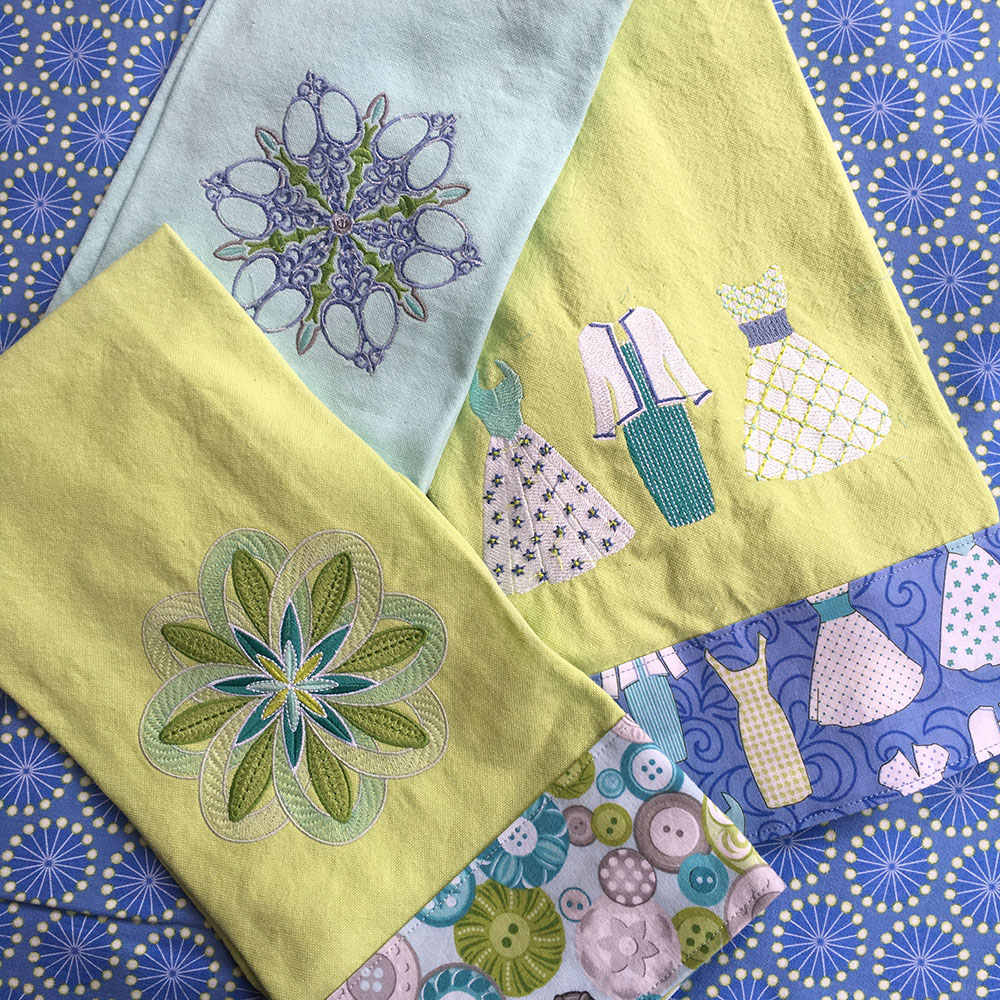
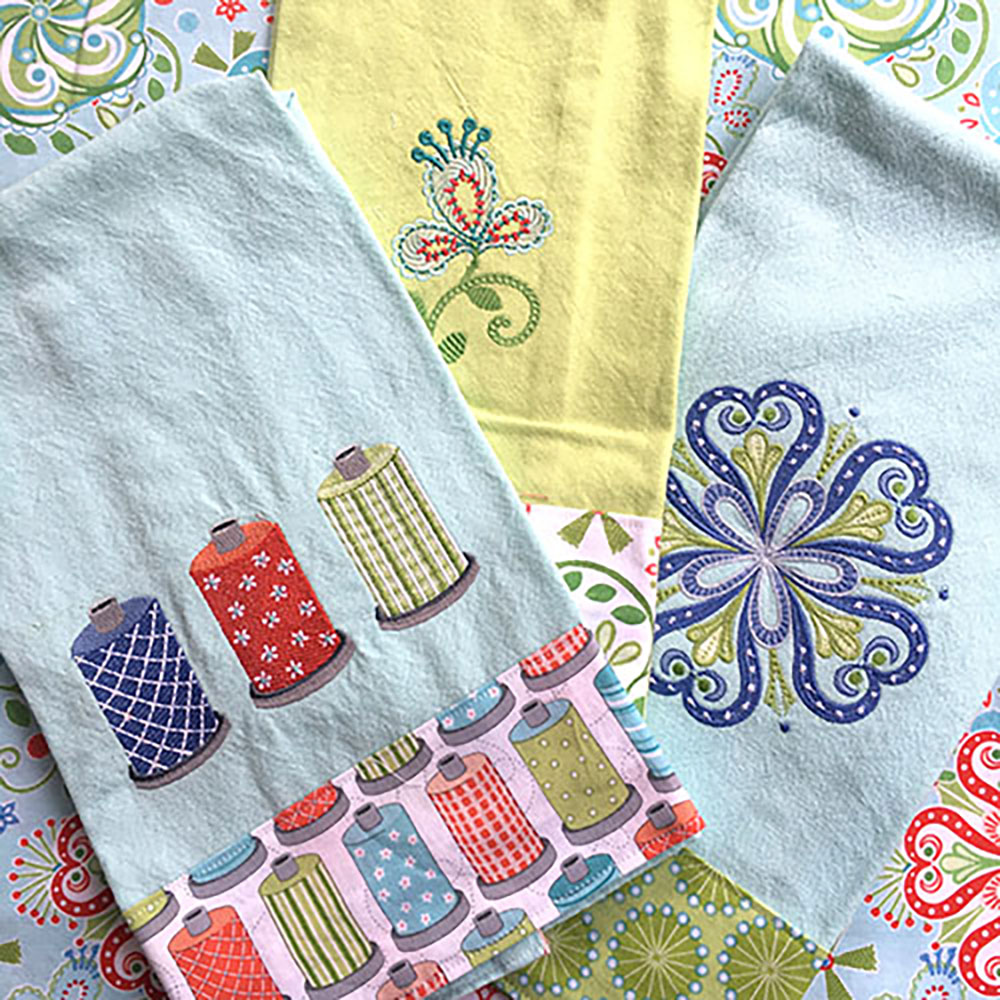
I hope you have been having a lovely Labor Day weekend. I’ve been trying to catch up on things over the past couple of days and one of the things I’ve been wanting to do is write up a tutorial for how to make these simple, fabric-trimmed files featuring my Sewing Room collection for Benartex and my coordinating embroidery collection for OESD. Of course, these instructions will work for any collection/fabric combination, but these are near and dear to my heart, of course!
These make great fits for your sewing friends and are really simple to make. Ready to get started? (There is a PDF link at the bottom of this post for your convenience.)
You’ll need:
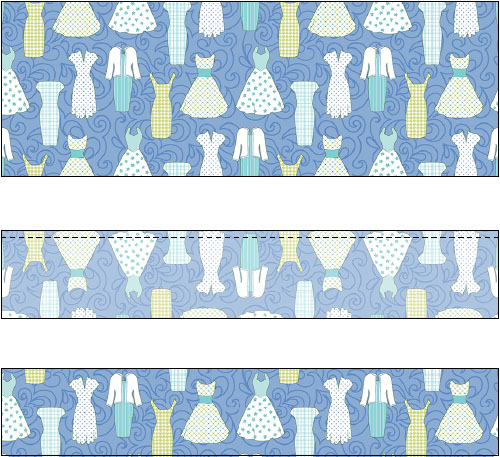
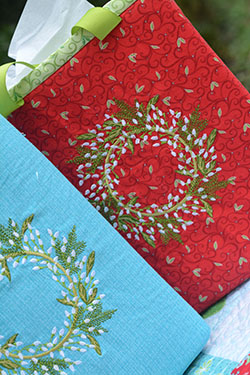
- Dish Towel – I like ones with a smooth texture so that the embroidery pops! I got mine from a great store in Brentwood, TN called BERNINA Sewing Machine Station.
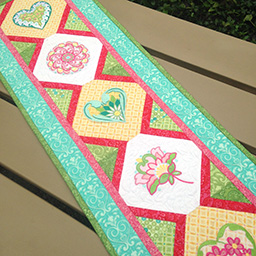
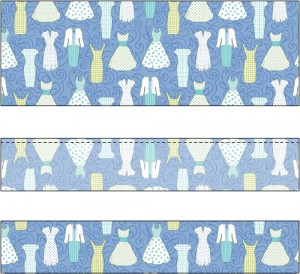
- Fabric Trim – 1 fat quarter or even less (see instructions below)
- Stabilizer – Cut-away for a lightweight towel or tear-away for a heavier weight towel
- Cotton Thread 50 wt. to match fabric
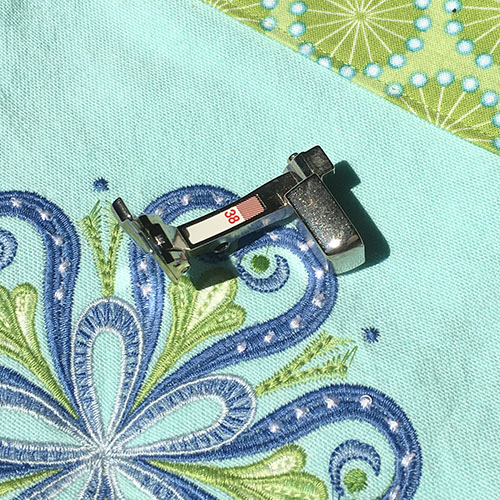
- Edgestitching Foot – Optional but highly recommended
- Embroidery Thread and Temporary Spray Adhesive.
Preparing the Fabric Trim
Wash and dry your towel as you would for every day use. Press well. Measure your towel. (After washing mine was about 17-1/2’’ x 25-1/2’’.)
Decide how wide you would like the band of fabric trim to be. (In these examples mine were 3’’ wide.) Multiply this width times 2 and add in 1/2’’ for seam allowance. This measurement will be the height of the fabric rectangle. Add 1’’ to the width of the towel width. This measurement will be the width of the fabric rectangle. Cut the fabric rectangle using the measurements above.. (My fabric rectangles were 18-1/2’’ s 6-1/2’’.) If you have a directional fabric, make sure to orient it when cutting in the manner you like best. Join the long edges of the fabric rectangle right sides together using a 1/4’’ seam allowance and back-stitching at each end. Press the seam open. Turn the tube right side out and press again so that the seam is centered somewhere on the back of the strip and the motifs you like best are in the front.
Embroidery
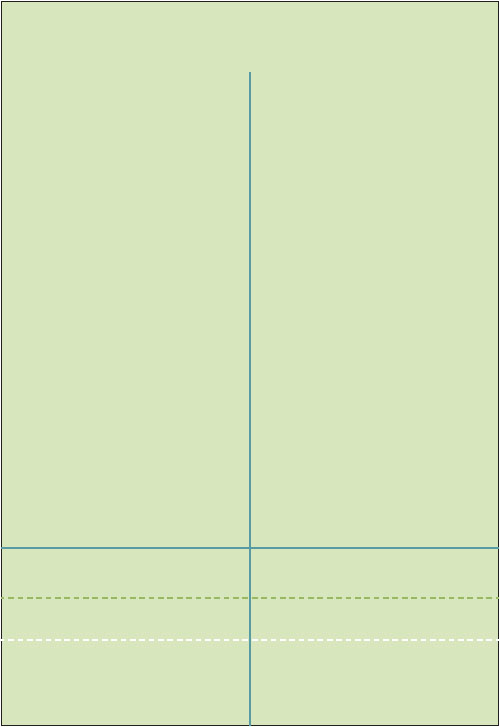
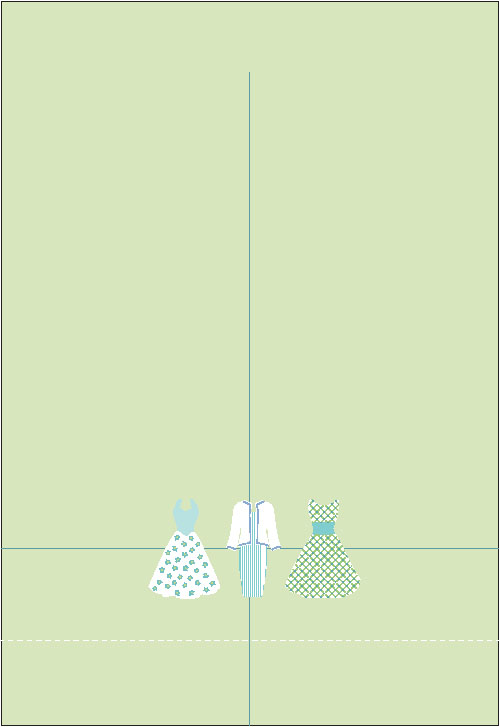
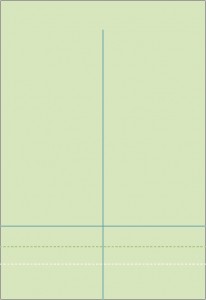
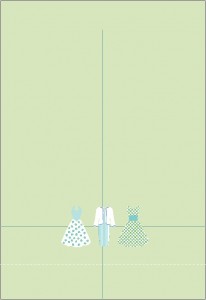
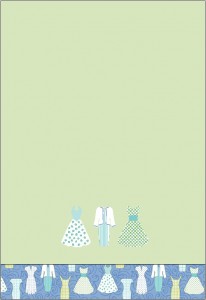
Next, prepare your towel for embroidery by marking the embroidery’s center point. In this example, I placed three of the Sewing Room dress embroideries side by side on my BERNINA 780, spacing them evenly. Converting the mm size given to inches I found that my embroideries would measure approximately 6-1/2’’ in width x 3-1/2’’ in height. To find the vertical center of the embroideries on the towel, divide their height in half and add in the height of your fabric band (shown by the white dashed line below) and 1-1/2’’ of buffer space (shown by the green dashed line below). Use your quilting ruler to mark that measurement from the towels bottom edge (shown by the teal line below). You really don’t need to make the green or white lines – they are just shown for your information. Make the vertical center of the towel.
Hoop your stabilizer. Spray the back of your towel with a bit of temporary spray adhesive and use the grid that came with your hoop to align the cross hairs you’ve drawn on the towel with the center of the hoop.
Attach the hoop onto the machine and make any necessary placement adjustments to make sure the cross hairs are right in the center of your design. Direct the machine to run a basting stitch around the design area and embroider a the Sewing Room design onto the towel.
Unhoop and cut or tear away the stabilizer. If you used a water-soluble marking pen to mark the center be sure to remove the marks before ironing the towel!!! (Ask me how I know!)
Fabric Trim Application
Turn edges of the fabric trim tube in so that the tube exactly fits with width of the towel. Press. Pin onto the towel. Use an edge stitching or piping foot and matching thread to top-stitch the fabric trim to the bottom of the towel.

That’s it! You can find a link to a PDF version of this tutorial right here or on my downloads page.
Have a lovely Labor Day!
Amanda