BERNINA University and NEW FABRIC Recap 2019!

Posted on 2 Comments

Hi everyone,

Are you excited for some summer sewing?  It has been SOOOO hard to keep secrets these last few months so thank goodness I can finally show what I have been working on.  My newest fabric lines for Benartex and Contempo or Benartex were just featured at BERNINA University a week ago and I’m so excited to show you!

If you’d rather watch a video showing all the patterns and fabrics you can find one here:

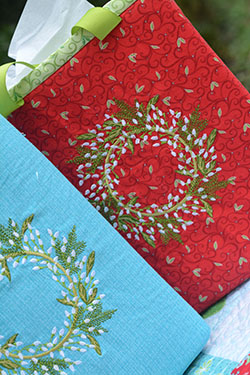
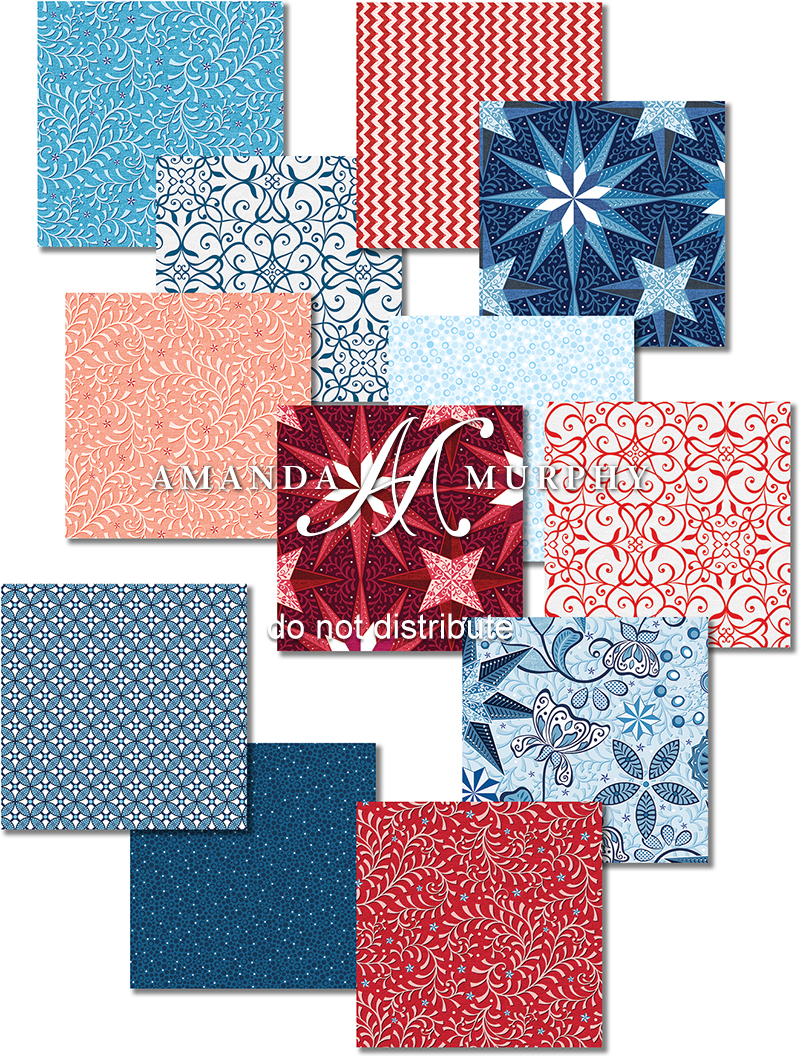
Pictures speak louder than words so let’s get started!  The new line inspired by the features of my favorite BERNINA machines is called “Celestial Lights”.  It will start shipping in July and is beautifully printed by Benartex with details delineated in pearl inks.


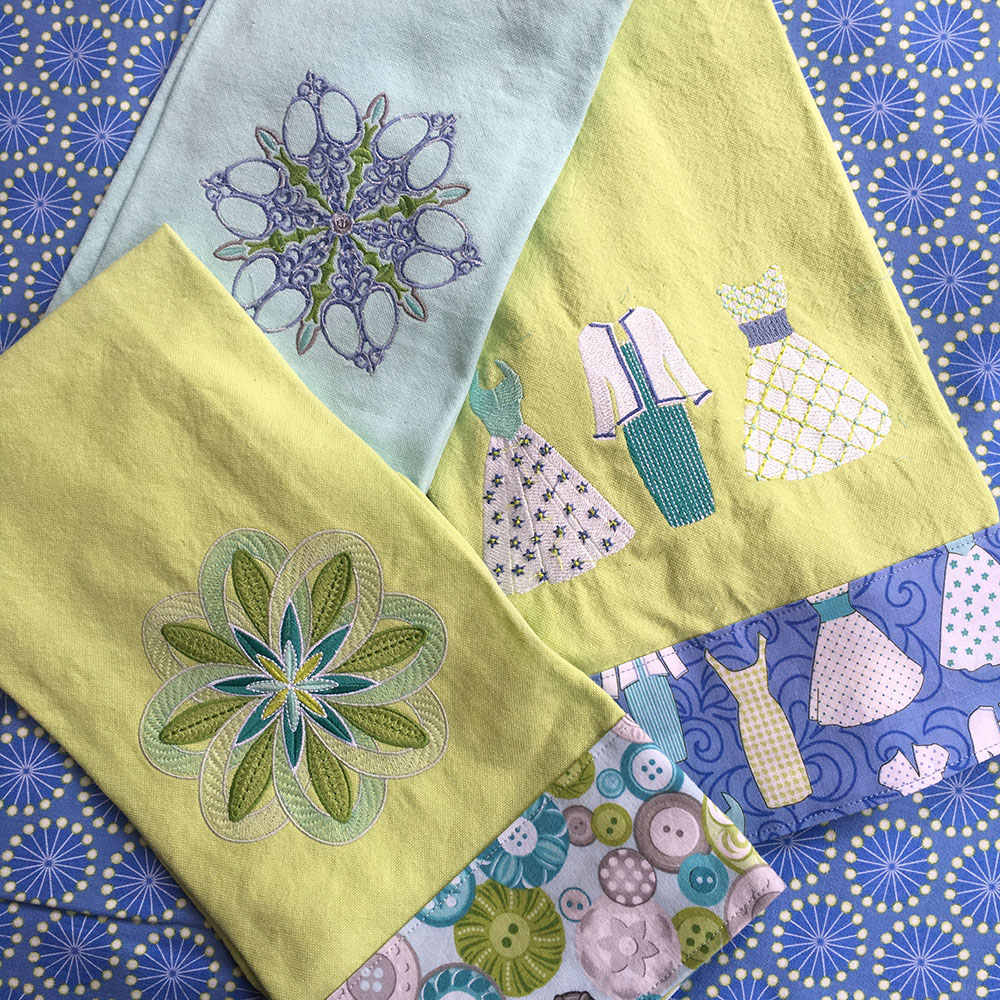
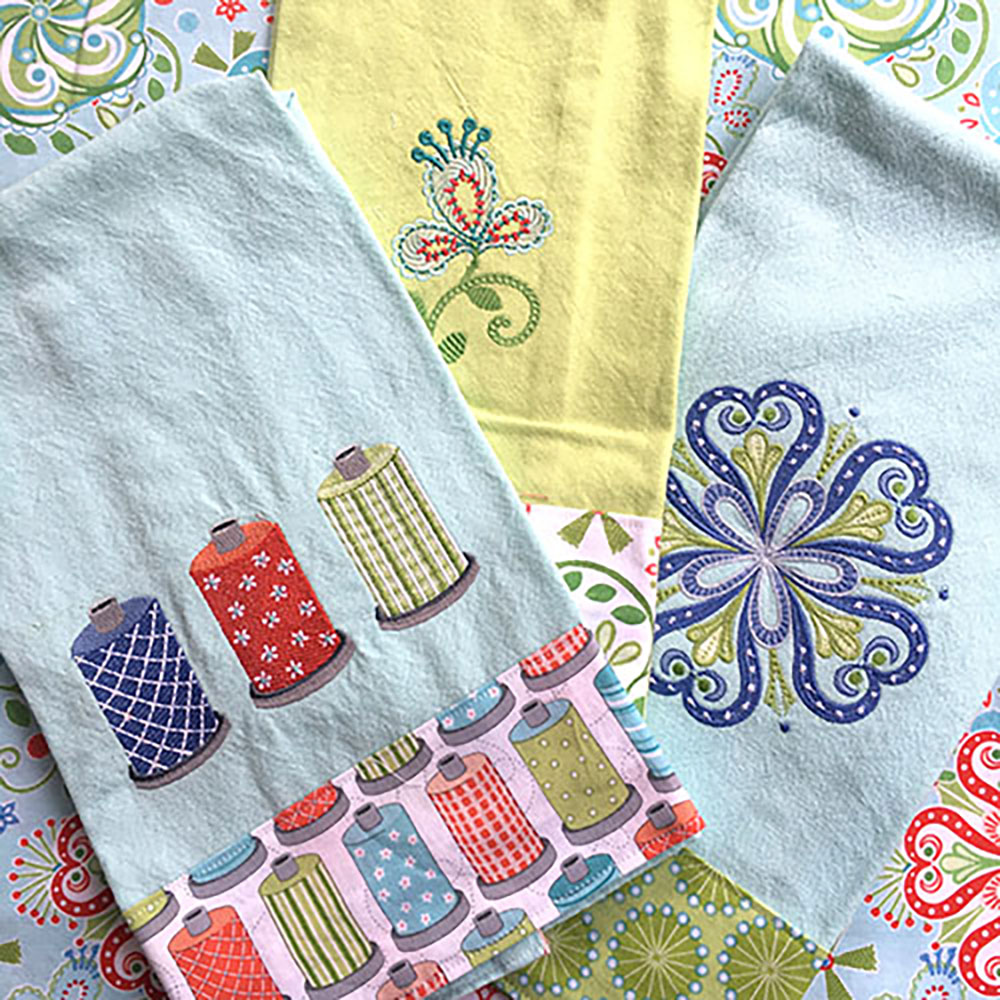
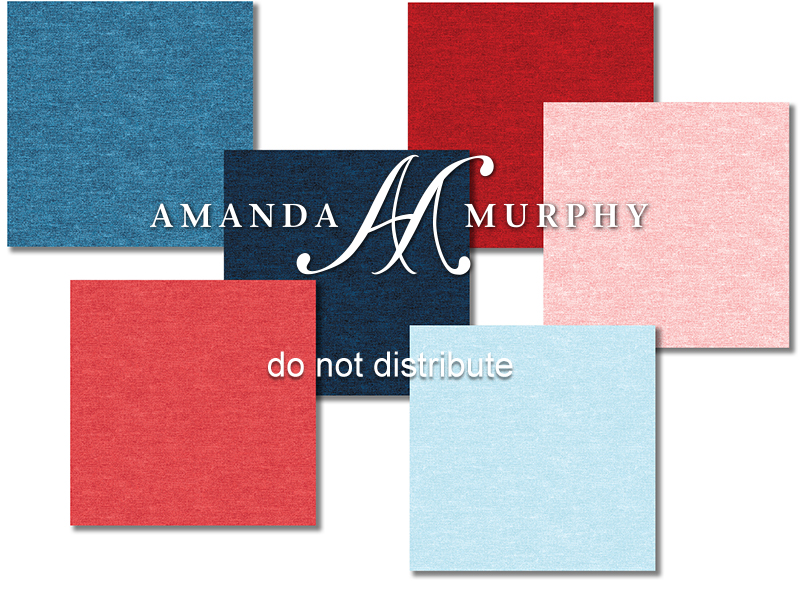
There are a variety of shot-cotton prints perfect for embroidered embellishment, including a pearl-on-white not pictured here.

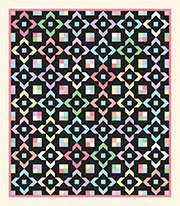
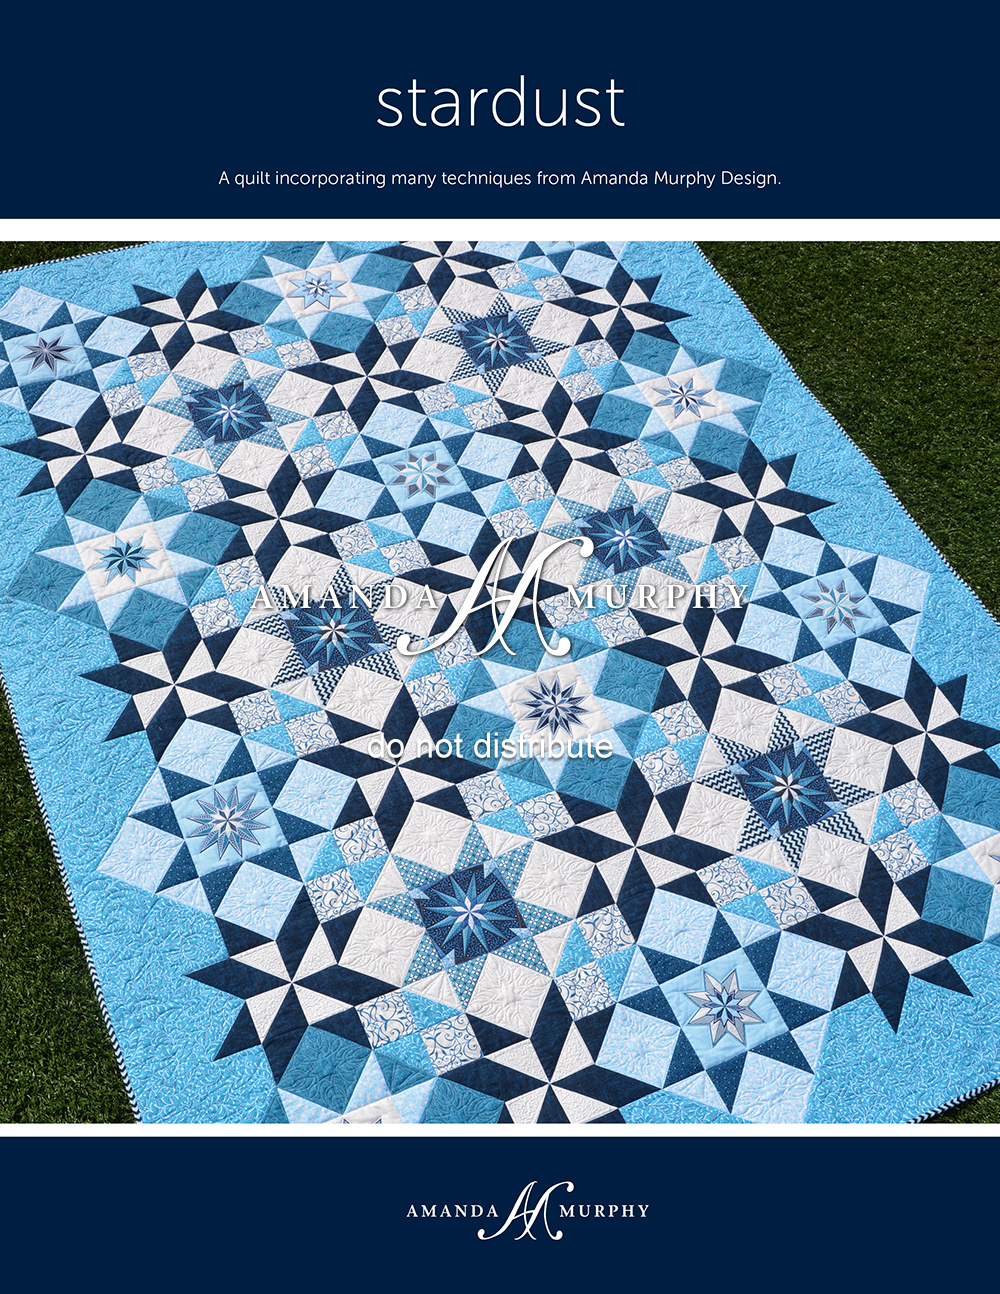
The first Celestial Lights pattern is called Stardust.  It features twelve star embroideries – each with a different blackwork pattern – from the coordinating BERNINA-Exclusive Celestial Lights Collection.  The Embroidery Collection also features the quilting files for this quilt digitized for both longarms and domestic embroidery machines.  There are directions for both a blue and a  red color story.  We’ll be giving tips and tricks for sewing this over on BERNINA’s blog this fall!

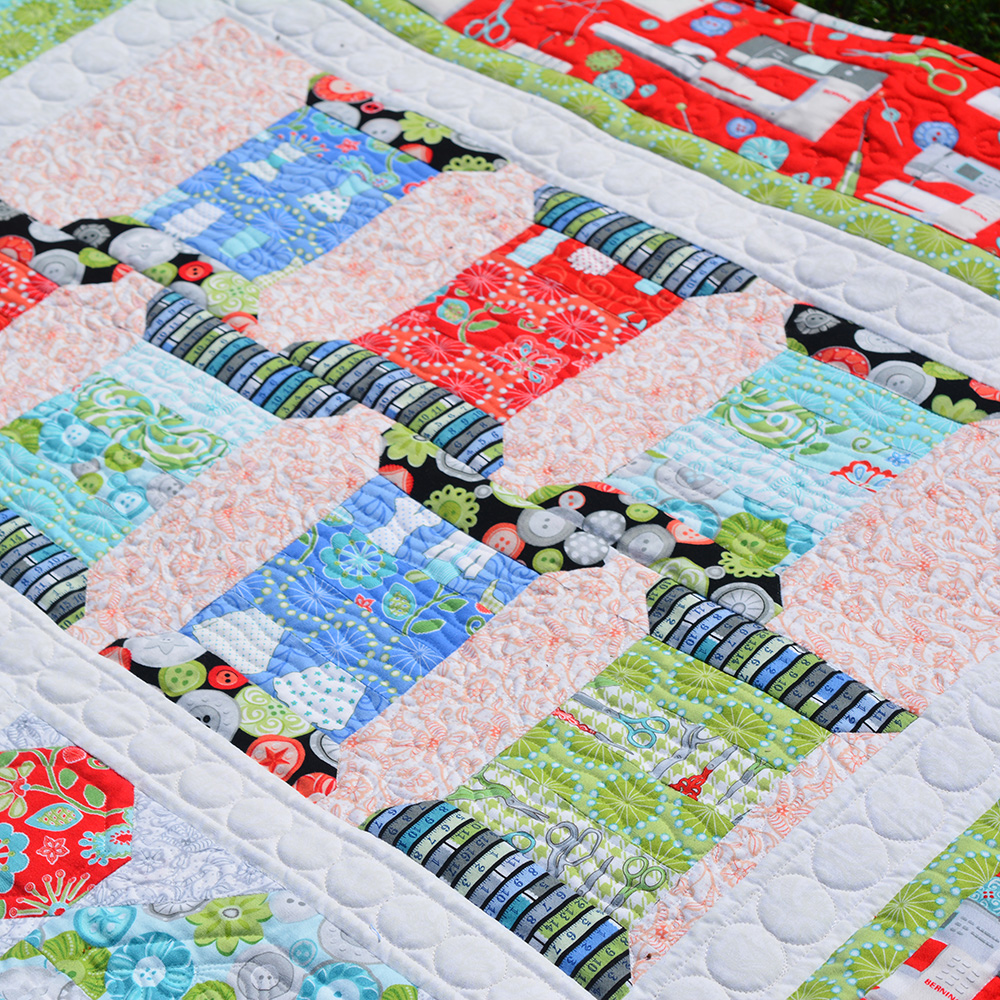
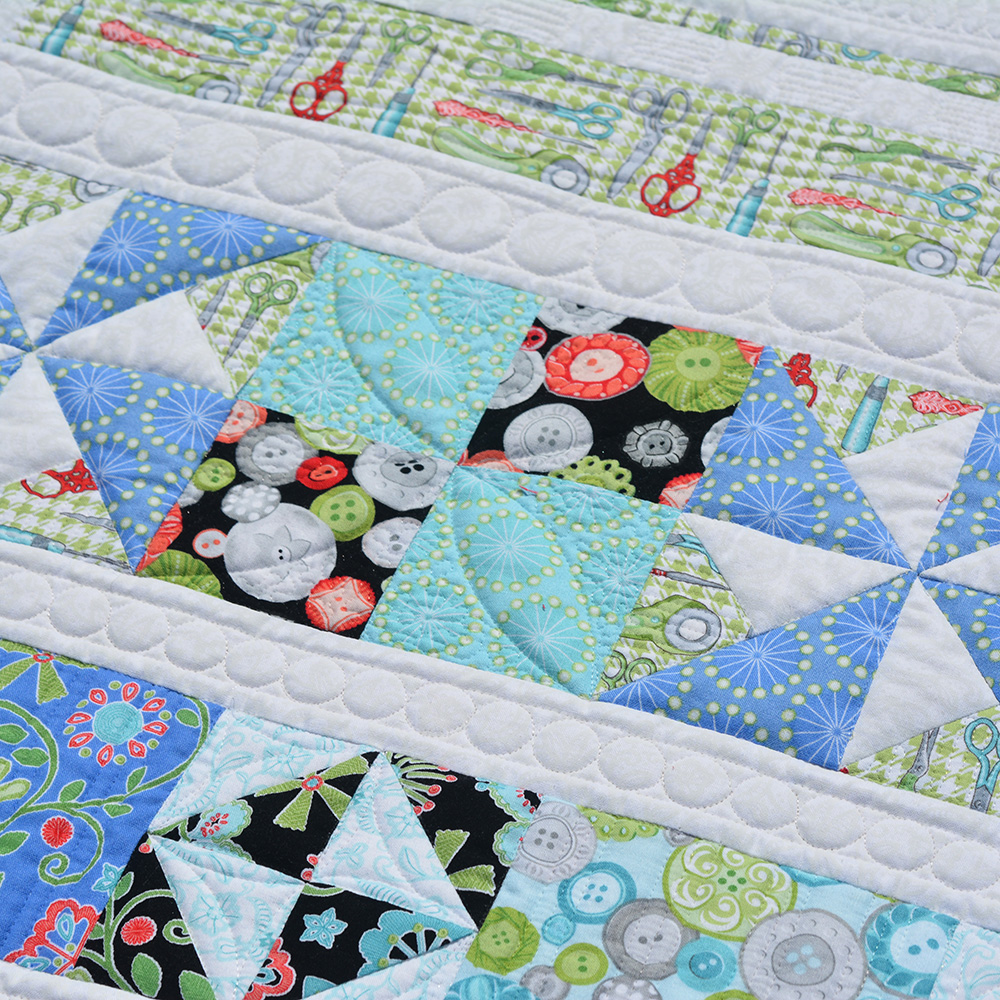
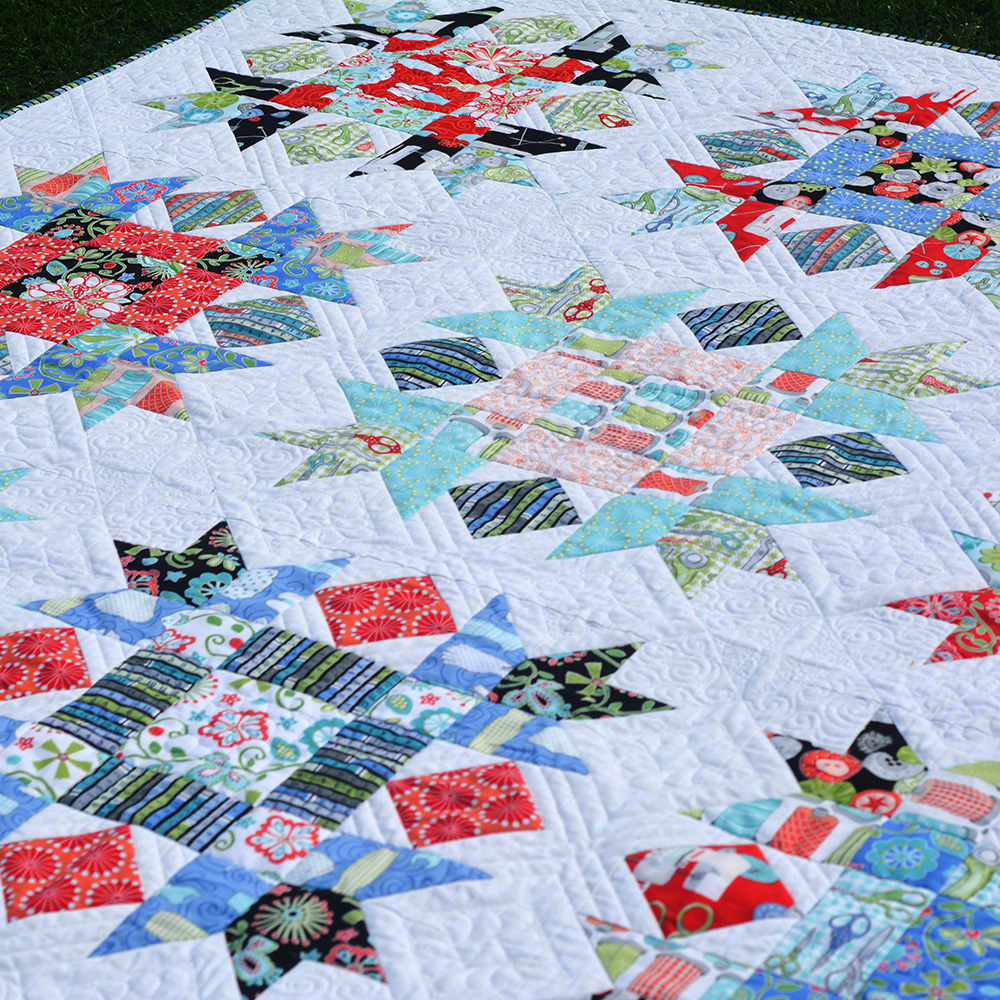
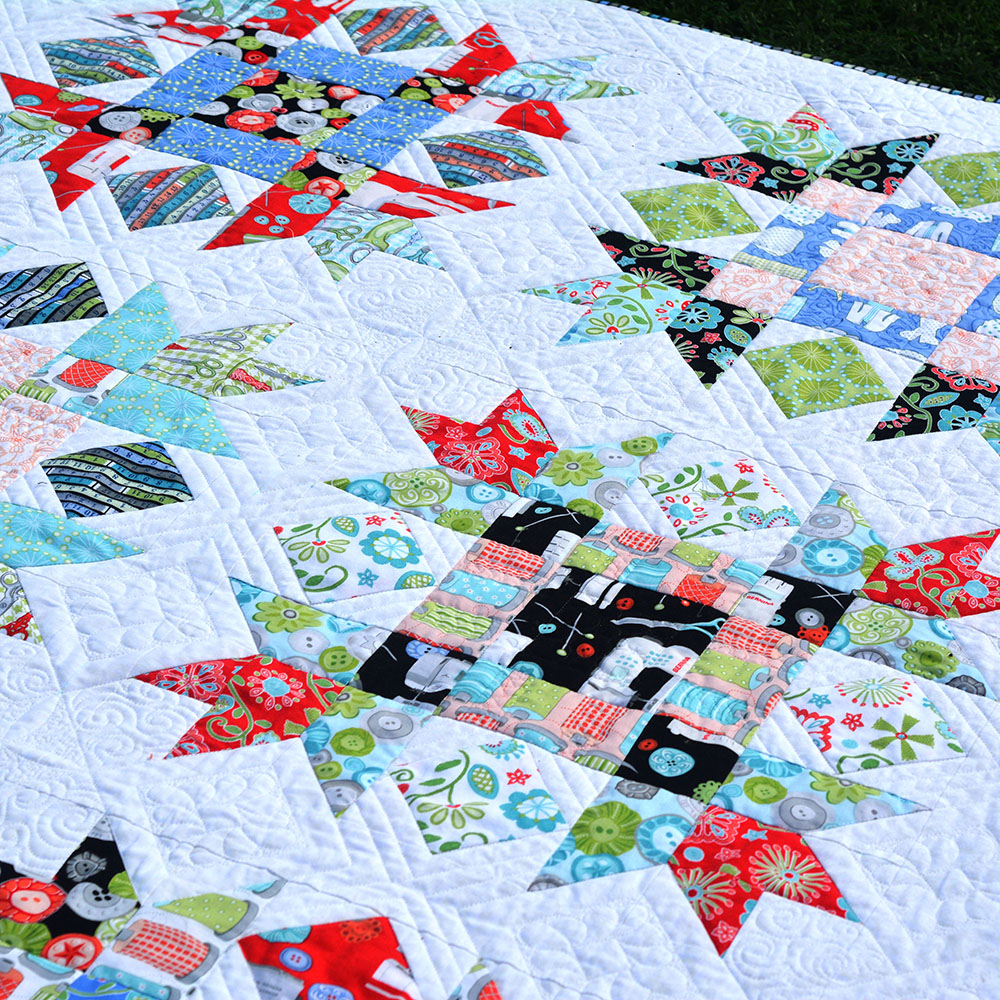
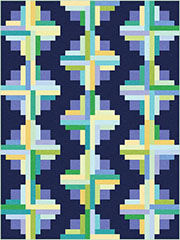
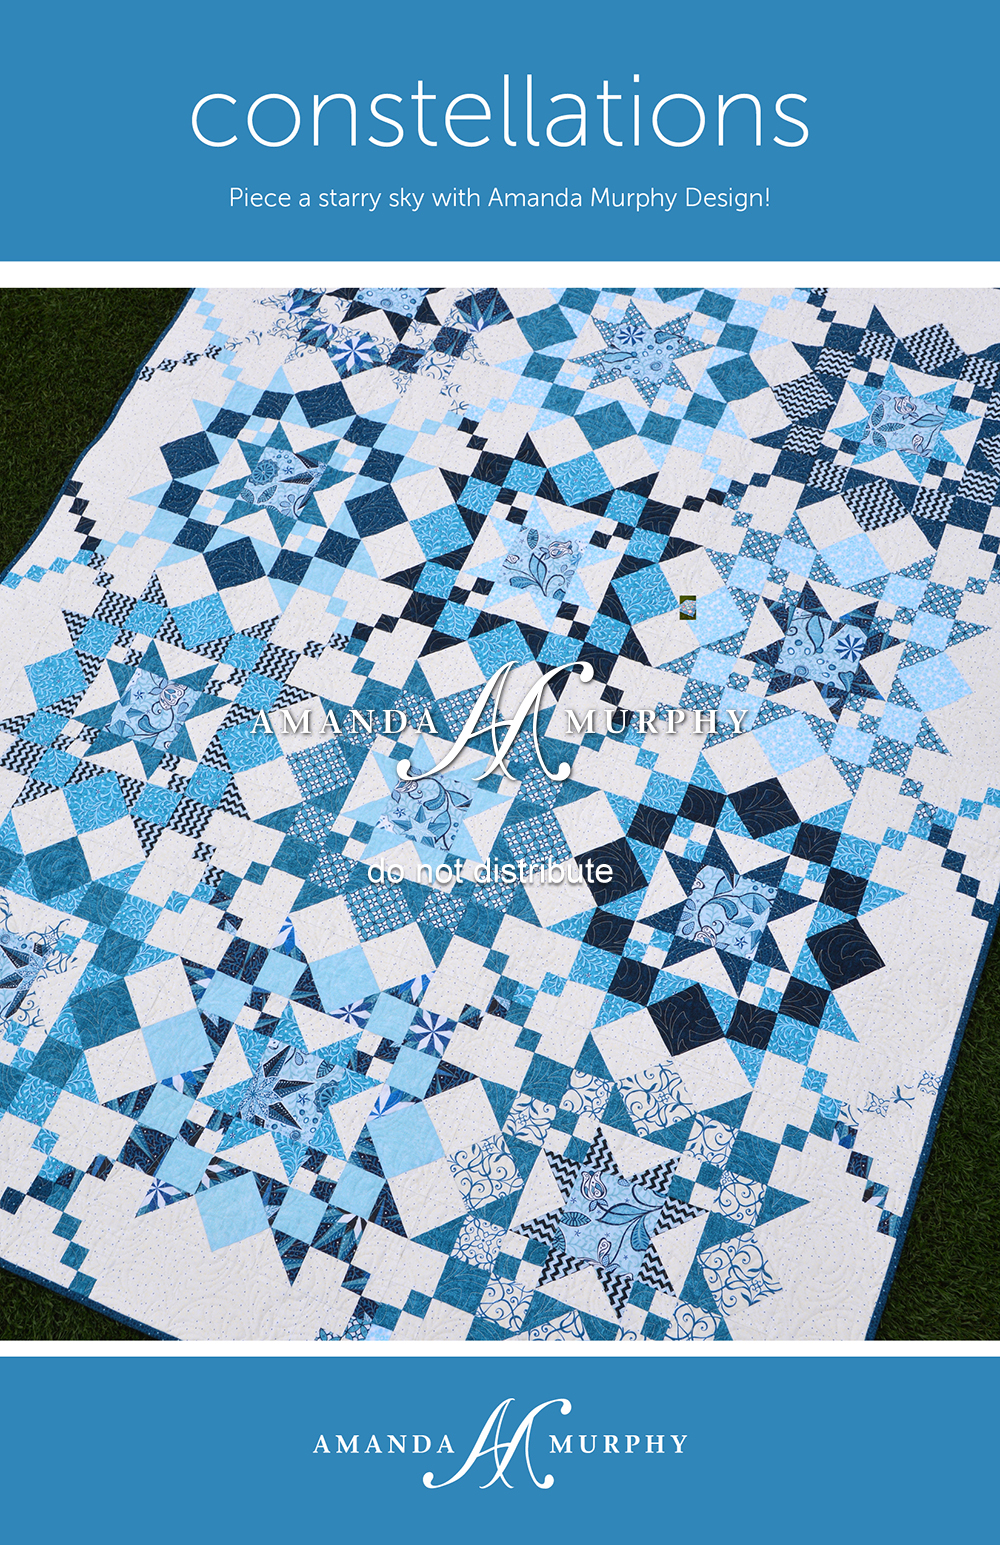
Again with red and blue options, is my new piecing pattern – Constellations!  It uses a half yard of twelve fabrics.  Lots of pieces but I REALLY love this one!

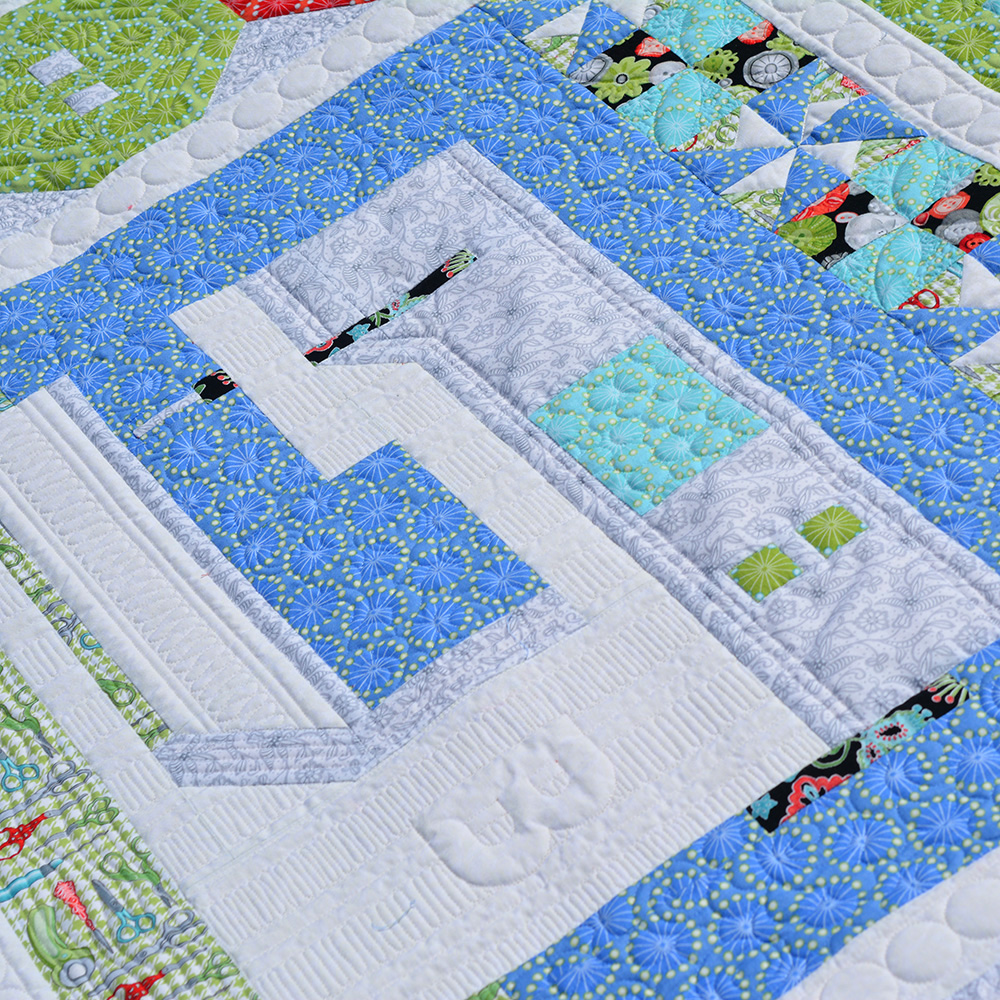
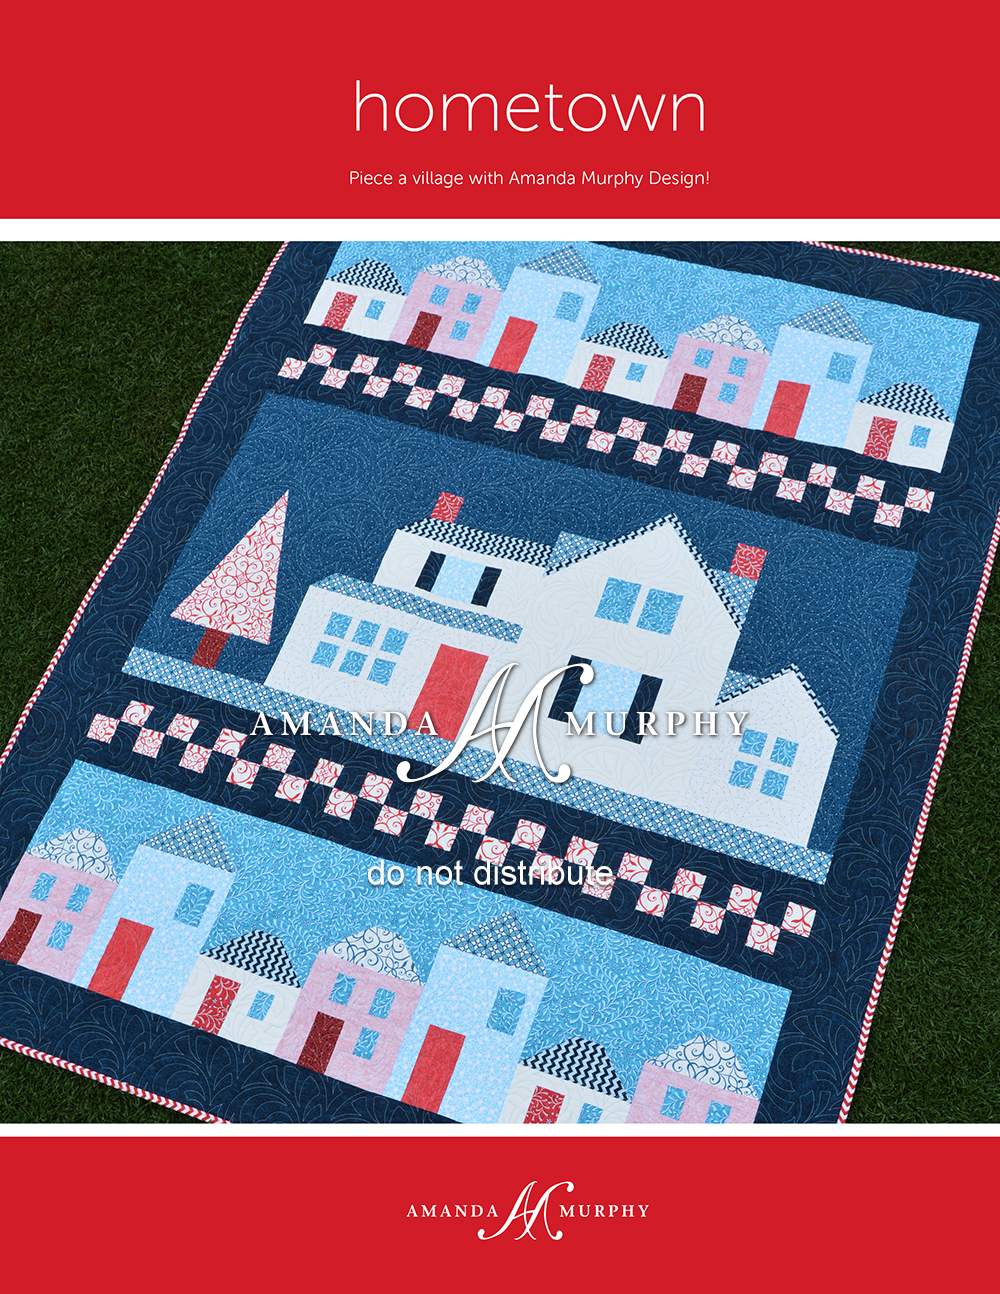
And super-fun to piece is Hometown, in a combination of red and blue!

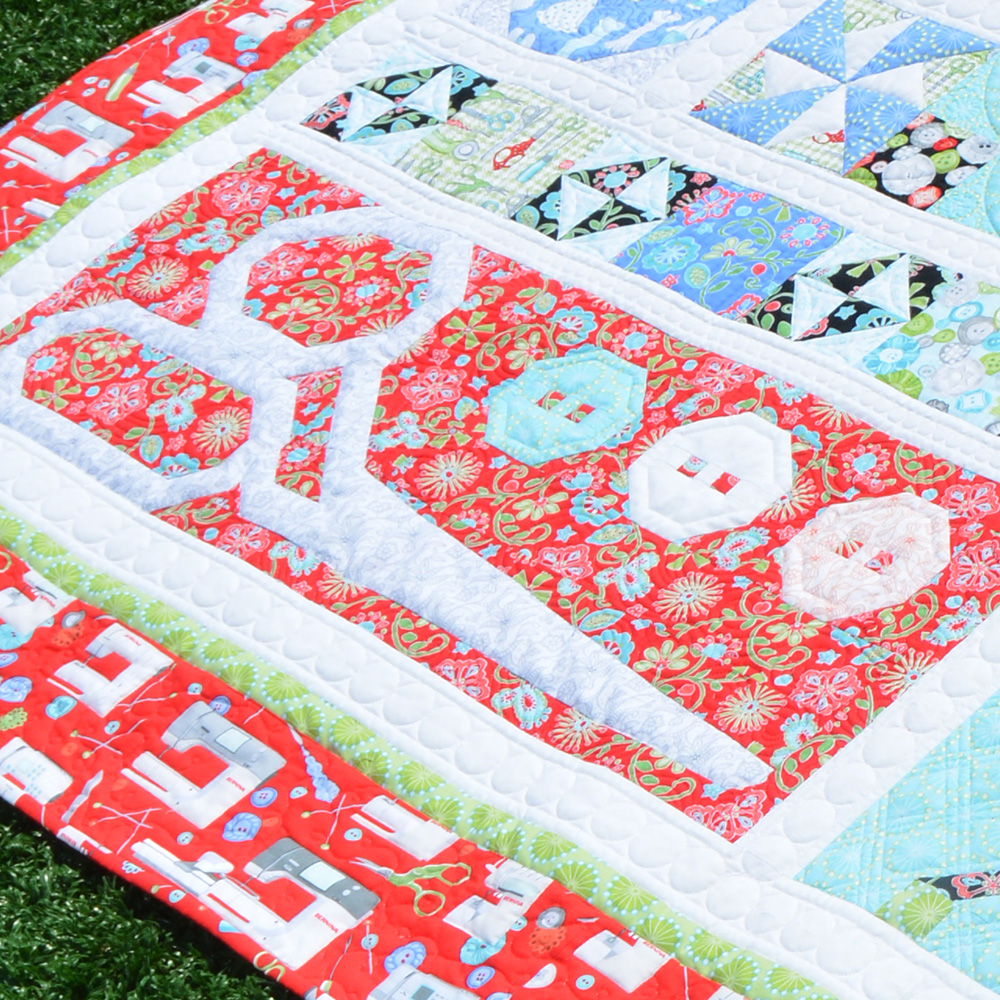
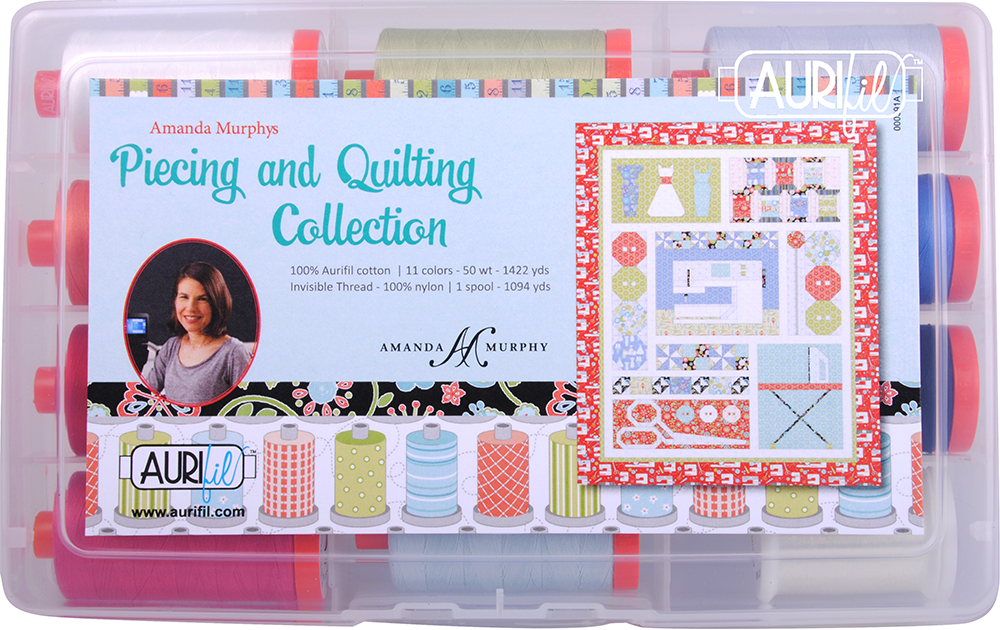
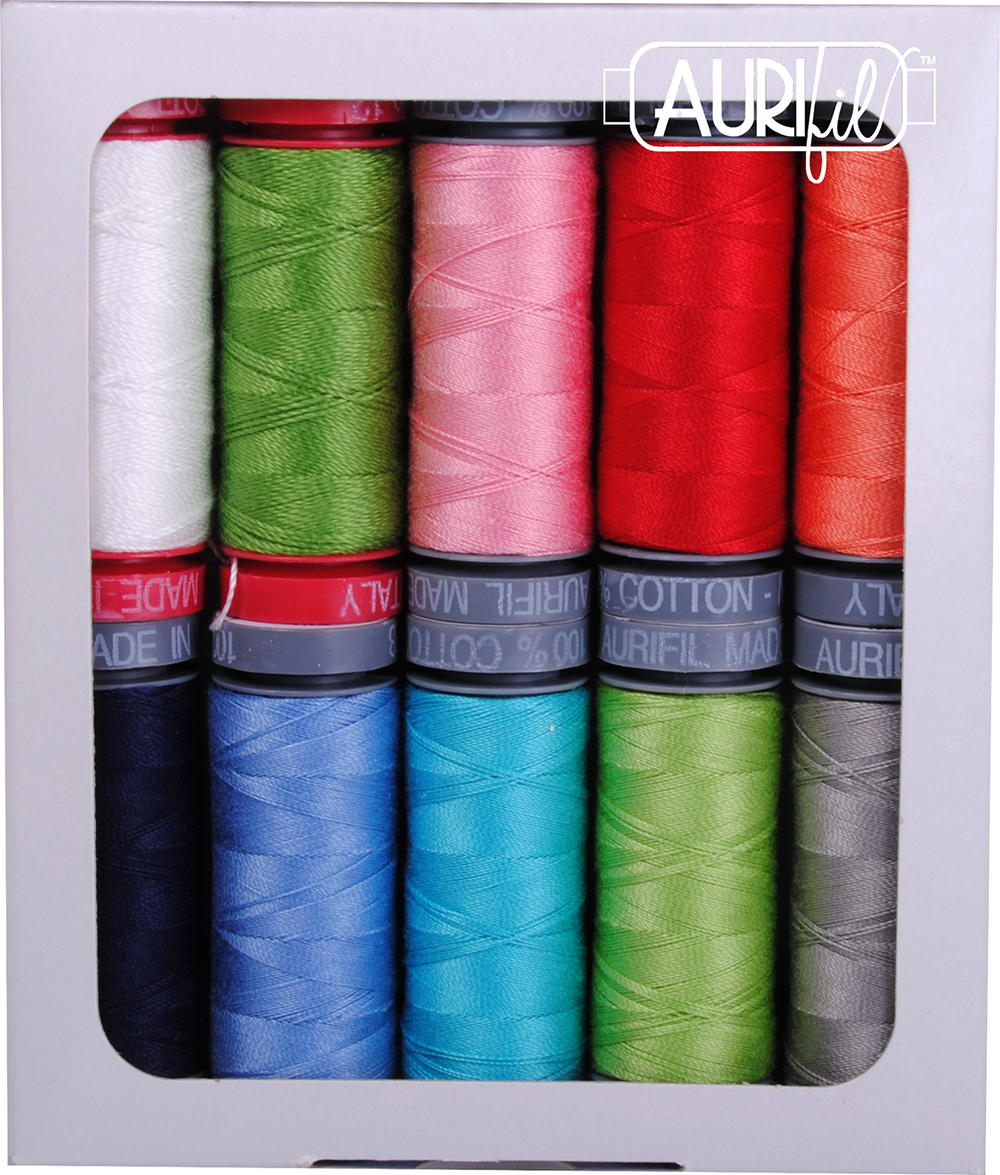
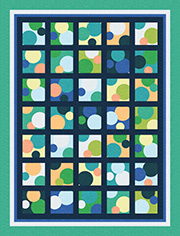
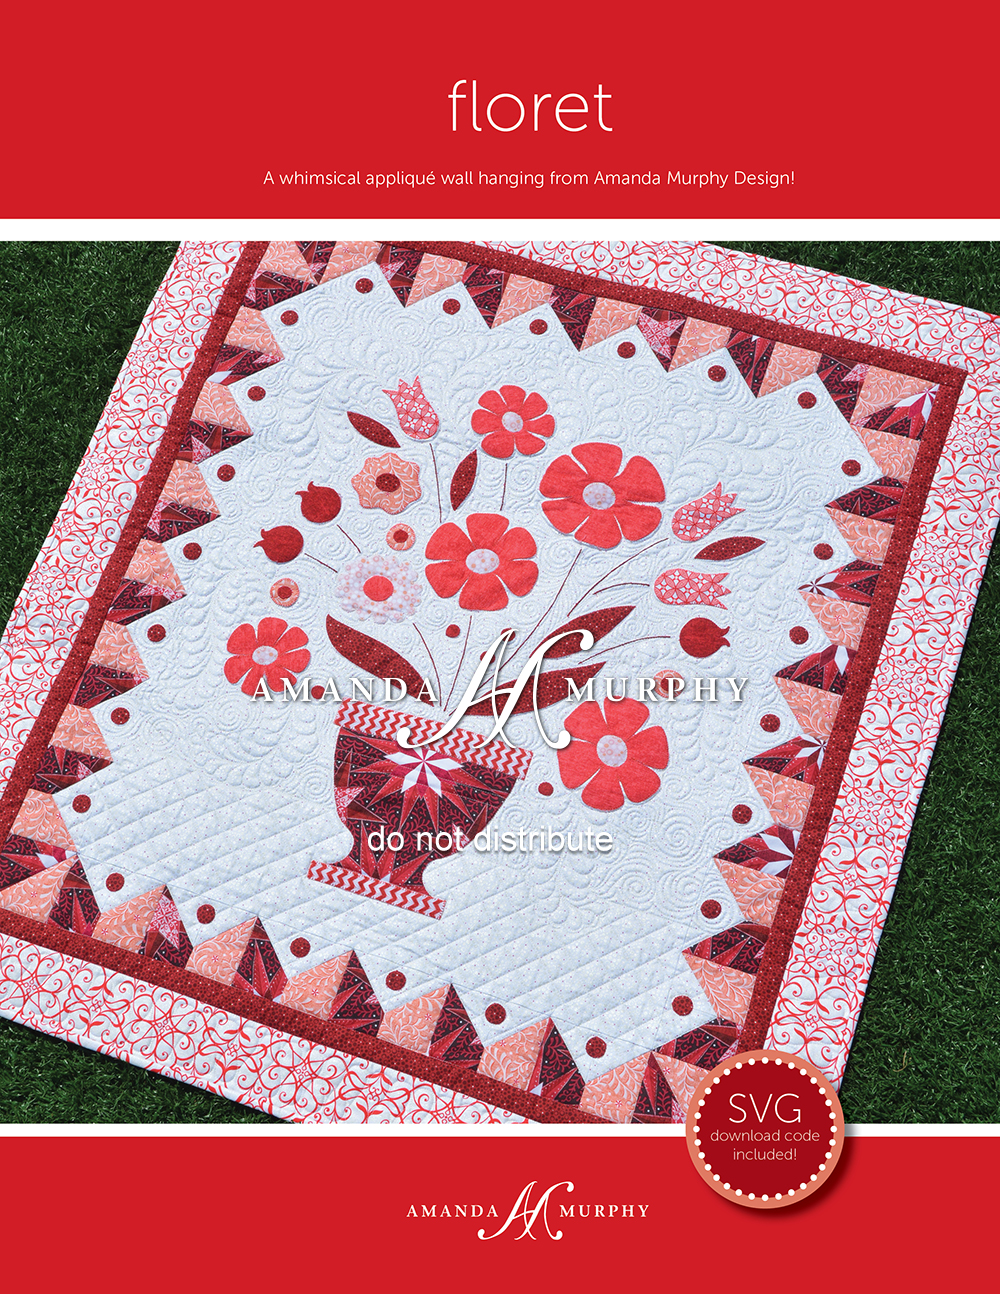
Next up is Floret, a fun appliqué pattern that includes a download code for SVG files.  There is going to be an Aurifil thread box for this one, so you’ll have an easy way to locate the 28 wt. thread I like to use for the blanket stitch and the 12 wt. thread I like to use for the triple-stitched vines.  Also a July ship date.

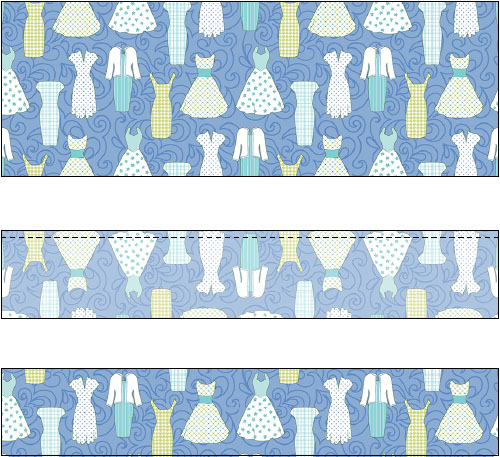
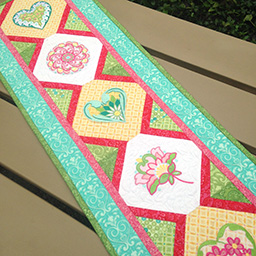
The fabric collection features five different panels: two ruler panels, two quilting panels, and one embroidery panel.

Shown in the first row: Endless Quilting yardage and the embroidery panel. Shown in the second row: two ruler panels. The Endless Quilting yardage has no divisions between the repeats and extra fabric near the selvage for seams so you can practice quilting to your heart’s content on a project of any size!

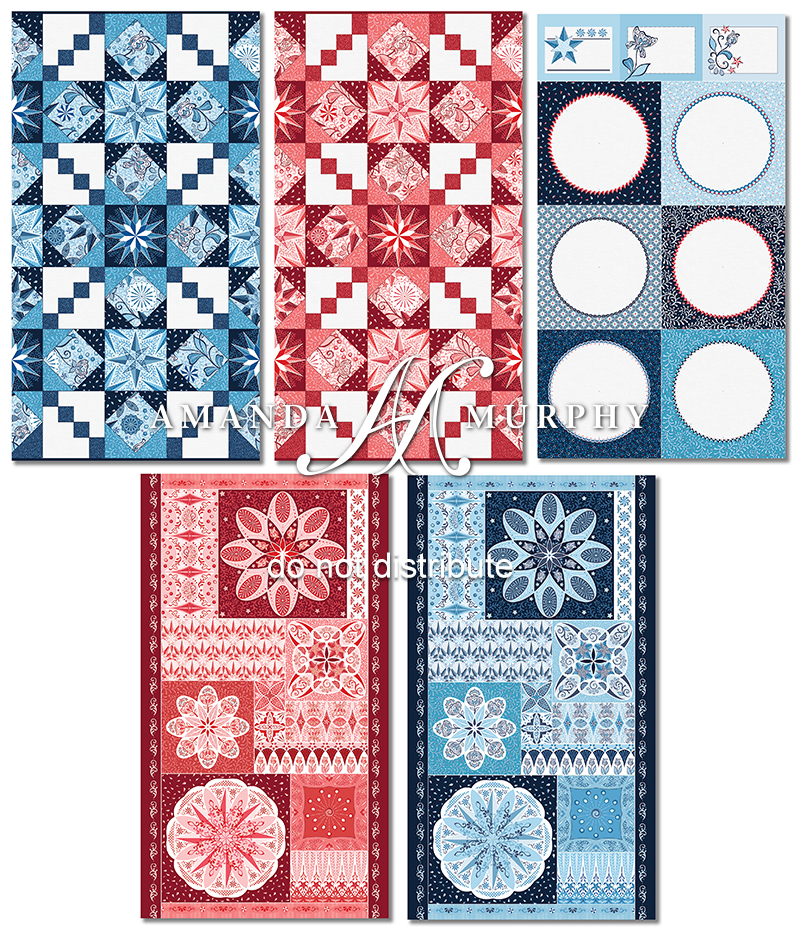
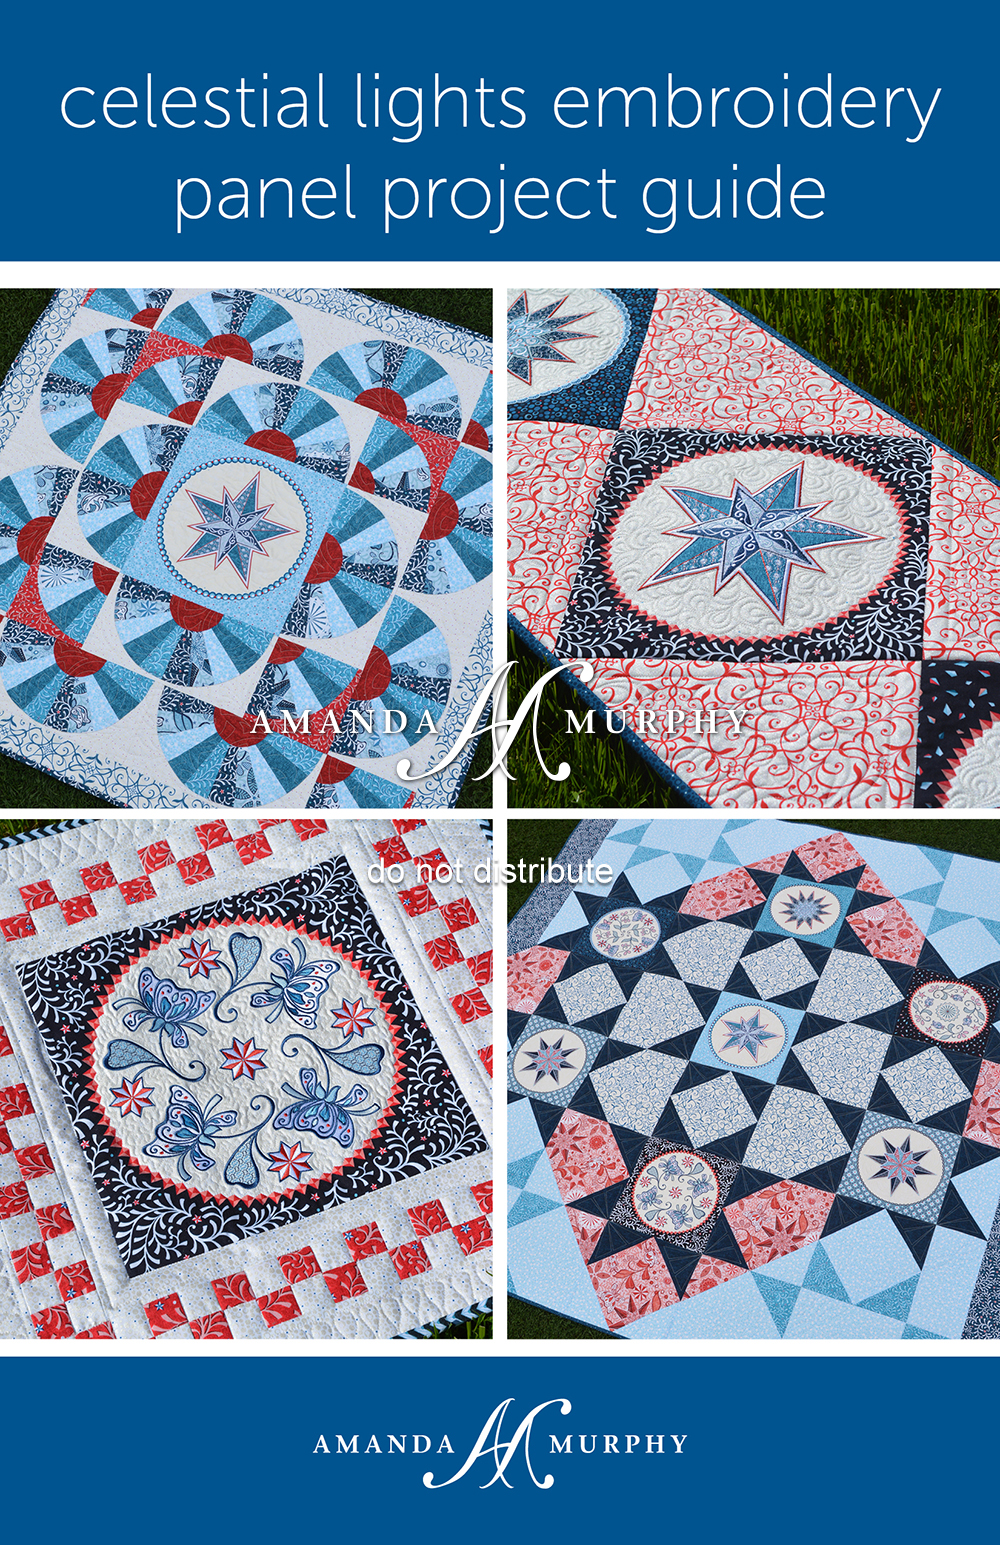
The Celestial Lights Embroidery Panel Project Guide shows you how to make that panel into a pillow, table runner, wall hanging, and quilt!

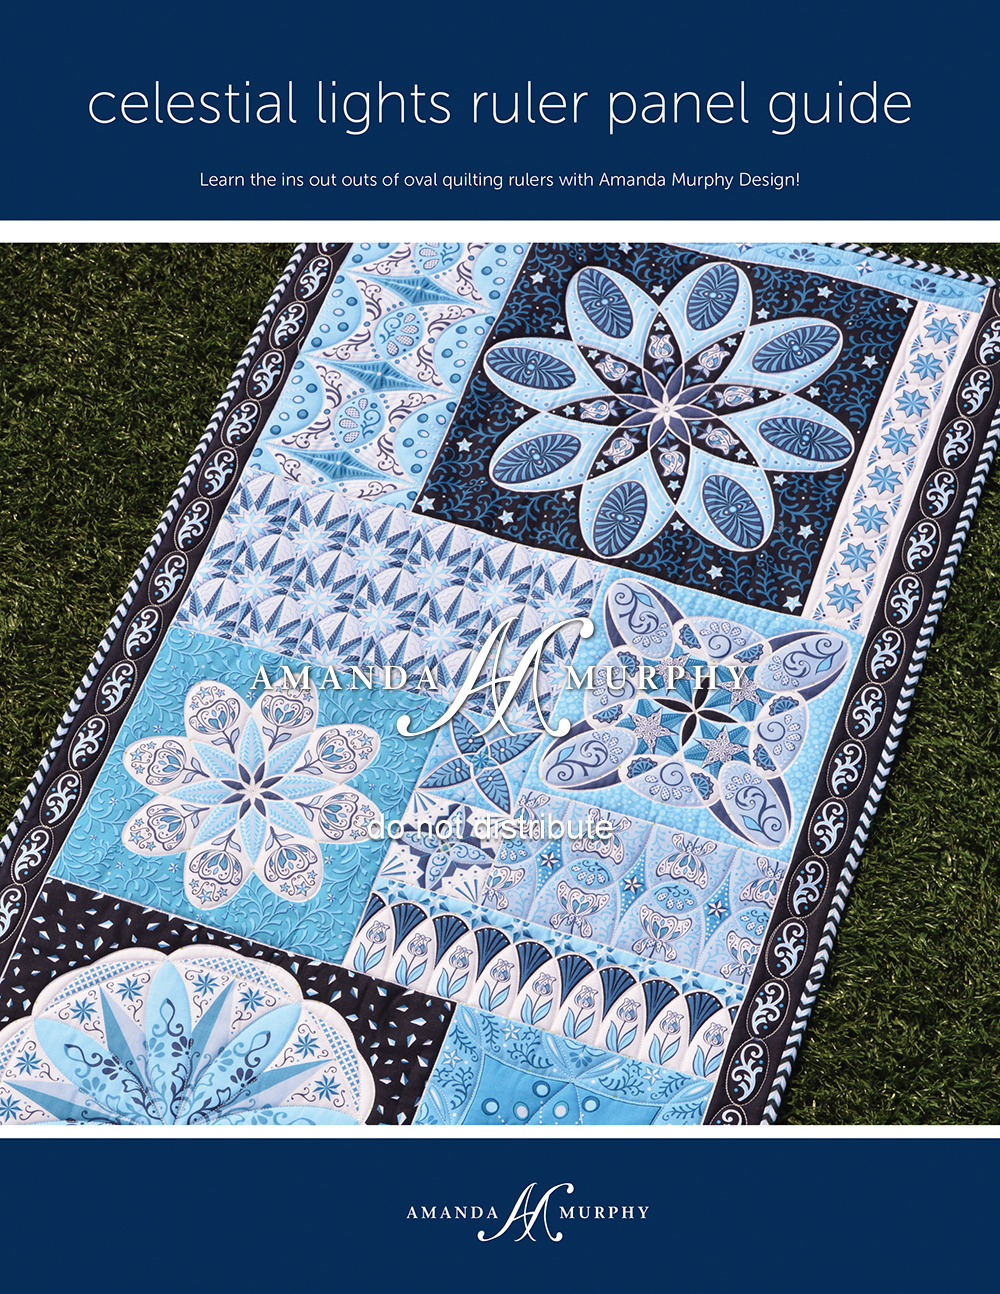
The Celestial Lights Ruler Panel Guide in conjunction with the ruler panels show you how to use my new Good Measure Every Oval Ruler set in a myriad of different ways.   You’ll love this set I promise and guess what?  Hot on its heels will come another new ruler set – RIBBON CANDY!

Next up are my Market lines. With all the BERNINA University prep I never wrote a blog post for them so I apologize for this being a bit late.  The patterns for the patterns below one will be ready in a few weeks.

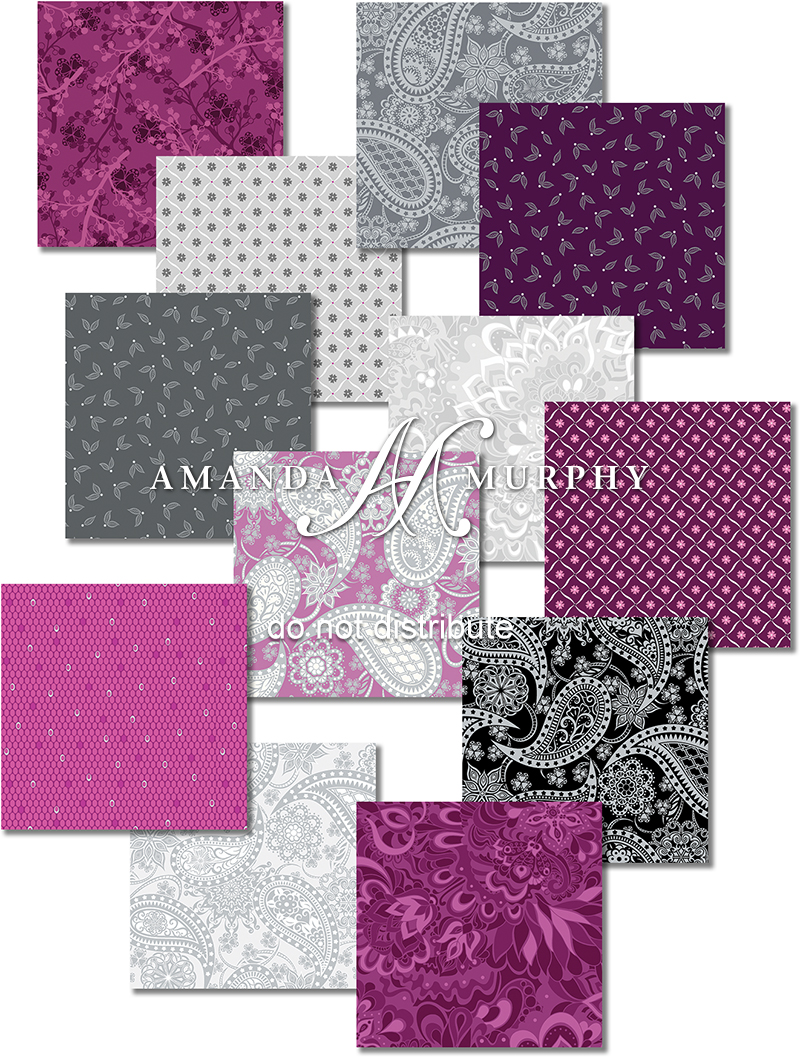
Silver Jubilee is an elegant sophisticated line in silvers and charcoals, accented with a rich plum.

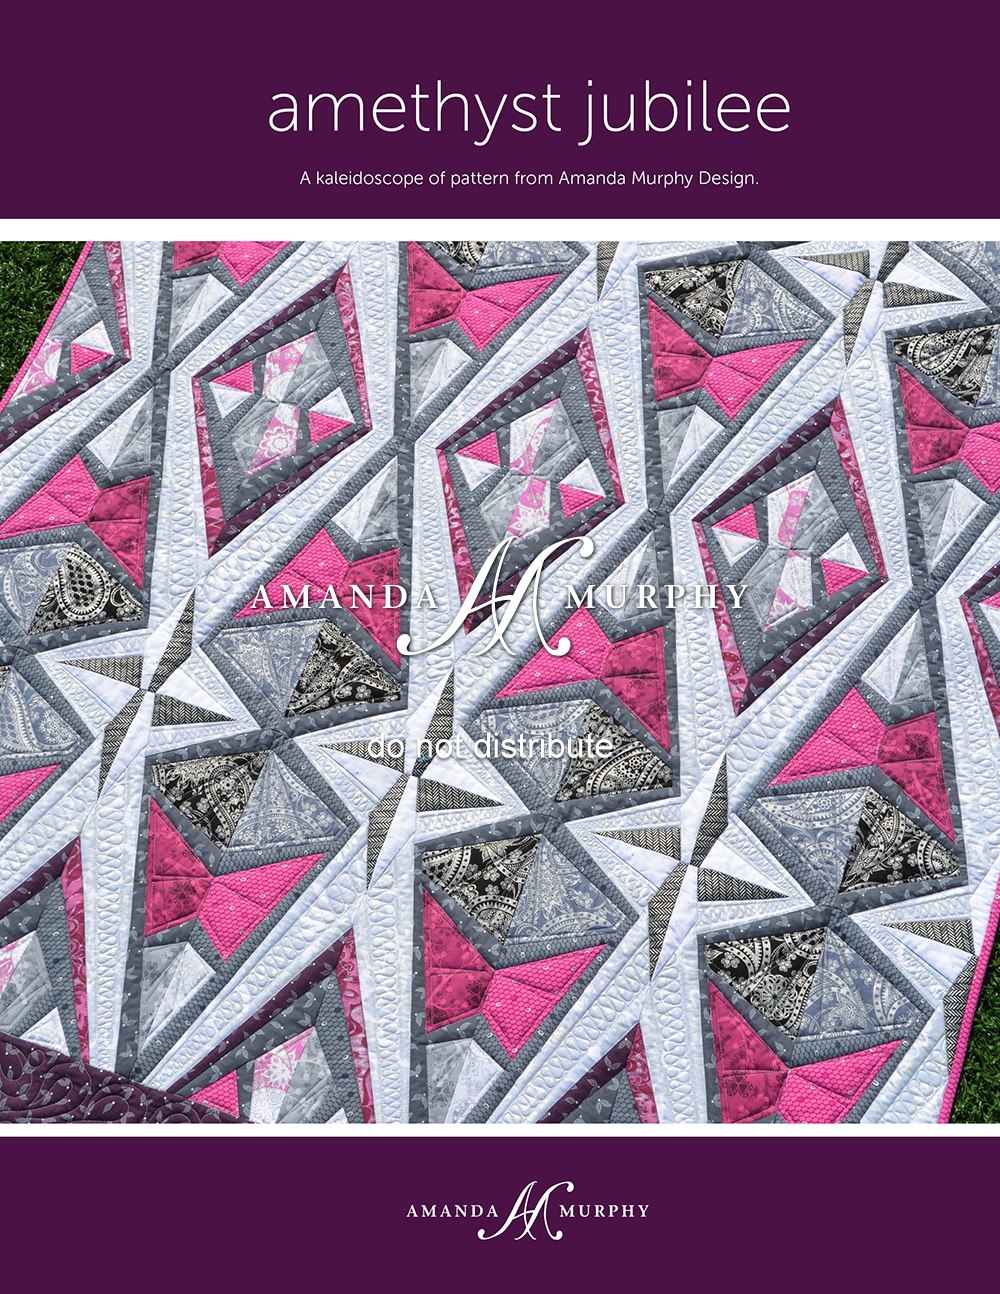
Because of the traditional nature of the paisley feature print, with patterns I went more modern in feel.  Here is my favorite… Amethyst Jubilee!  (And yes, it is paper-pieced but with just one block and its mirror image.)

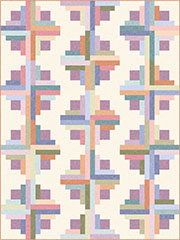
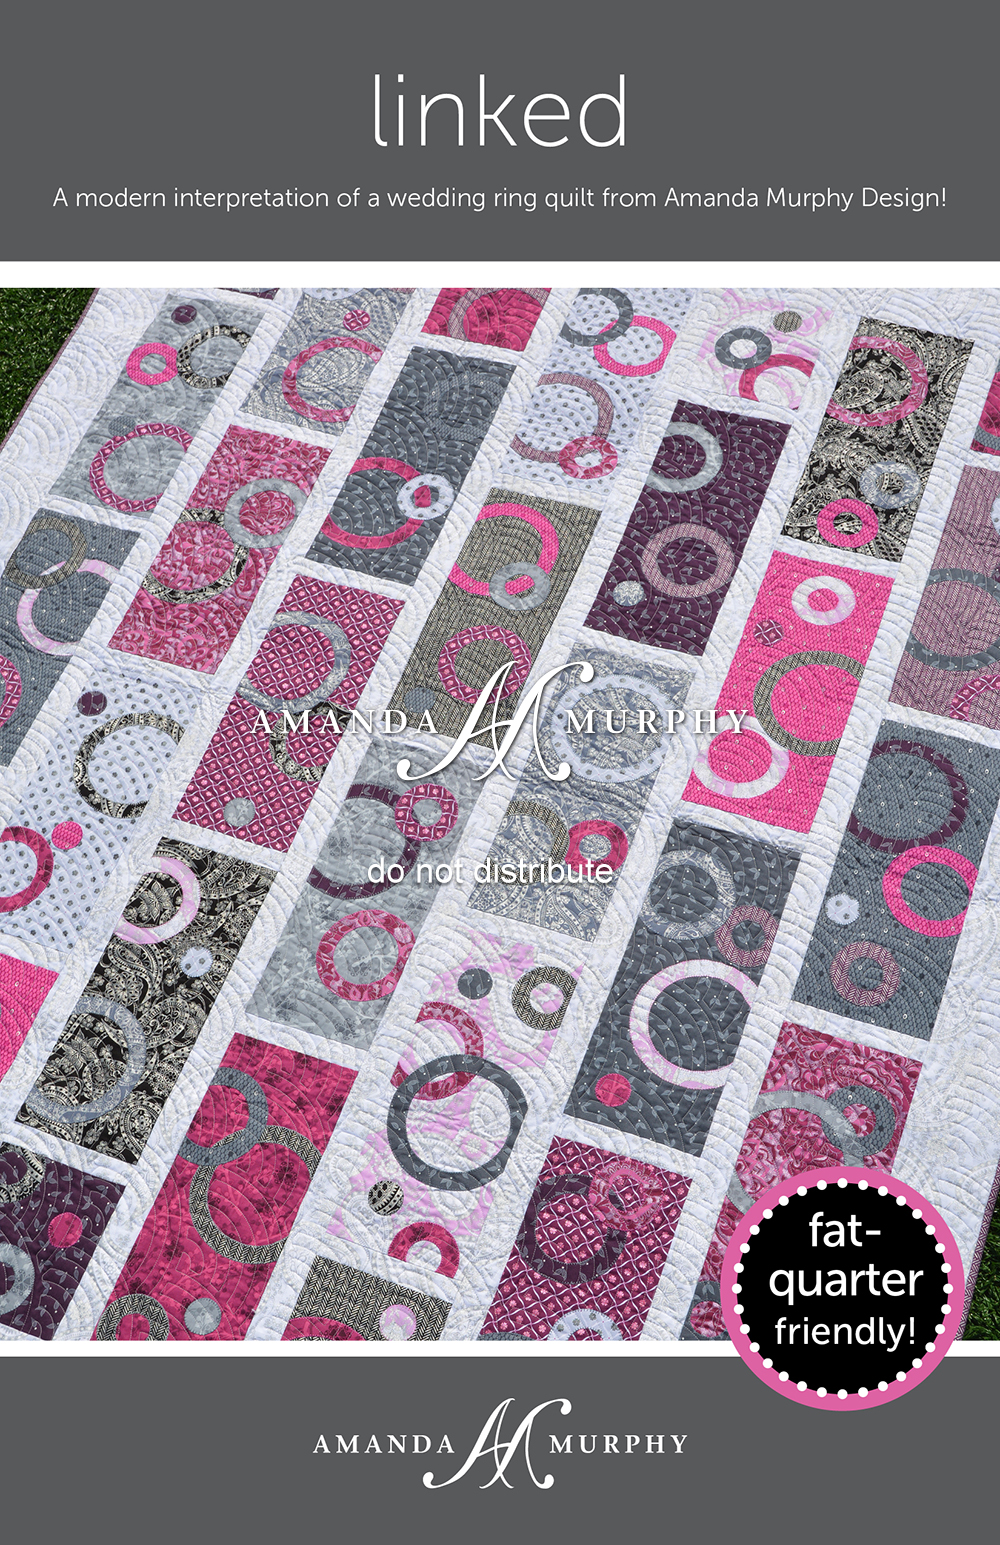
Following on its heels in the modern category is Linked.  It is fat-quarter friendly so is super easy to kit!

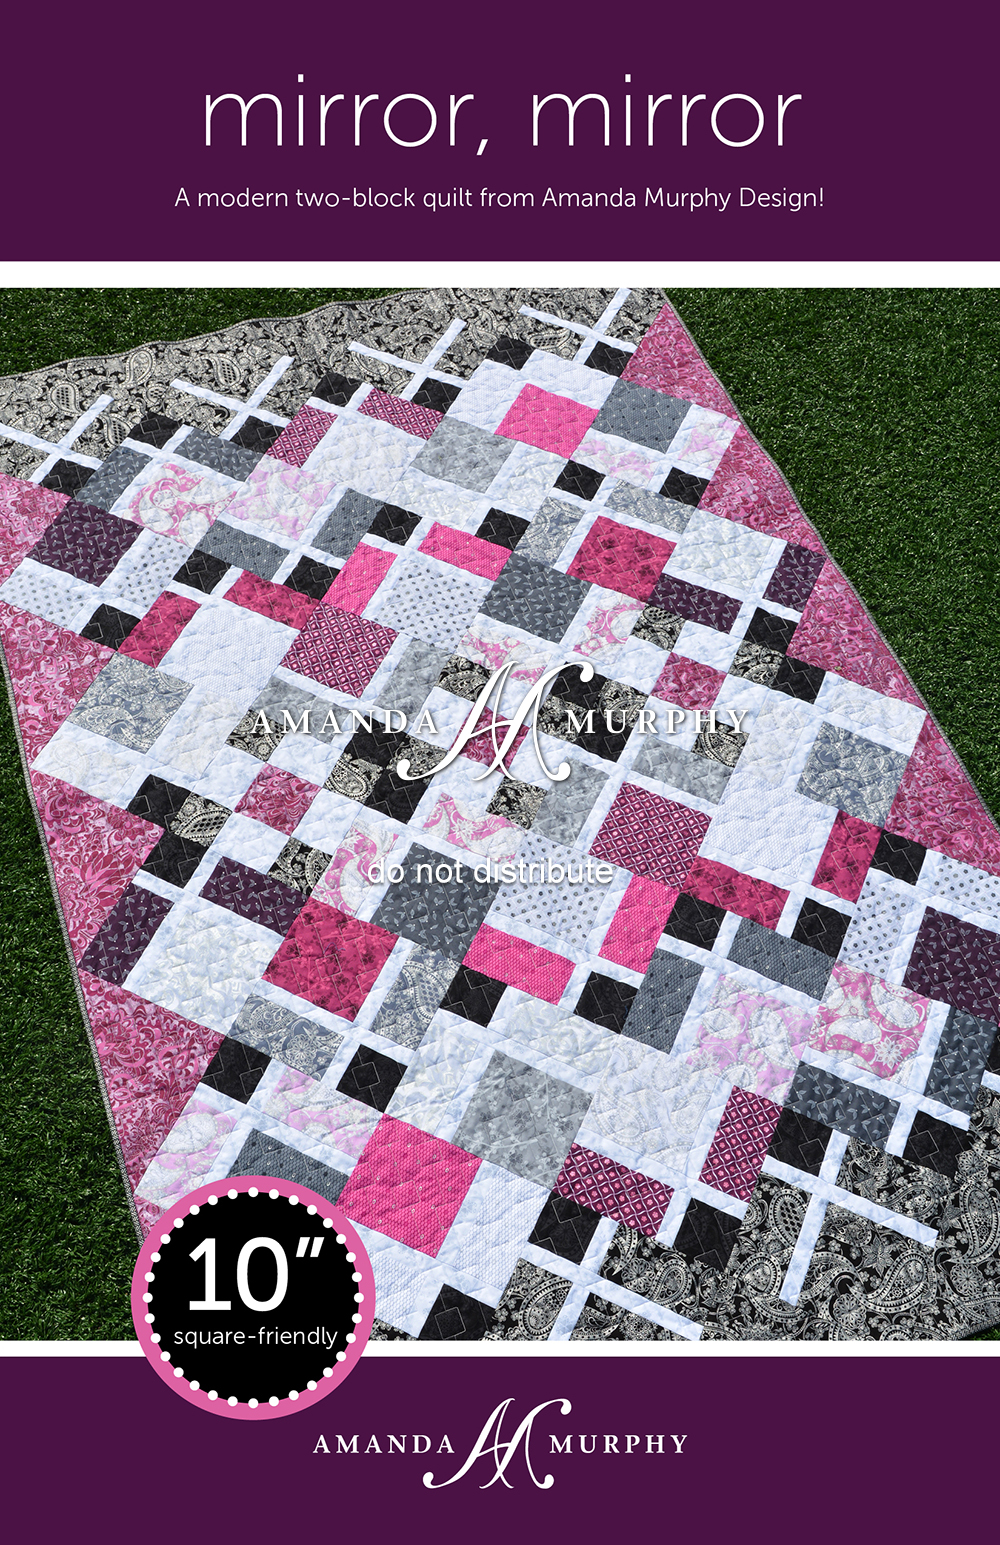
Then we have Mirror, Mirror.  My goal here was to develop a 10’’ square-friendly pattern that was dynamic and different.

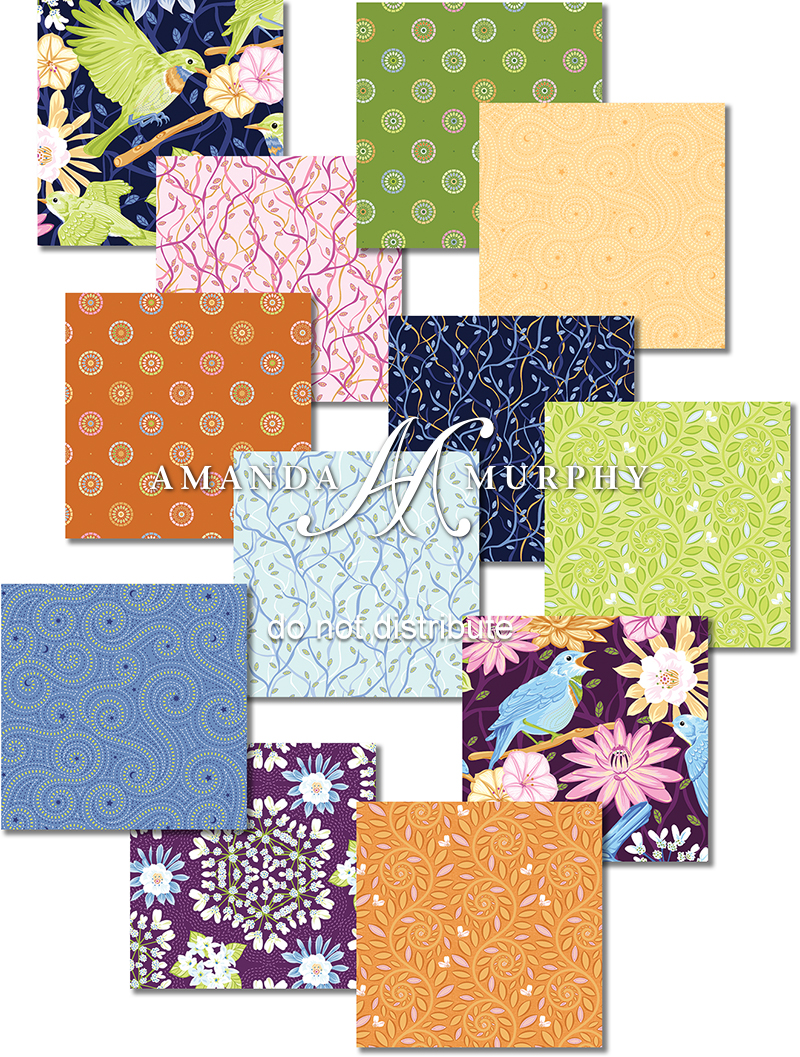
Since Silver Jubilee was modeled after the original gold Jubilee line, I had time to draw another collection.  This one is close to my heart as it arrived in my head pretty much fully formed and that hardly ever happens.  I just love the rich tones in this collection and the birds… even though I’m scared of birds in real life.  Nightingale is very subtly detailed in just a little bit of pearl.

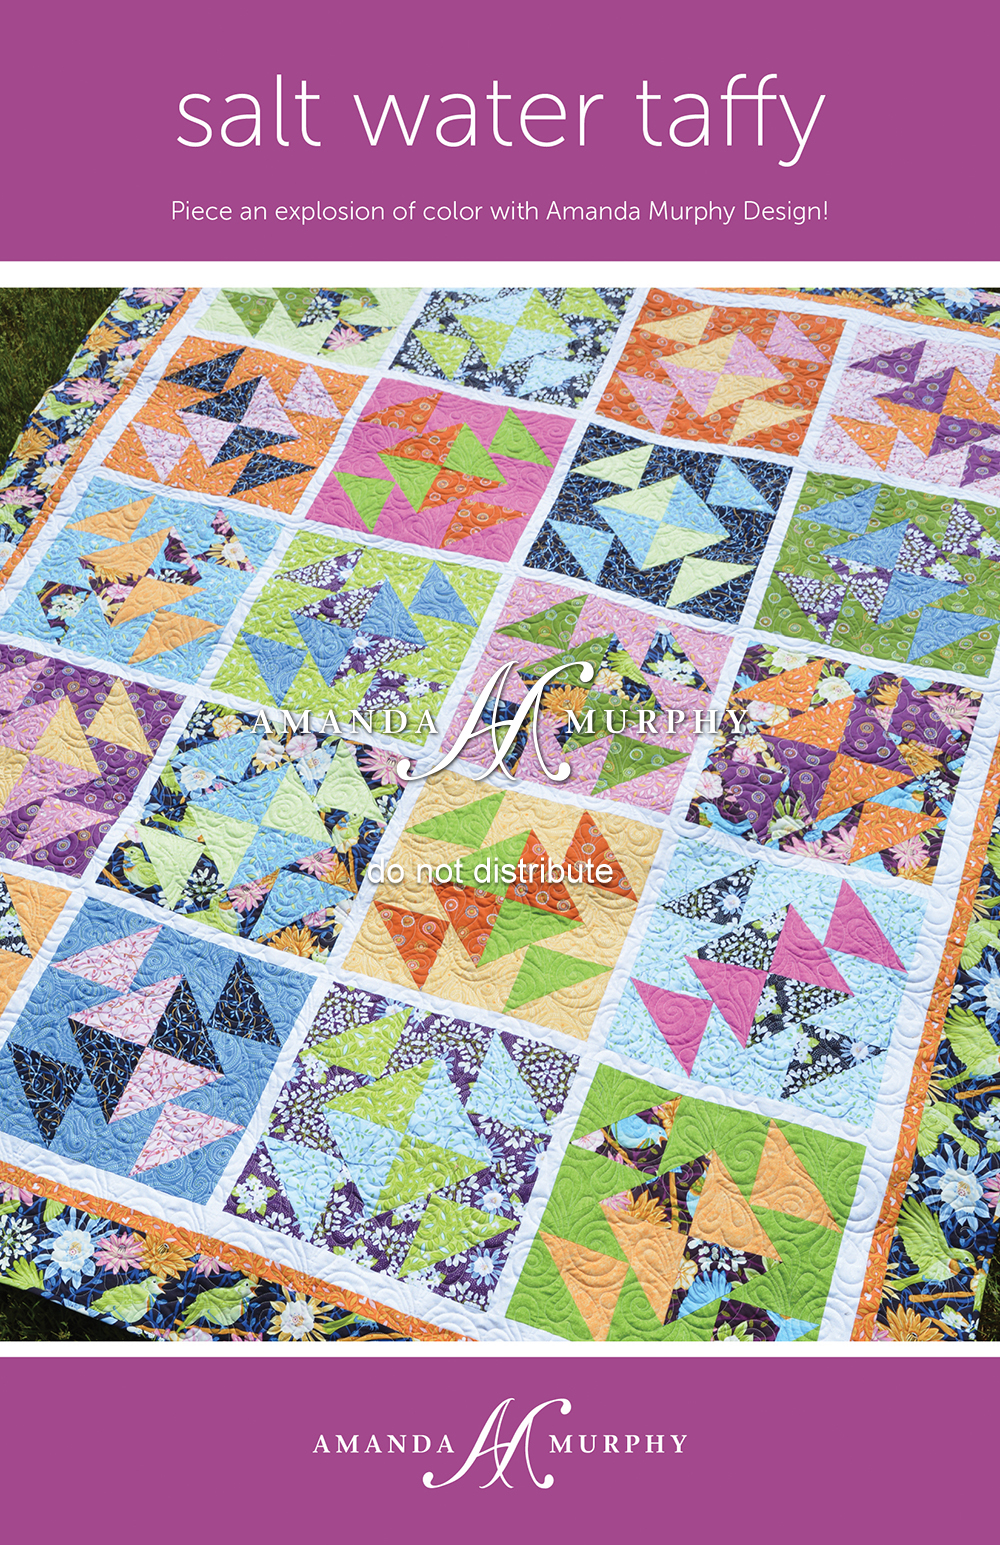
For patterns we have a large-block quilt called Salt Water Taffy…

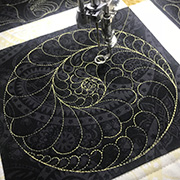
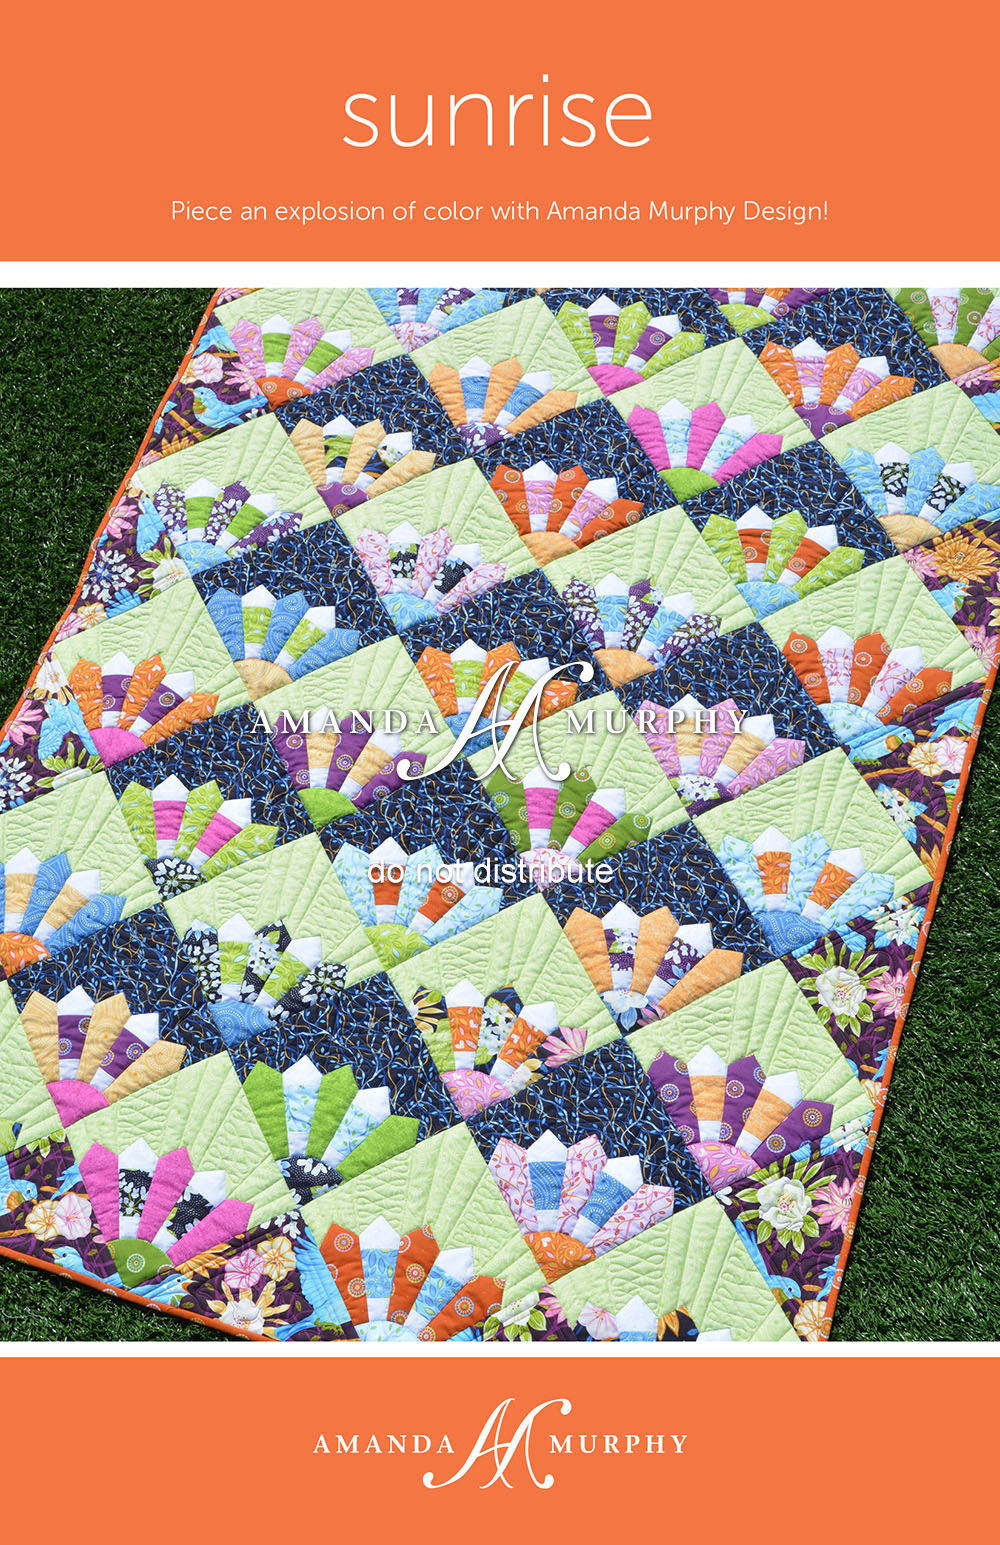
And Sunrise, which is such fun to quilt with a straight line ruler and simple loops. (I have a video of the quilting somewhere that I’ll have to dig up to show.)  You can use quarter yard cuts or fat quarters for this one.

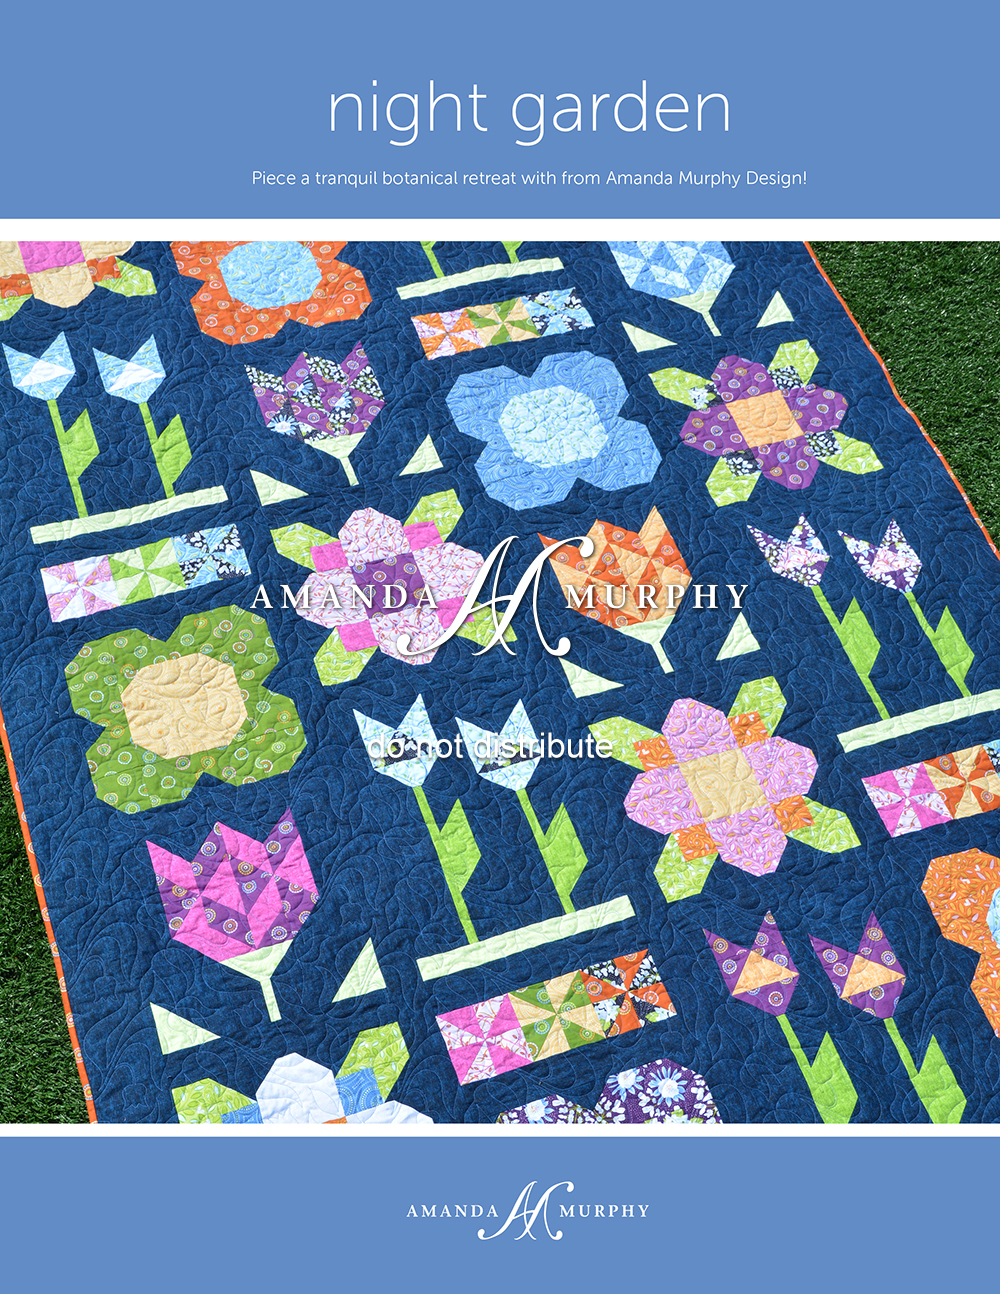
And then we have my favorite to make because each block was such fun – Night Garden!  This is fat-quarter friendly too.

All patterns include SKU information and will ship in late July; I’ll let you know as soon as they are available.  In the meantime if you love any or all of these lines please ask your local shop to order them through Benartex! Thanks so much and happy quilting!

Amanda

Pin It

Sewing Room Fabric-Trimmed Towels – Complimentary Tutorial

Posted on

Hi everyone,

I hope you have been having a lovely Labor Day weekend.  I’ve been trying to catch up on things over the past couple of days and one of the things I’ve been wanting to do is write up a tutorial for how to make these simple, fabric-trimmed files featuring my Sewing Room collection for Benartex and my coordinating embroidery collection for OESD.  Of course, these instructions will work for any collection/fabric combination, but these are near and dear to my heart, of course!

3Towels1

3Towels2

These make great fits for your sewing friends and are really simple to make.  Ready to get started?  (There is a PDF link at the bottom of this post for your convenience.)

You’ll need:

  • Dish Towel – I like ones with a smooth texture so that the embroidery pops!  I got mine from a great store in Brentwood, TN called BERNINA Sewing Machine Station.
  • Fabric Trim – 1 fat quarter or even less (see instructions below)
  • Stabilizer – Cut-away for a lightweight towel or tear-away for a heavier weight towel
  • Cotton Thread 50 wt. to match fabric
  • Edgestitching Foot – Optional but highly recommended
  • Embroidery Thread and Temporary Spray Adhesive.

Preparing the Fabric Trim

Wash and dry your towel as you would for every day use. Press well. Measure your towel. (After washing mine was about 17-1/2’’ x 25-1/2’’.)

Decide how wide you would like the band of fabric trim to be. (In these examples mine were 3’’ wide.) Multiply this width times 2 and add in 1/2’’ for seam allowance. This measurement will be the height of the fabric rectangle. Add 1’’ to the width of the towel width. This measurement will be the width of the fabric rectangle. Cut the fabric rectangle using the measurements above.. (My fabric rectangles were 18-1/2’’ s 6-1/2’’.) If you have a directional fabric, make sure to orient it when cutting in the manner you like best. Join the long edges of the fabric rectangle right sides together using a 1/4’’ seam allowance and back-stitching at each end. Press the seam open. Turn the tube right side out and press again so that the seam is centered somewhere on the back of the strip and the motifs you like best are in the front.

Stockings1

Embroidery

Next, prepare your towel for embroidery by marking the embroidery’s center point. In this example, I placed three of the Sewing Room dress embroideries side by side on my BERNINA 780, spacing them evenly. Converting the mm size given to inches I found that my embroideries would measure approximately 6-1/2’’ in width x 3-1/2’’ in height. To find the vertical center of the embroideries on the towel, divide their height in half and add in the height of your fabric band (shown by the white dashed line below) and 1-1/2’’ of buffer space (shown by the green dashed line below). Use your quilting ruler to mark that measurement from the towels bottom edge (shown by the teal line below). You really don’t need to make the green or white lines – they are just shown for your information. Make the vertical center of the towel.

SewingRoom_Towel_BAD2

Hoop your stabilizer. Spray the back of your towel with a bit of temporary spray adhesive and use the grid that came with your hoop to align the cross hairs you’ve drawn on the towel with the center of the hoop.

Attach the hoop onto the machine and make any necessary placement adjustments to make sure the cross hairs are right in the center of your design. Direct the machine to run a basting stitch around the design area and embroider a the Sewing Room design onto the towel.

SewingRoom_Towel_BAD4

Unhoop and cut or tear away the stabilizer. If you used a water-soluble marking pen to mark the center be sure to remove the marks before ironing the towel!!! (Ask me how I know!)

Fabric Trim Application

Turn edges of the fabric trim tube in so that the tube exactly fits with width of the towel. Press. Pin onto the towel. Use an edge stitching or piping foot and matching thread to top-stitch the fabric trim to the bottom of the towel.

Stockings1

edgestitch foot

That’s it! You can find a link to a PDF version of this tutorial right here or on my downloads page.

Have a lovely Labor Day!

Amanda

Pin It

Sewing Room!

Posted on

Hi everyone,

It has been a busy couple of months here and I can finally talk about all the secrets I’ve been keeping all this time.  At BERNINA University this past week I debuted a brand new collection for Benartex Sewing Room! This one is close to my heart as a BERNINA Spokesperson because it has my very favorite sewing machines!

Although the collection is available to quilt shops everywhere, the SKUs with the BERNINA logo are only available to BERNINA dealers.  If you like the collection please ask your quilt shop to give Benartex a call.

Patterns are just starting to ship this week to distributorsand are also on my website.  Of course, if you can order from your local shop please do so – shops are the heart of our industry and we want them to stay in business!

First up is a new pieced block-of-the-month pattern called Sewing Room Sampler.  It is my favorite pattern ever I think because it was such fun to sew and to quilt.  (I quilted it on my BERNINA Q 24 and I’ll be talking about how I did so in my Facebook group later in the year.)  It is a larger pattern than my usual patterns – 16 pages full-color.  Shop owners can find the shop guide for this sampler here.

SewingRoomSampler_01


SewingRoomSampler_03

SewingRoomSampler_04

SewingRoomSampler_05

SewingRoomSampler_06

SewingRoomSampler_07
SewingRoomSampler_08

SewingRoomSampler_02

Next up is “S is for Sew”.  It is a fun project that incorporates appliqué and basic piecing.  It comes with a download code with embroidery files for “in-the-hoop appliqué”, cutwork files and SVG files if you’d like to digitally cut your fabric so it is something new for me.  I also have a new Aurifil thread collection that I’m really excited about that allows you to try appliqué with the 28 wt. thread I love for a reasonable price.  (More on that at the bottom of this post.)

SisforSew_01

SisforSew_02

SisforSew_03

SisforSew_04

The third pattern is called “Sewing Garden”.  It is a simple pieced design made from two stacks of 10” squares.

SewingGarden_01

SewingGarden_02

SewingGarden_03

SewingGarden_04

I also have two Aurifil thread collections which I’m really excited about, both of which coordinate with not only Sewing Room, but with all of my collections so far.  The first is great for piecing and quilting – it contains 11 large spools of 50 wt.

AmandaMurphy-PiecingandQuiltingCollection-Outside

AmandaMurphy-PiecingandQuiltingCollection-Inside

The smaller thread collection is perfect for appliqué!  I love to use thicker thread for my appliqué, so it contains 8 spools of 28 wt. in a range of colors for blanket and specialty stitches and two spools of 12 wt. to use for the triple stitch and/or to mimic (or actually do if you are brave!) hand embroidery.  Aurifil is having a giveaway over on their blog for this one so check it out!

AmandaMurphy-AppliqueCollection-Outside

AmandaMurphy-AppliqueCollection-Inside

Next month I’ll be coming out a coordinating Sewing Room Quilting Collection as well for long arms and embroidery machines, similar to my Feathers & Flourishes Quilting Collection, which just started shipping as well.

There is also a coordinating embroidery collection available from OESD.  I’ll post pictures of that soon!

I hope you are enjoying your summers – happy quilting!

Amanda

Pin It