Hi everyone!
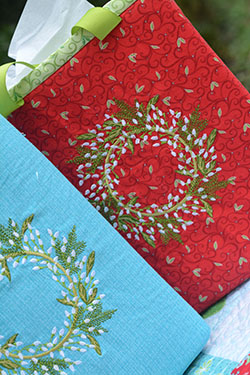
Some of you may remember a few months back I showed you how to use the Cricut Maker to cut fusible applique. (I made you a free pattern in the process and you can see that post here…)
I mentioned that the Cricut Maker (unlike many other digital fabric cutters) can actually also cut unstabilized fabric, which is just amazing!!! I knew the next application I’d want to test it for would be English paper piecing. More on that below… after a quick tour of the Maker.
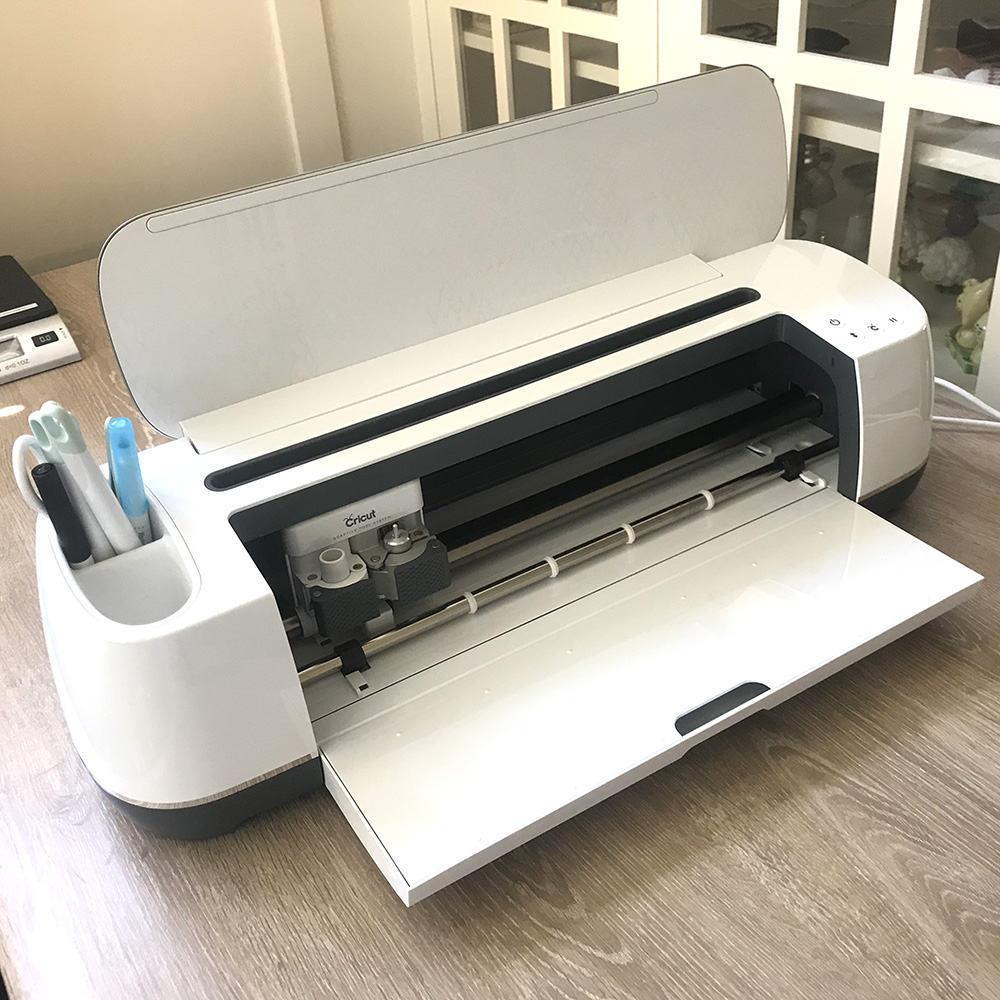

First of all, this machine can cut everything! From vinyl and iron-on adhesives, to balsa wood, matboard and leather. Even silk gauze would not be a problem in this machine!
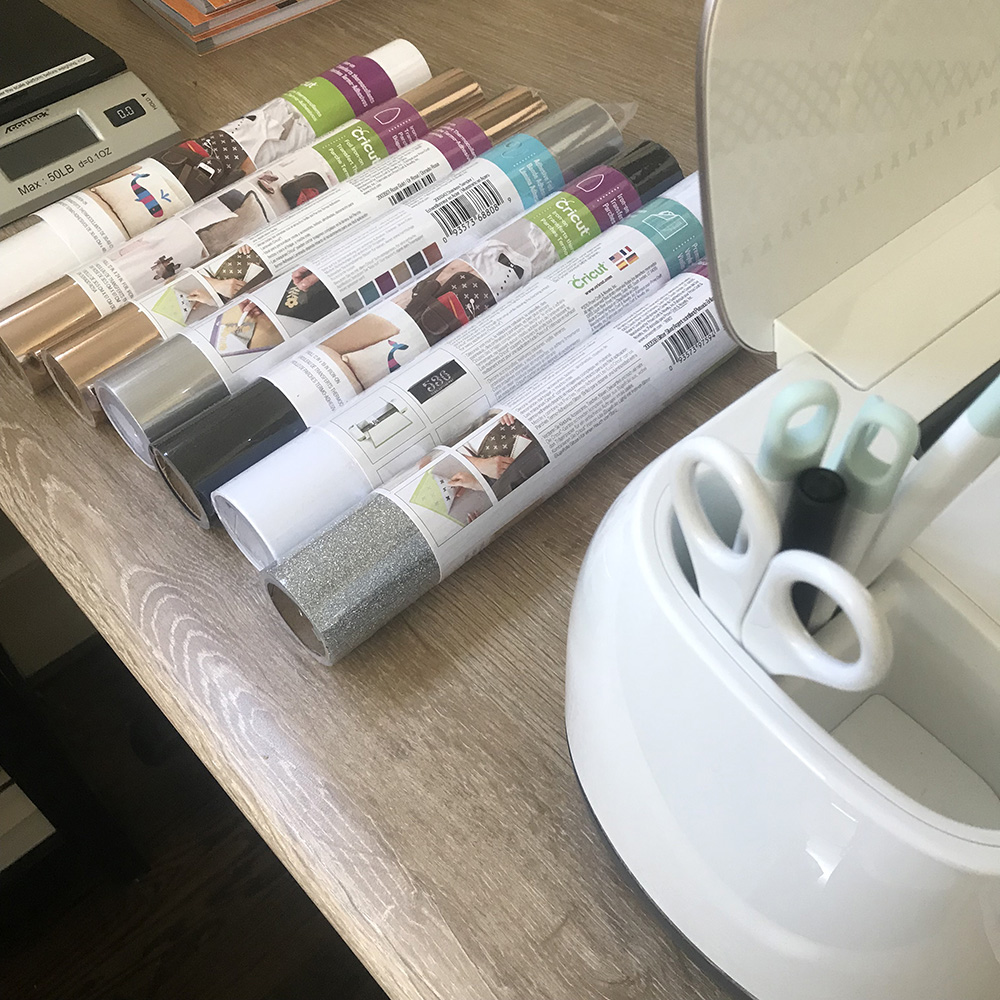
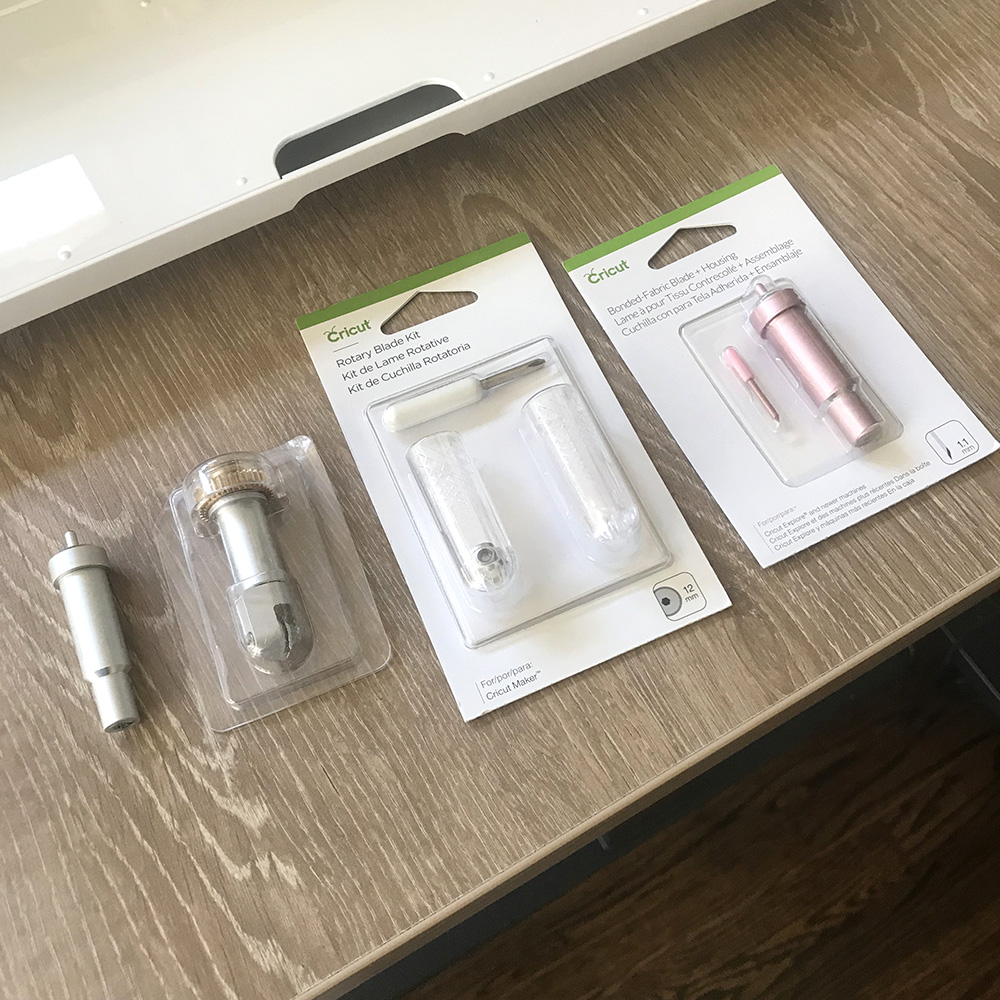
That is because it has 3 blades so you can really tailor your tools to suit your project. The Knife Blade can cut chipboard, matboard, and dense things like balsa wood. The rotary blade cuts fabric so naturally is my favorite! And the Bonded Fabric Blade cuts fabric with an iron-on adhesive backing. You don’t have to fiddle with inserting the blades correctly because the Cricut Maker can actually detect the direction of the blade once you insert it into the machine. Isn’t that crazy!
And because it has a place for a pen, you can actually draw on your designs using the markers that are available in a variety of widths and colors. So you can have the machine draw out a card design, score it, and cut it out!
It has a Print-Then-Cut Feature within the software that allows you to print a pattern or design on your printer and then cut it out using the Maker. (The Maker can actually detect the drawn lines!!!)
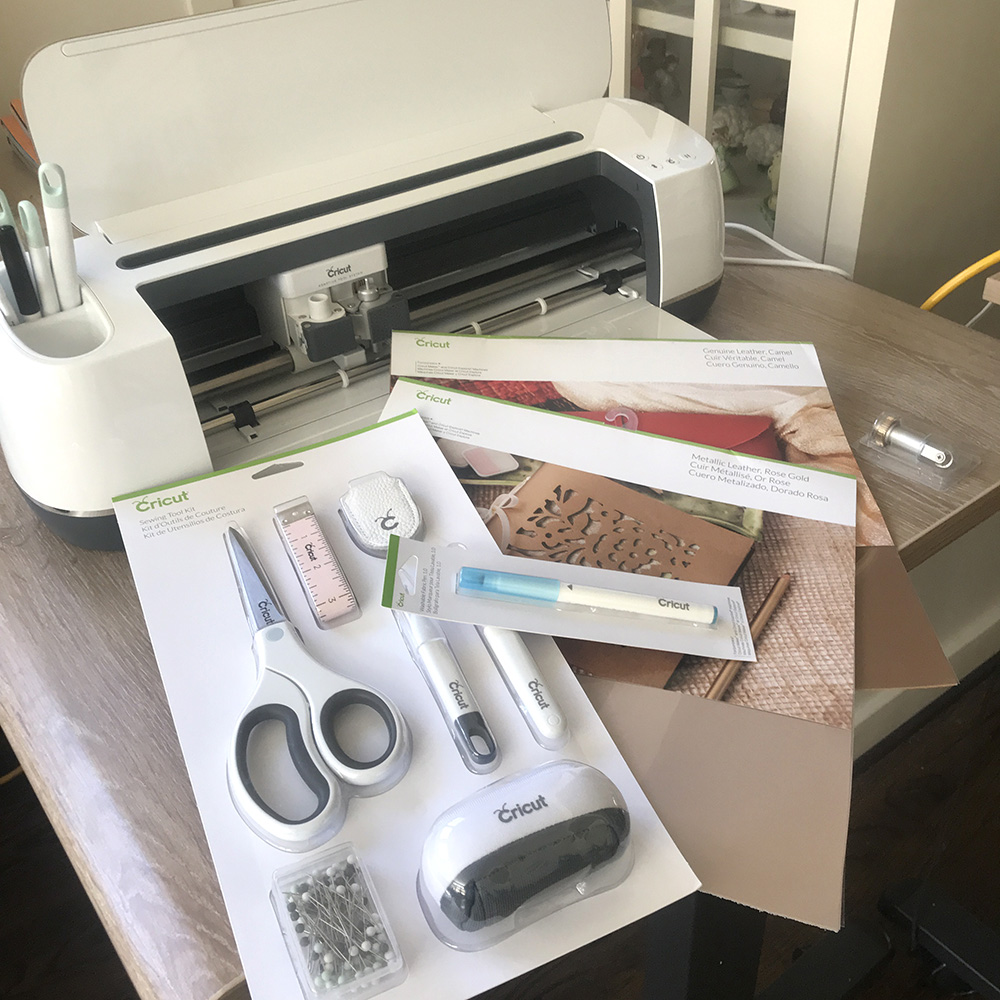
But the REAL key to my heart, of course, is the sewing tools. They offer everything from a Sewing Tool Kit to Leather in a variety of colors, plus they have a rotary cutting blade that you can use to cut materials AS THIN AS GAUZE! (Be still my beating heart!) When I saw the Washable Fabric Pen shown here I had an idea for how to adapt english paper piecing-style patterns in a large format to machine piecing using the Maker to ensure accuracy. I’ll show you that later.
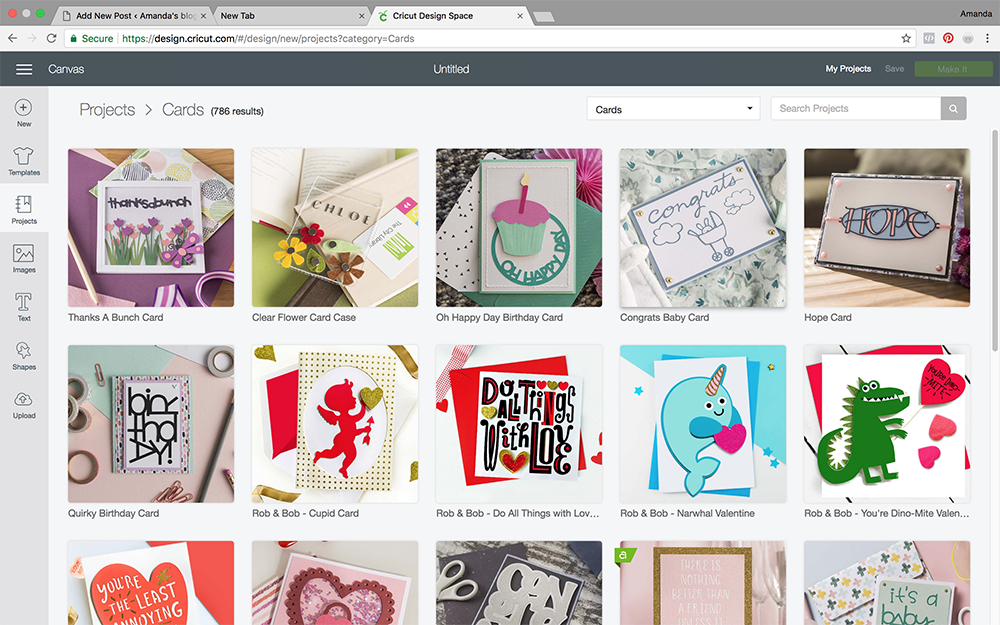
The Cricut Access software is very easy to use. You can pick a free project to make (there are hundreds of options online), upload your own, or pay a low monthly free to get access to hundreds of more designer projects.

Some of you might remember that I made a fun little applique project the day after I received this machine. I was so excited! You can find the post about how to do this here.

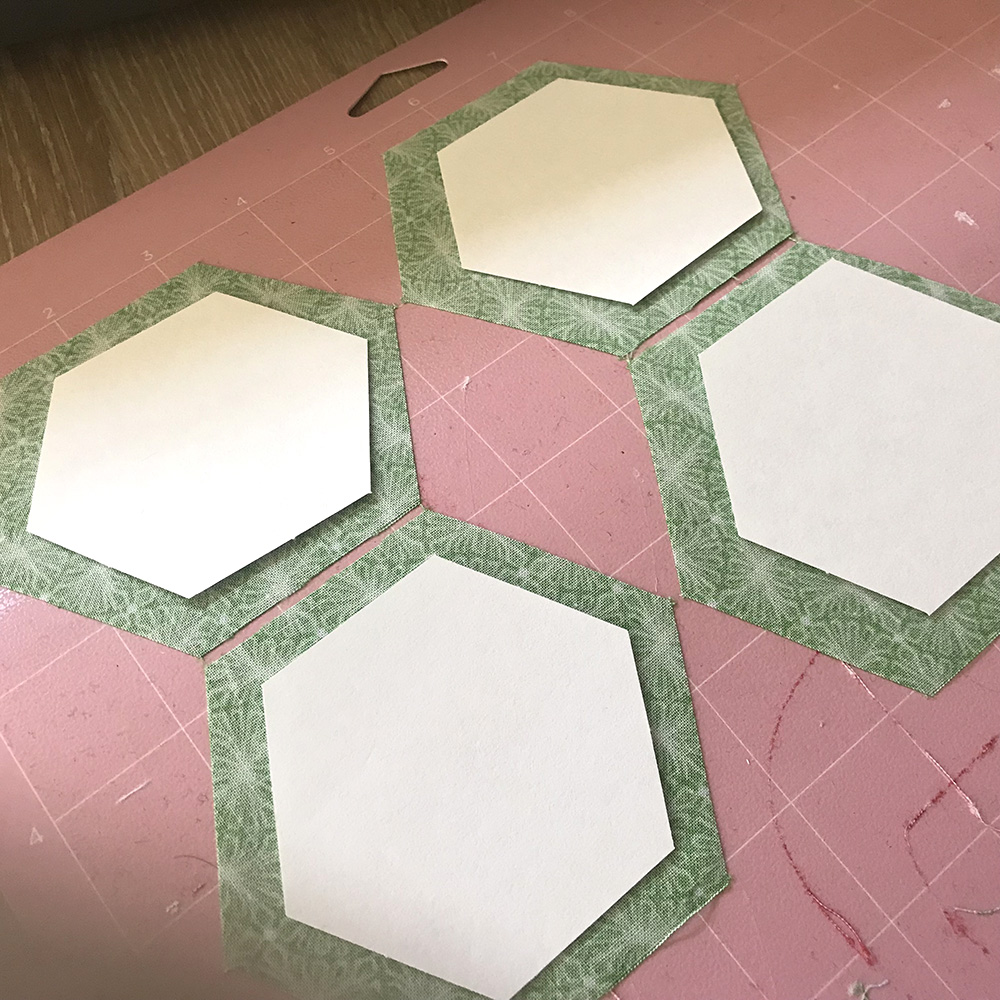
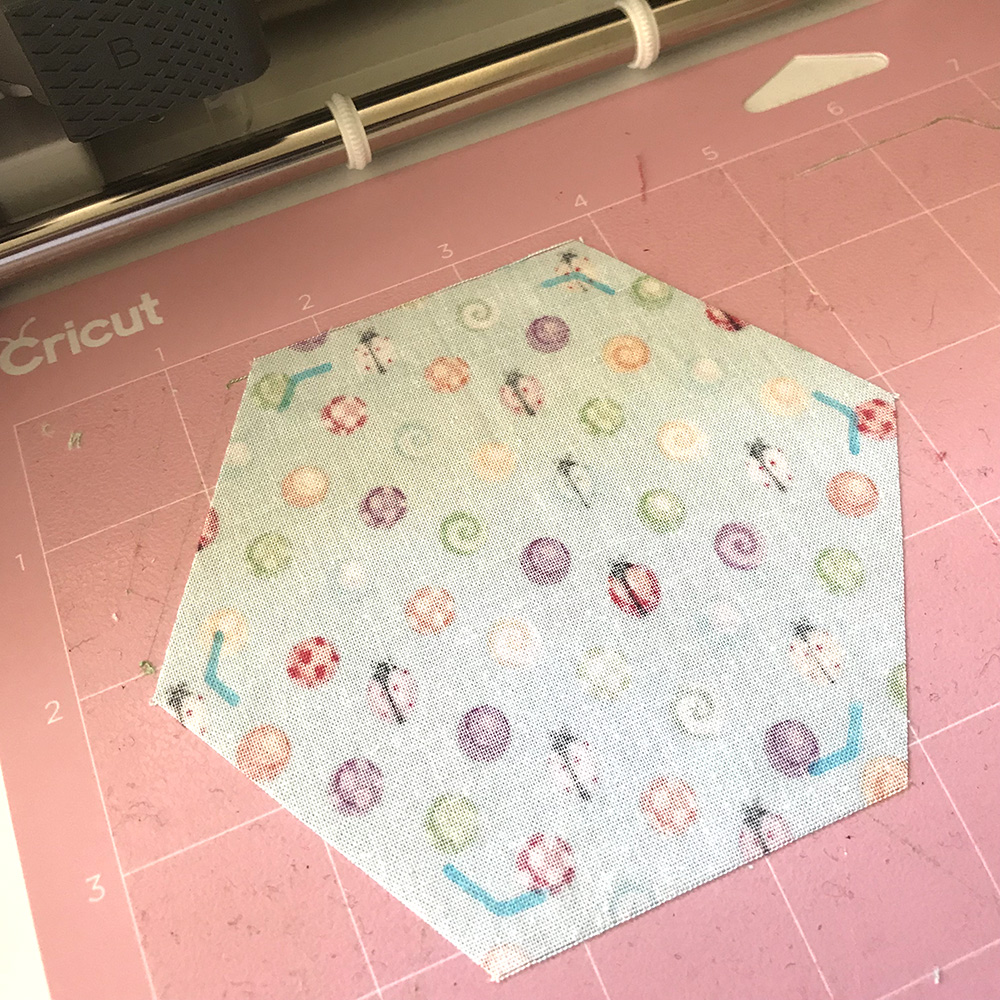
Well, when I realized how well the Cricut Maker cut unbonded/unstabilized fabric, I knew it would be the perfect thing for cutting English paper pieced projects. With those type of projects you want to cut out a shape that is apprximately 3/8” larger on all sides than your template. But you don’t want fusible applied to the fabric so it would be difficult to cut with a knife blade on many of the machines out there. So I drew a hexagon in Cricut Access and scaled it the appropriate amount. (If you had a custom shape not available in the tools you could scan it and import it into Cricut Access and scale it up.) Then I simply cut out my shapes!

So this got me thinking… I’ve always wanted to do English paper piecing-style designs in large format using a sewing machine. What if I could use the washable fabric pen to mark my fabric? (I’d want the lines to be on the wrong side of the fabric so it would be important to place it right-side down.) And the Cricut Maker did this no problem. AMAZING!

I have a hexagon pillow in my future pieced entirely on my sewing machine. I really think making the registration marks on the Cricut Maker would simplify the process.
If you would like to see a video on this process I made one you can view here.
All in all, I can’t recommend this machine enough. I love the features, especially the rotary blade and hope this little tour was helpful to those of you who have wondered how it stands out from its competitors…
Happy quilting (and cutting!),
Amanda