Now it is time to decorate our eggs with fancy, much-neglected features on our machines! (You can find Part 1 here, and Part 2 here.)
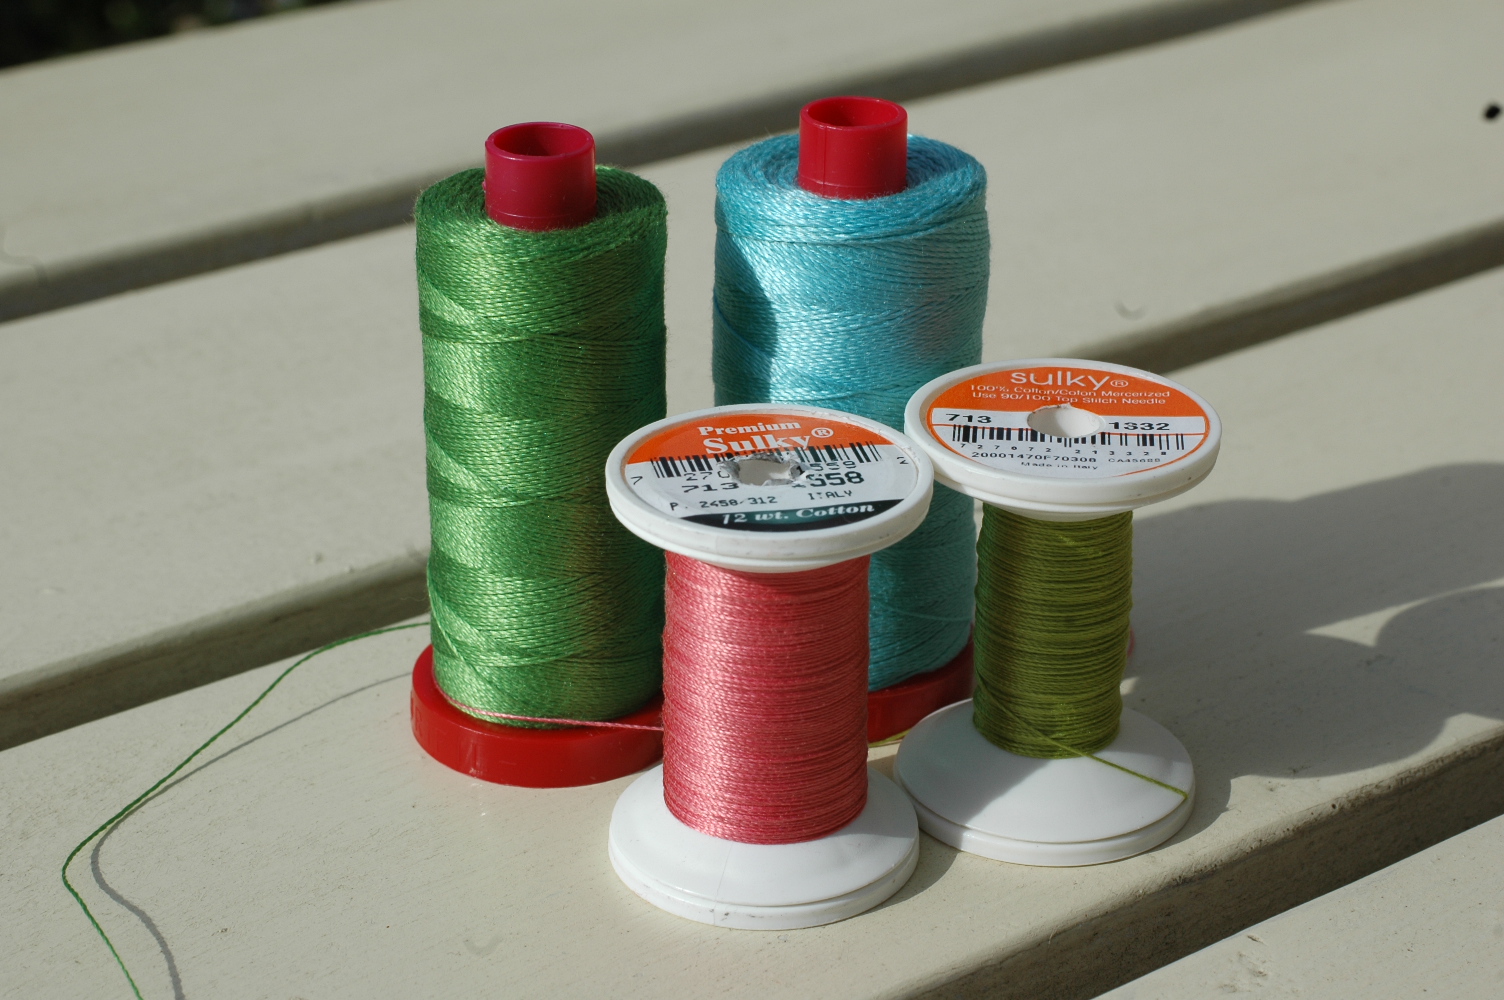
I chose to use 12 wt. heavy cotton thread and a top-stitching needle so the stitches would really show. Use any (or all) colors that you have on hand that coordinate with your eggs. I used 5006 (teal) and 1114 (green) by Aurifil and 1558 (rose) and 1332 (light green) by Sulky. I used 50 wt. grey Aurifil cotton thread in the bobbin. These worked really well with the Flora fabrics that I used, by Lauren and Jessi Jung.

Back the egg area of each Dresden Plate with tear-away stabilizer. (I used Sulky Tear-Easy.) Starting at a seam, bring both threads to the top of the fabric and run a buttonhole or applique stitch all the way around the egg. (You might need to loosen the top thread’s tension so that it doesn’t pull the lighter weight bobbin thread to the front of the piece.)
When you get back to where you started switch to a decorative stitch (adjusting thread tension again if necessary) and sew down the seamline. You may want to adjust the scale of the stitch to fit the egg. Now switch to a straight stitch and travel around the short distance along the side of the egg to the other seam. Switch back to the decorative stitch and sew down that seam line. Remove the Dresden Plate from the machine and clip the threads, leaving at least 3” tails. With a chenille sewing needle (or one with a big eye) take the threads to the back of the Plate and tie a knot close to the fabric. Clip threads.
You can also do all the buttonhole stitching on all the eggs and then do the decorative stitching, but that leaves more threads to bury and who wants to do that?
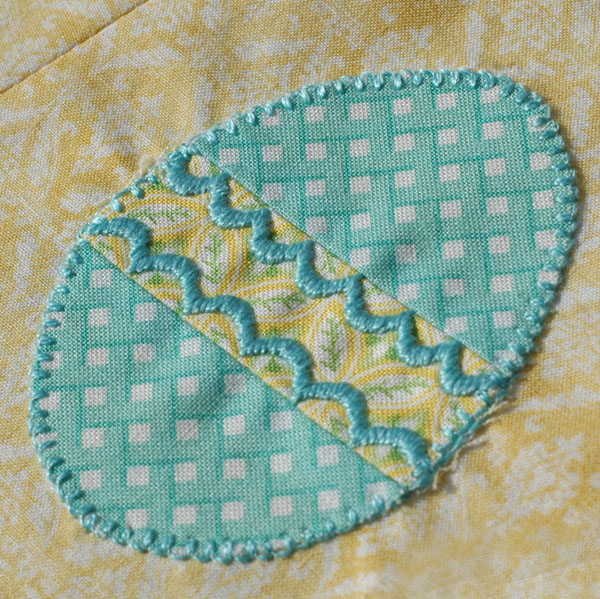
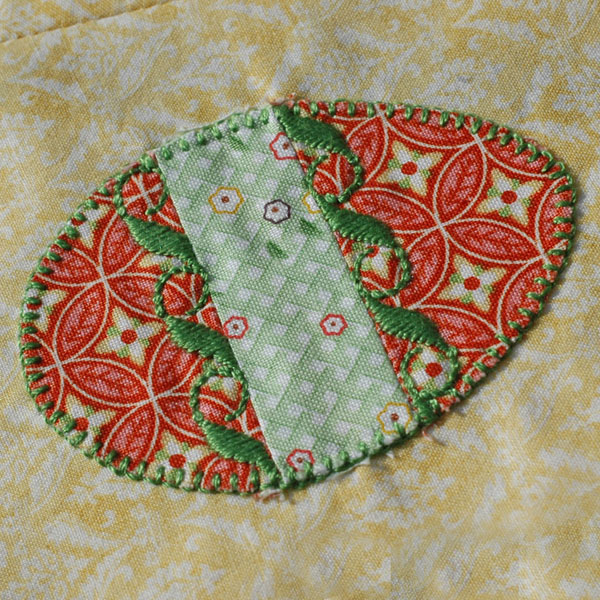
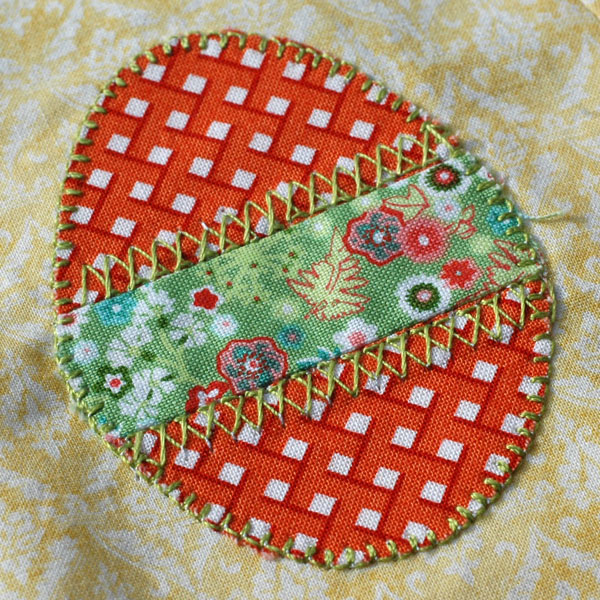
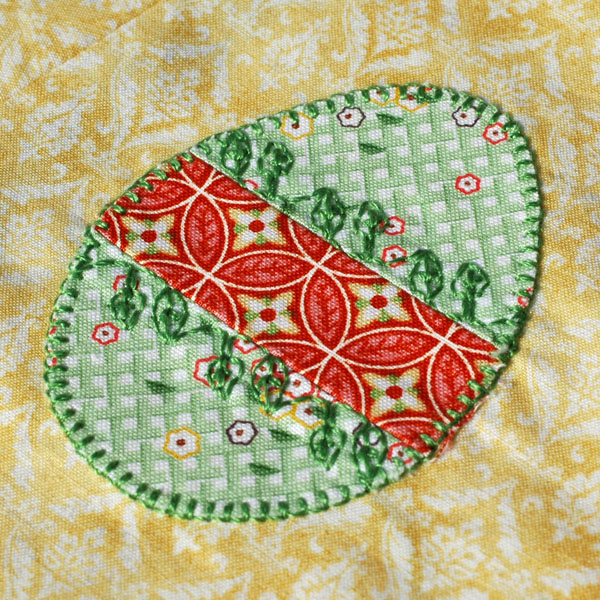
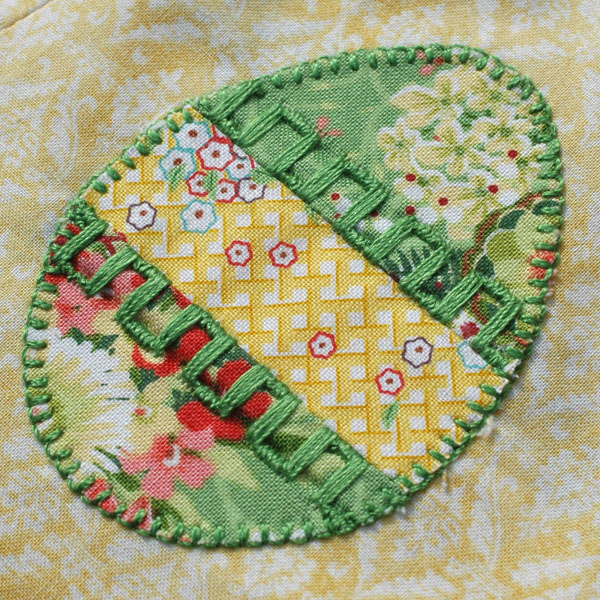
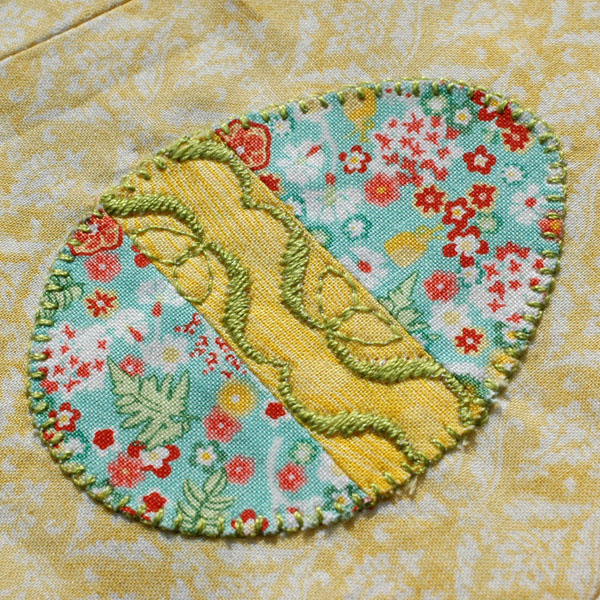
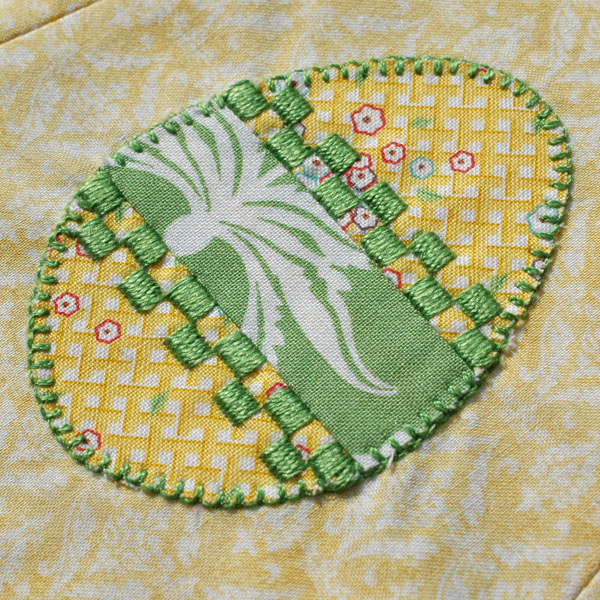
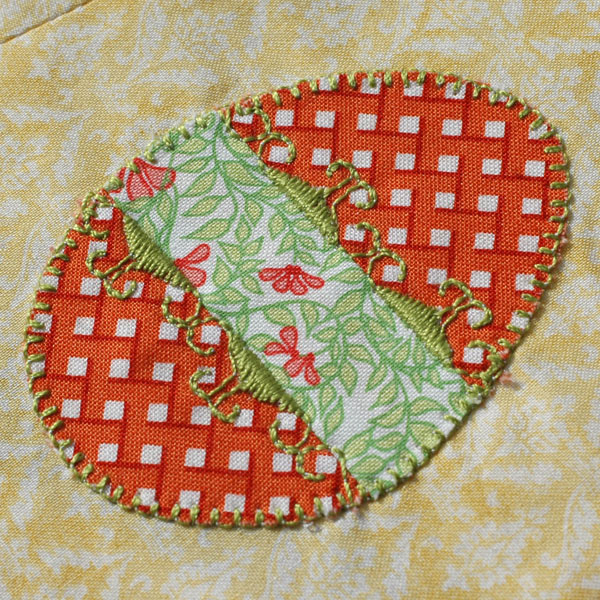
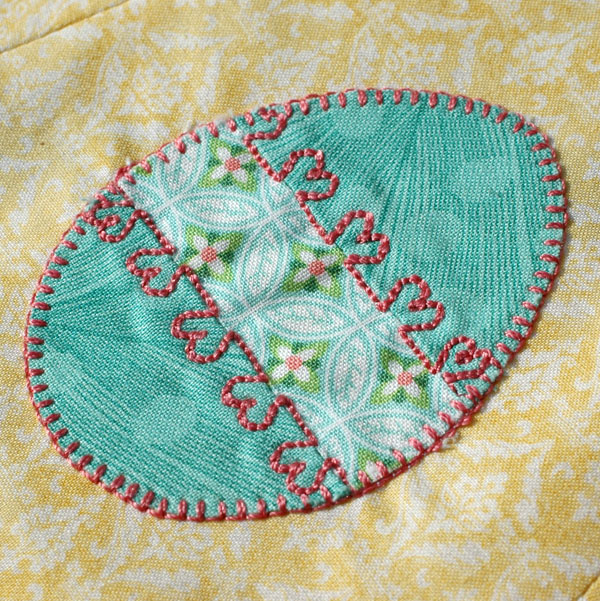
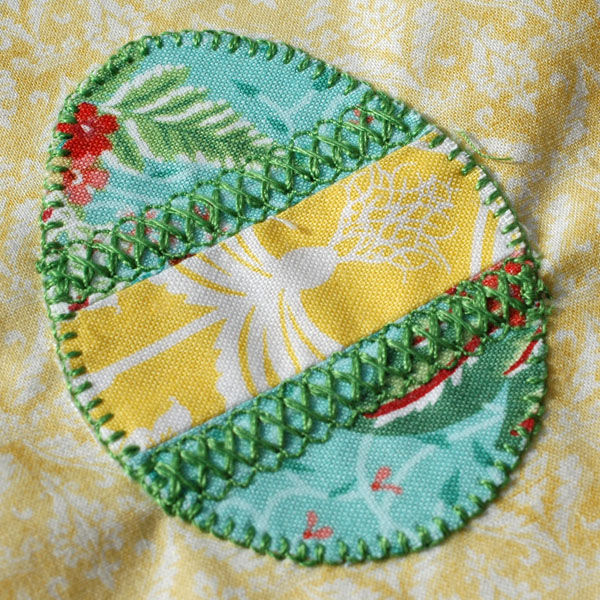
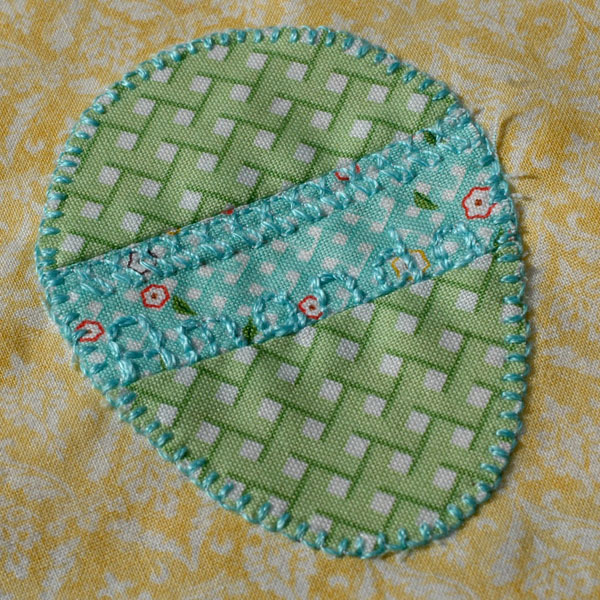
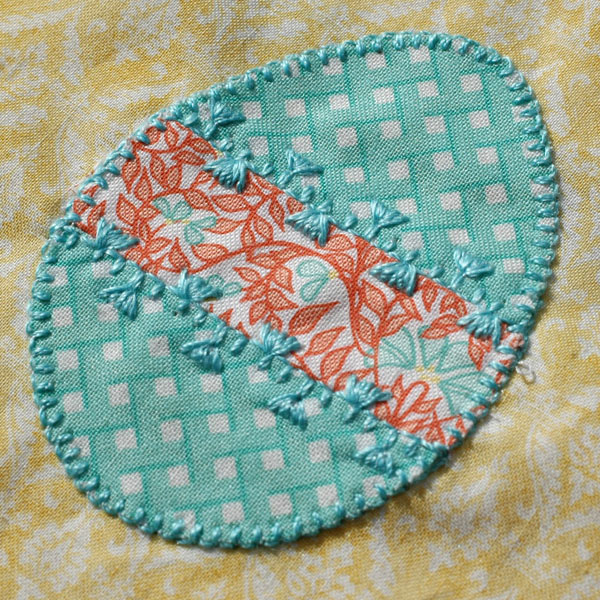
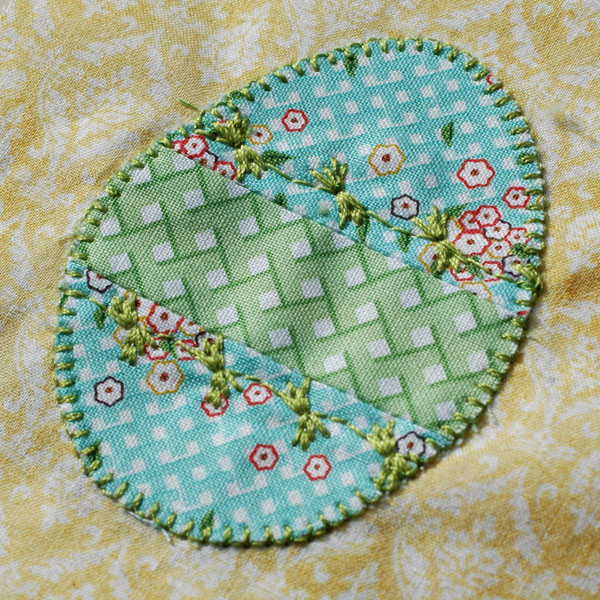
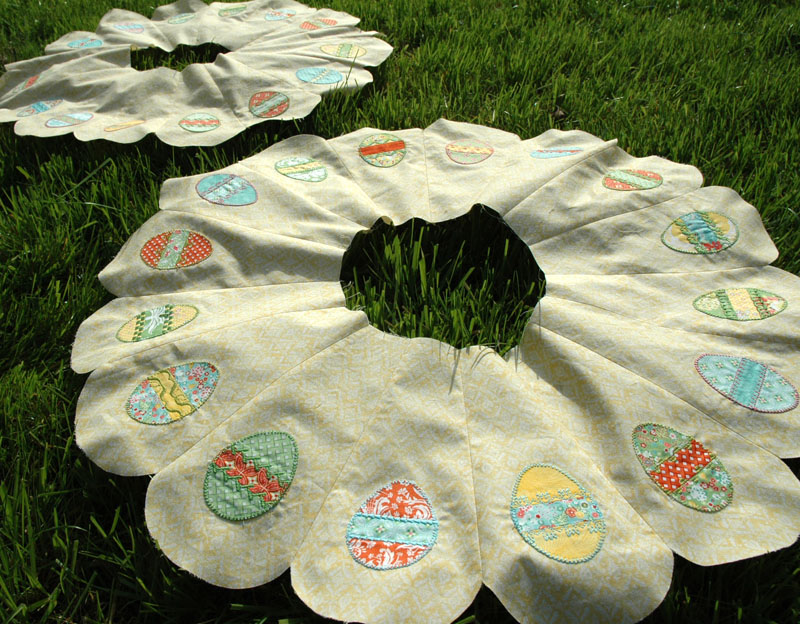
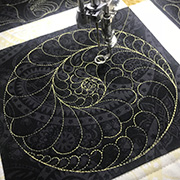
Now, which decorative stitches are good choices? Well, really any will work. I saved the more detail ones for the eggs that have fabrics that read more as solids so that you can see their full effect. I also adjusted the scale of some stitches and the thread tension on all. Since I’m making two table toppers, I tried a lot of stitches! No two eggs are alike.
To save you time I took lots of pictures. Note that the stitch numbers correspond to the stitches on my new baby – the Bernina 580e (yes, I drool every time I think about that machine!) but you might have similar stitches on your own machine. Also, I took the pictures after I had joined the plates, but it is really much easier to applique the eggs and THEN join the plates, so resist that temptation until your decorative threadwork is done.
 |
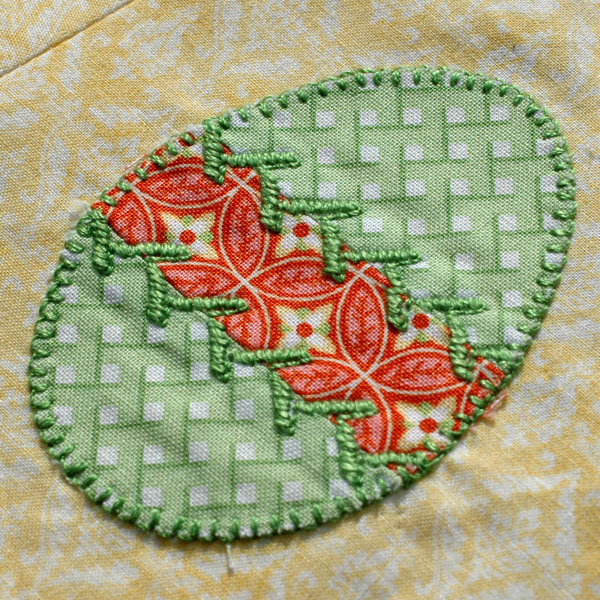
| #431 |
 |
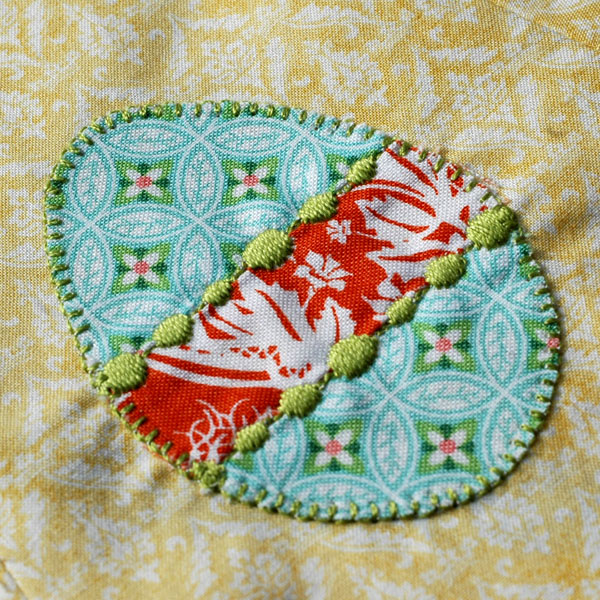
| #1332 |
 |
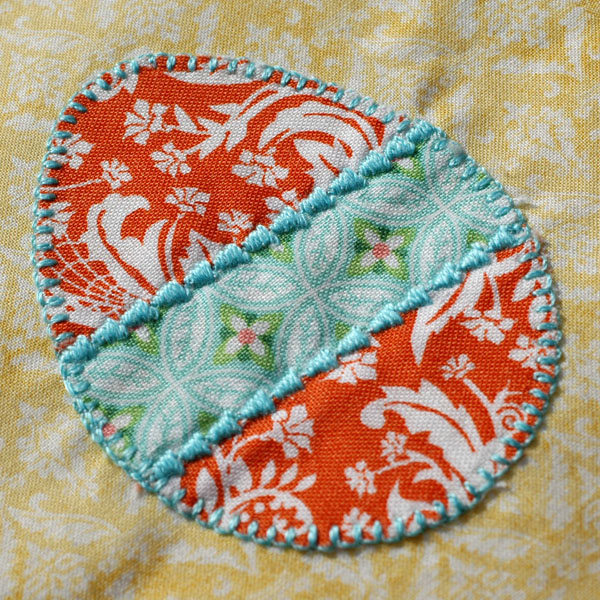
| #407 |
 |
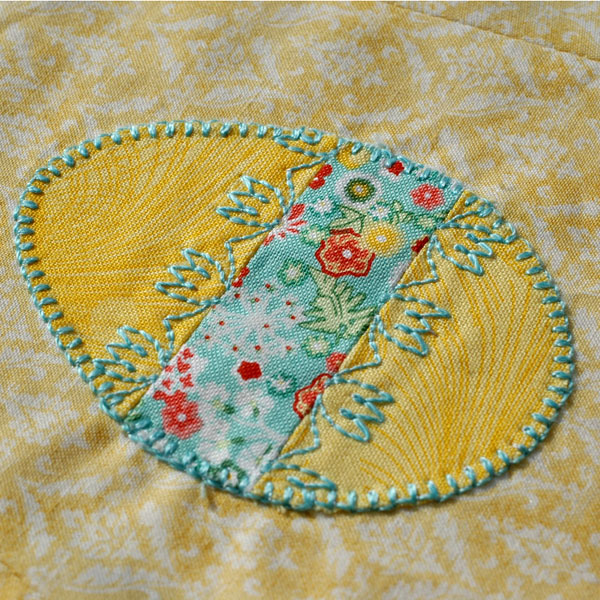
| #416 |
 |
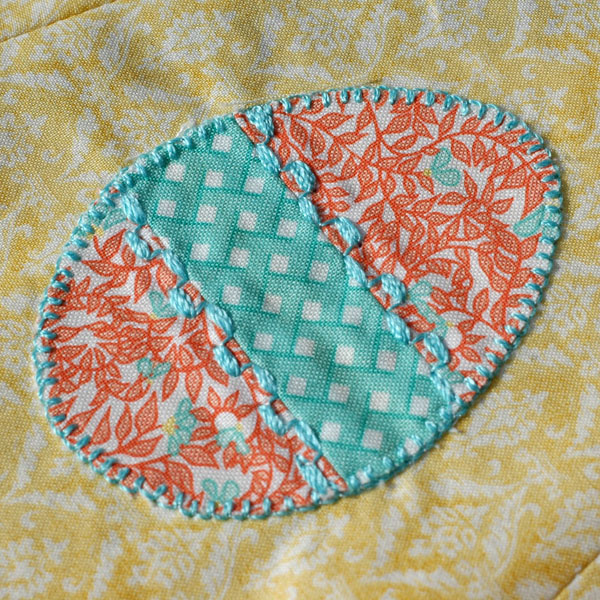
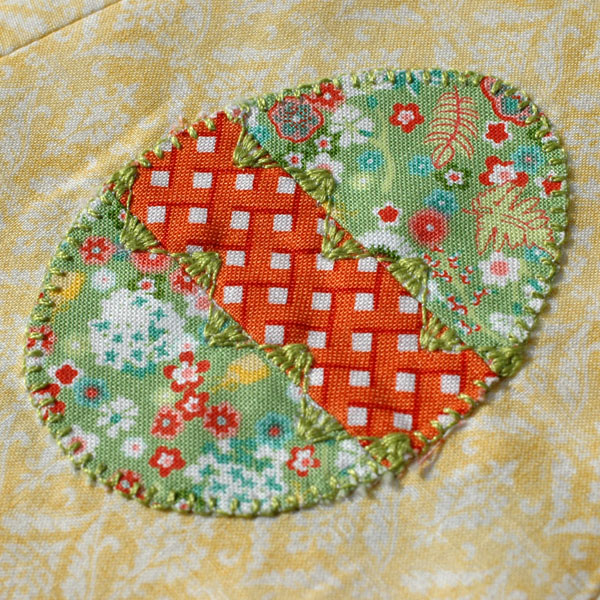
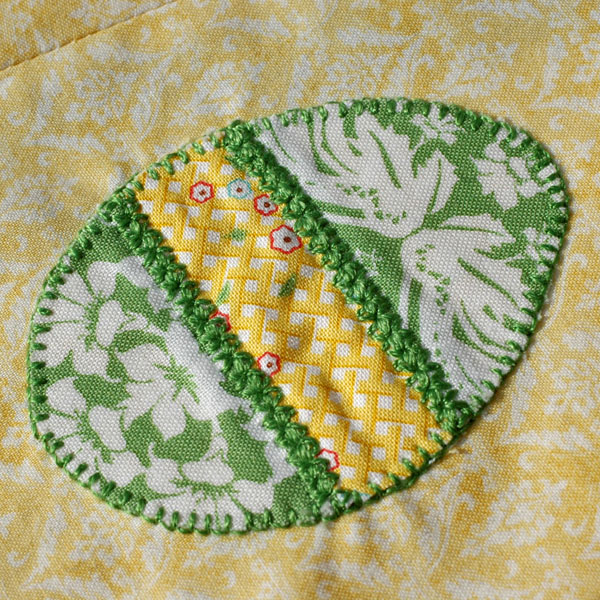
| #147 |
 |
#19 – closed up
I forgot to adjust my bobbin tension – see the grey threads peeking through?
I love the delicate look anyway. |
 |
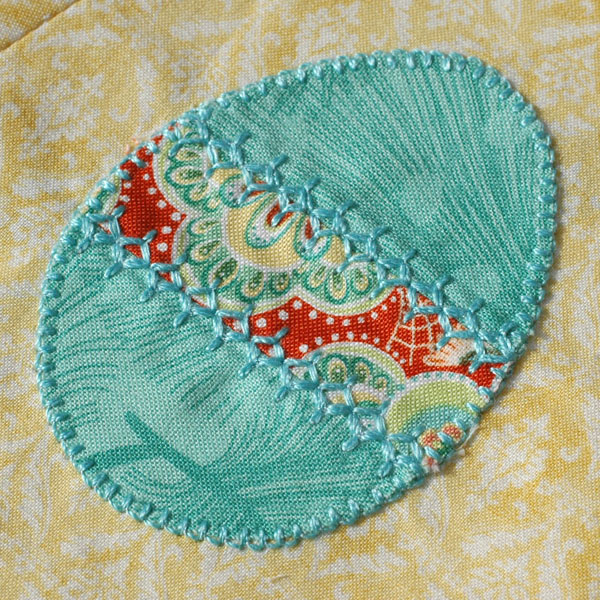
| #111 |
 |
| #411 |
 |
| #427 |
 |
| #1332 |
 |
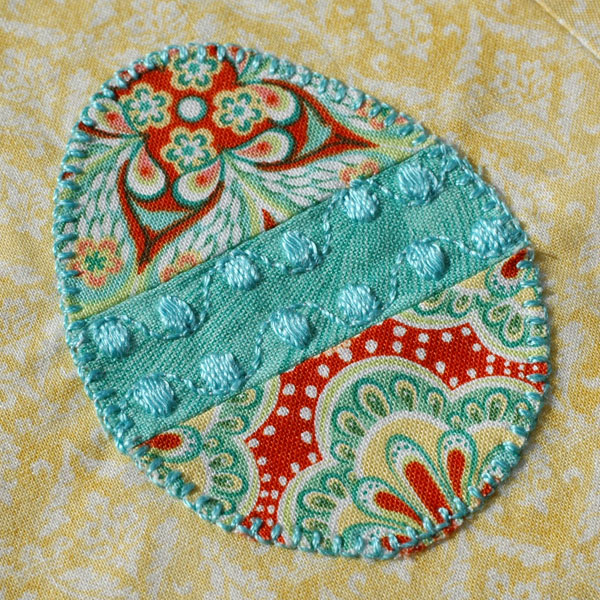
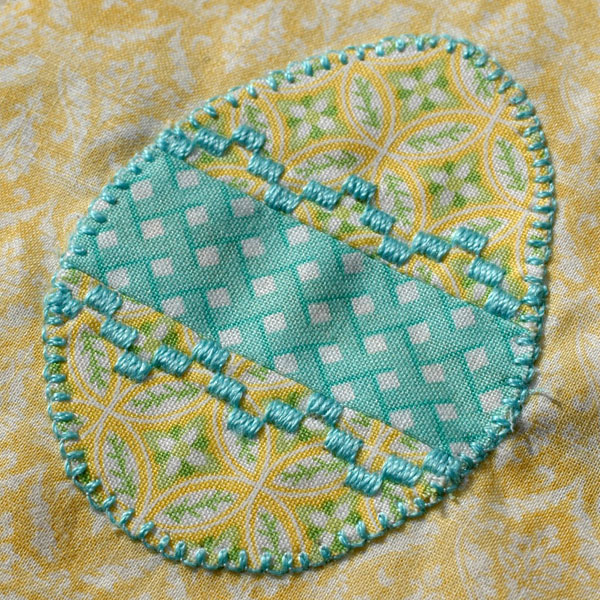
| #723 |
 |
| #709 |
 |
| #307 |
 |
| #473 |
 |
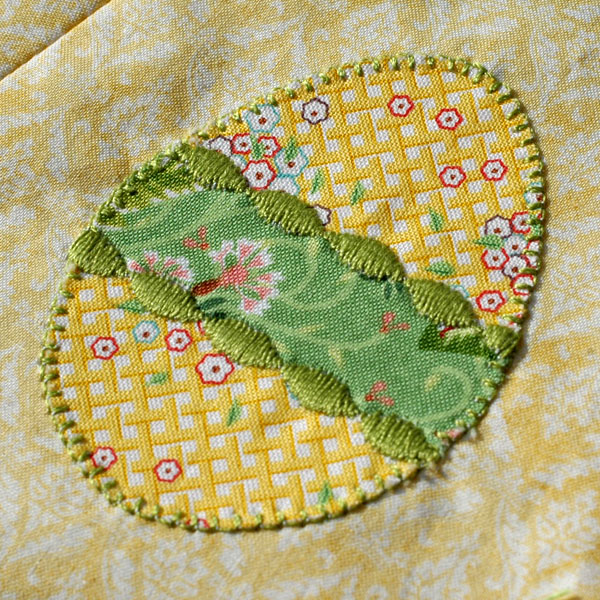
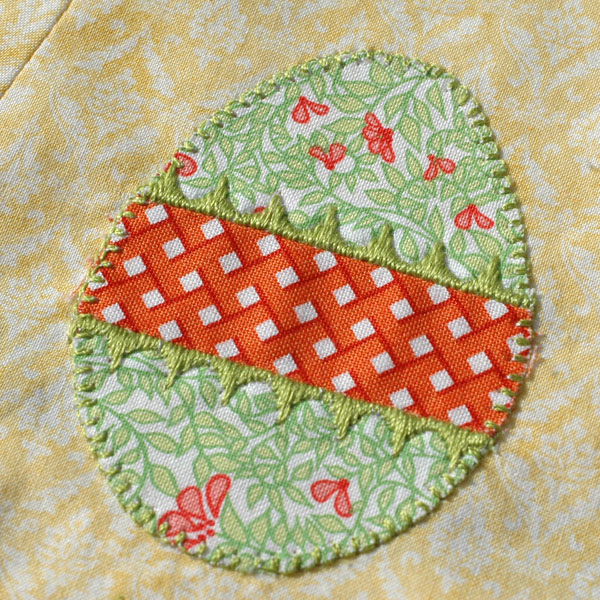
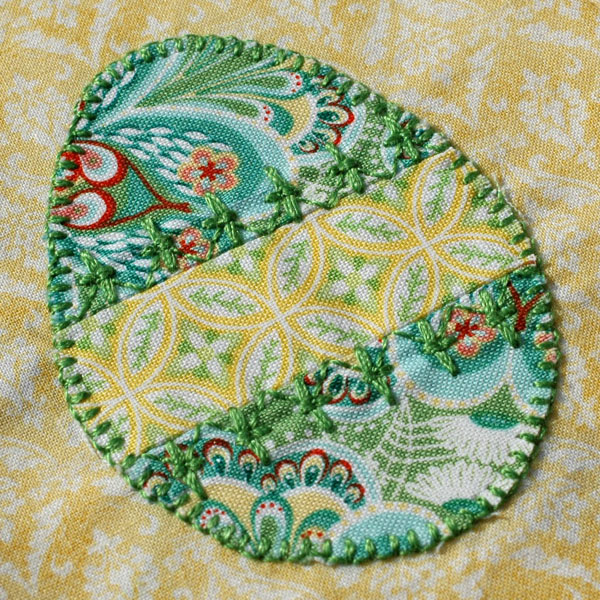
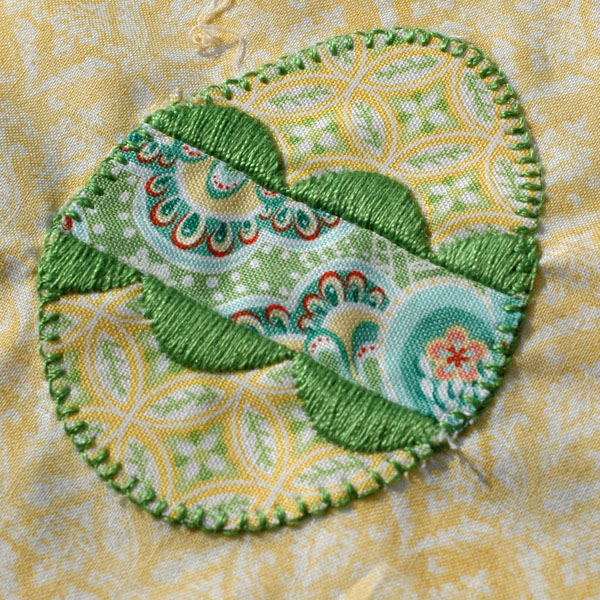
#107 and #719
This is a good example of a more complex stitch looking best on a solid… |
 |
| #417 |
 |
| #429 |
 |
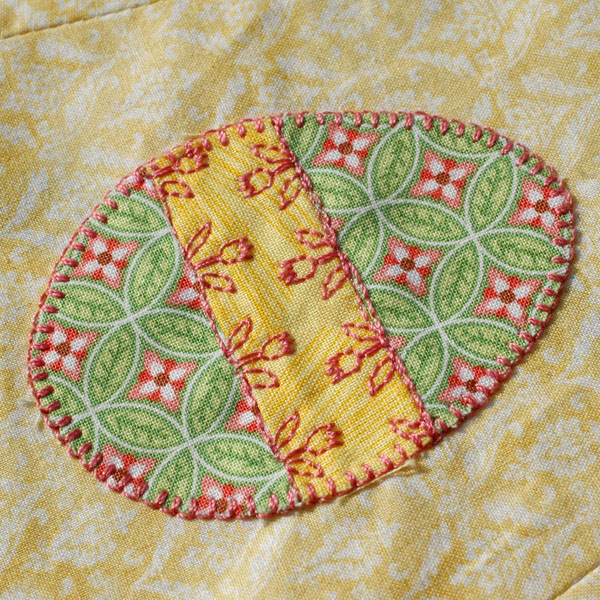
| #13 |
 |
| #905 |
 |
| #104 |
 |
| #401 |
 |
| #461 |
 |
| #450 |
 |
| #405 |
 |
| #437 |
 |
| #712 spaced out – really like this one… |
 |
| #701 |
 |
| #136 |
 |
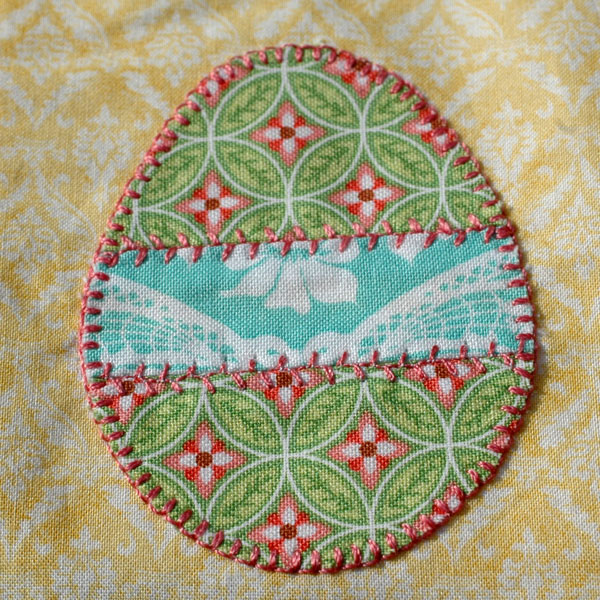
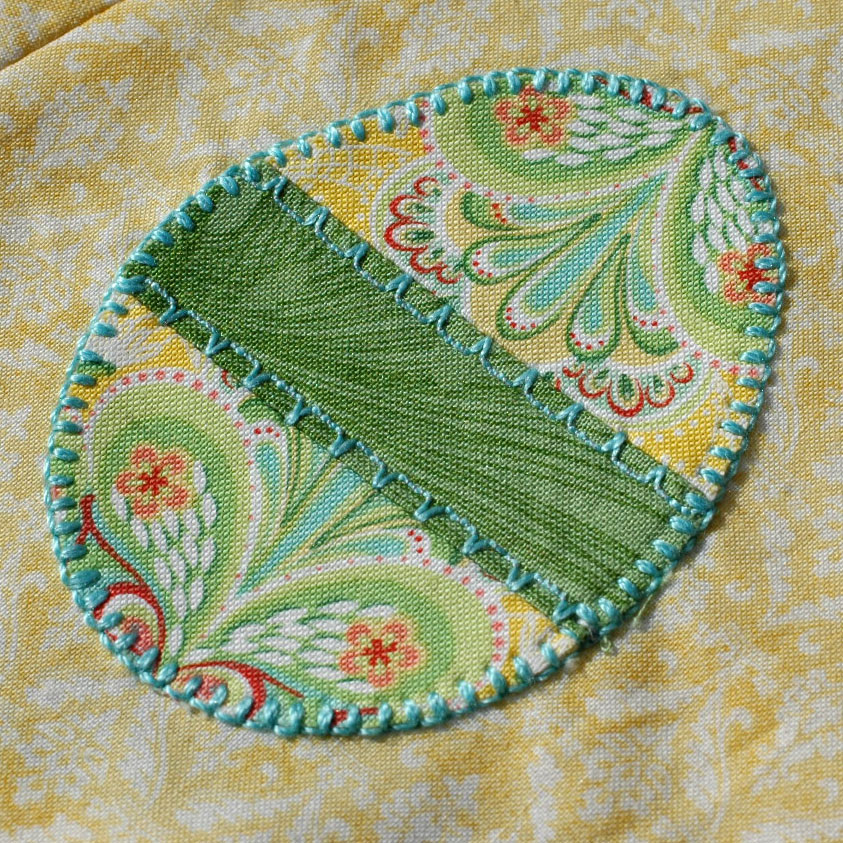
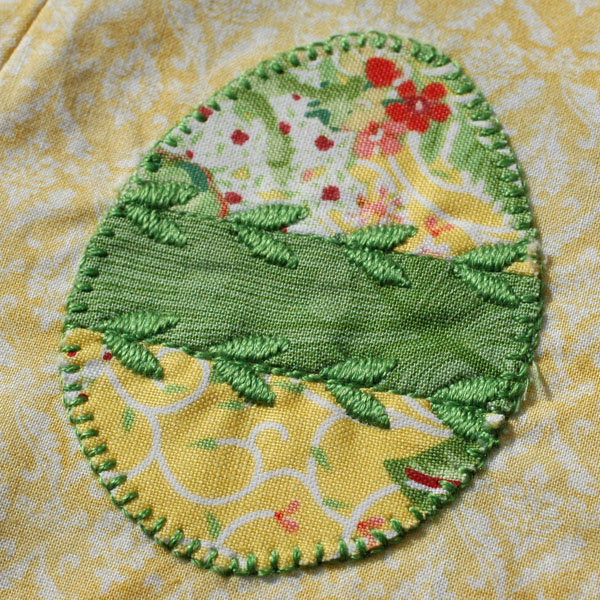
#101
Another good example of a complex stitch on a solid.
Think about whether you want your stitches to run in the center
or outside of the contrasting band of fabrics. |
The following eggs didn’t make the final cut…
 |
#422
Love the stitch, but would have preferred thread with more contrast |
 |
#426
EEEEK! I forgot to adjust the scale of the stitch! |
 |
#309
I love the lacy look, but just didn’t have somewhere to place this. |
 |
I had the brilliant idea to put lettering as a signature
across one egg, but I stitched it upside down so you
could only read it if you were standing in the middle
of the Table Topper. Details… |
 |
#630
Wish I had burnt orange thread. |
 |
| #904 |
When you have finished decorating your eggs, arrange 16 Dresden Plates together in a circle. Join their long edges, using a 1/4” seam.
Next time we’ll work on the center panel.
Happy sewing!
Amanda
Happy sewing!
Amanda