Sundance Quilt: Part 6

Posted on 3 Comments

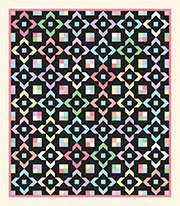
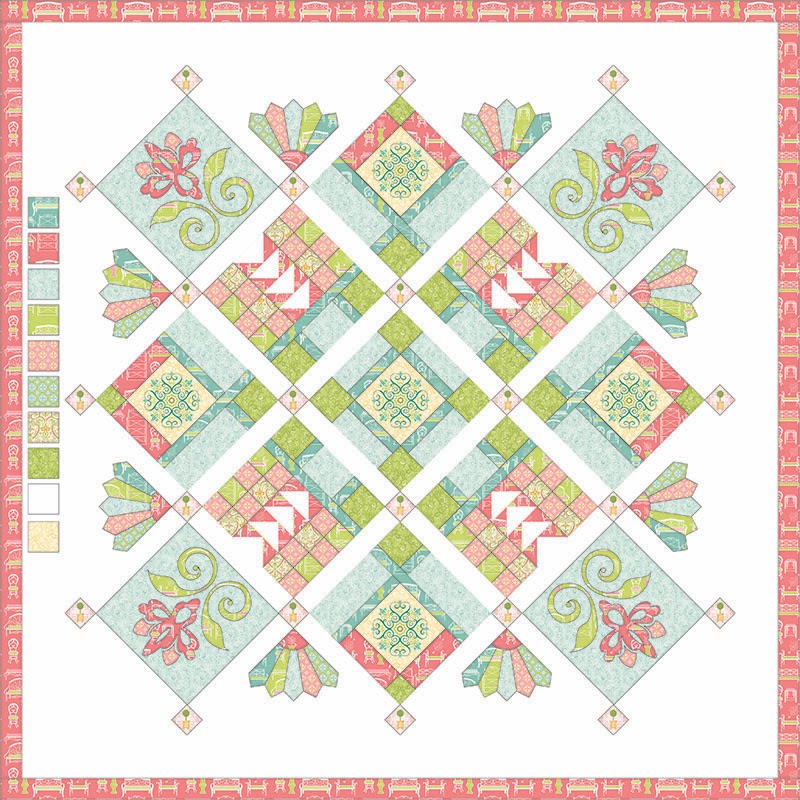
This weekend I made my Dresden plate blocks for my latest version of the Sundance quilt, directions for which available through your local BERNINA dealer.

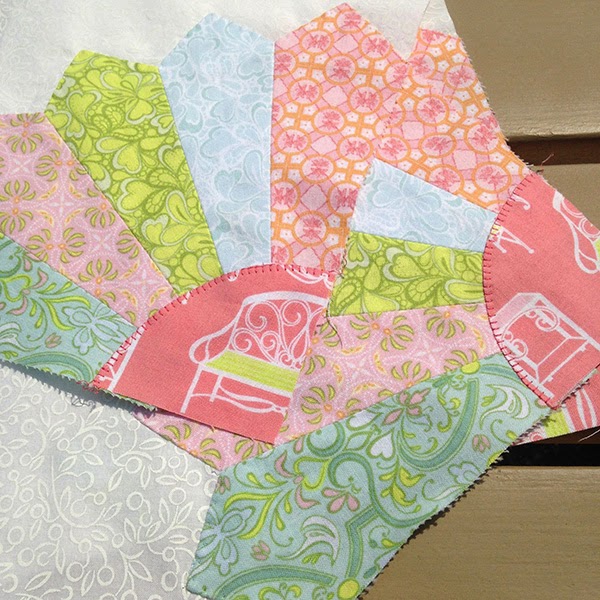
As you can see, these plates flank the sides of the quilt, which is set on point, so the plates are actually applied to large quarter square triangles.

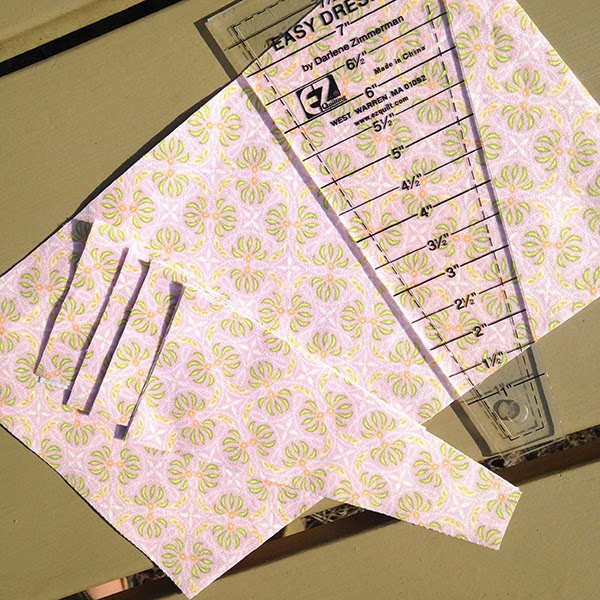
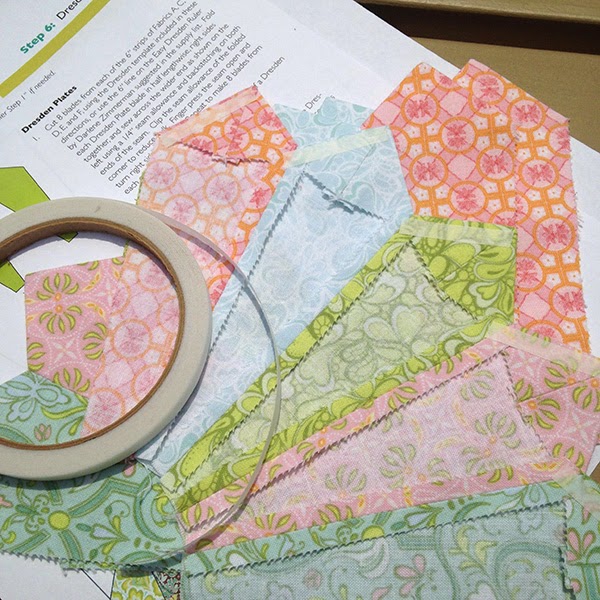
First I cut a 8 plates from each of five fabrics.  You can use the template provided, but if you happen to have Darlene Zimmerman’s Easy Dresden Ruler, you can use the 6″ mark to cut the plates as well.

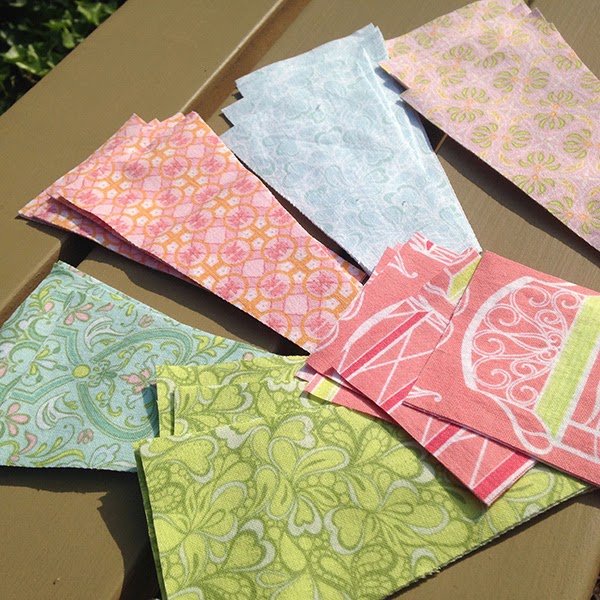
Note that I changed some of the fabrics for the plates from the original plan.  I like to sew with pre-washed fabrics and I didn’t have enough of some of those already washed so I took a shortcut and opted to switch out some of the fabrics to others from my Topiary line for Blend Fabrics instead!

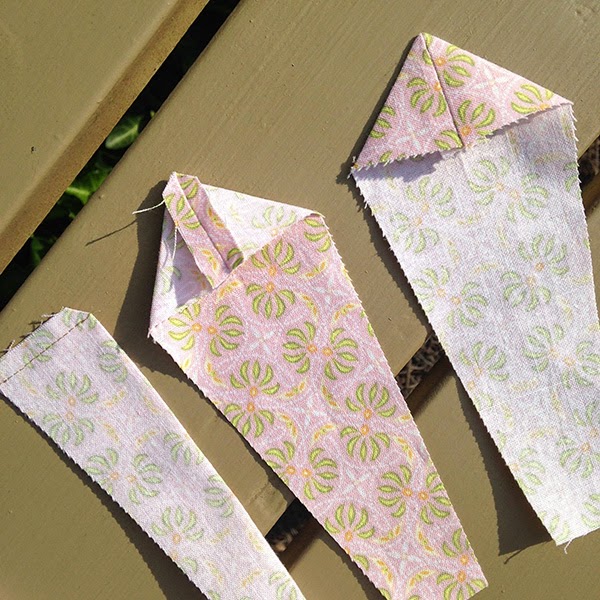
Chain-piece the ends of the plates – I like to backstitch at each end.

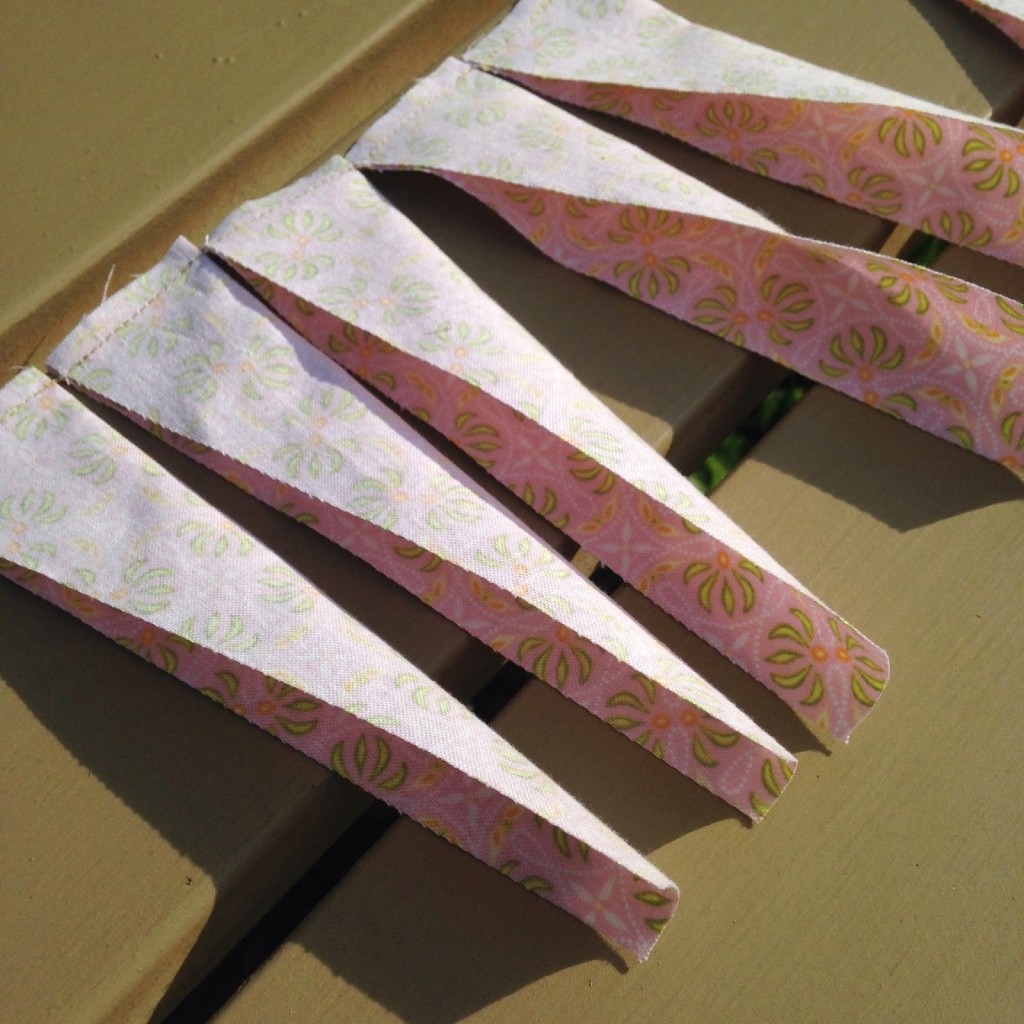
Clip off the excess fabric at the corners, press the seams open, and turn the plate right side out.  Press, centering the seam.

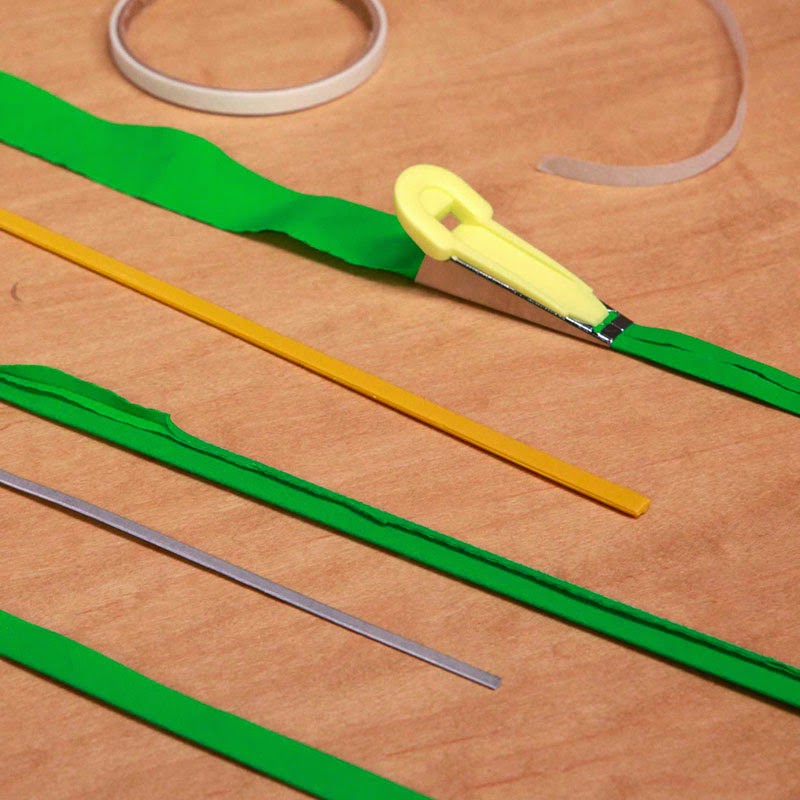
Join the plates, pressing the seams open.  I like to fuse a little piece of Steam-A-Seam tape onto the edges of the Dresden because I find it is a more secure method of securing the plates when I sew.

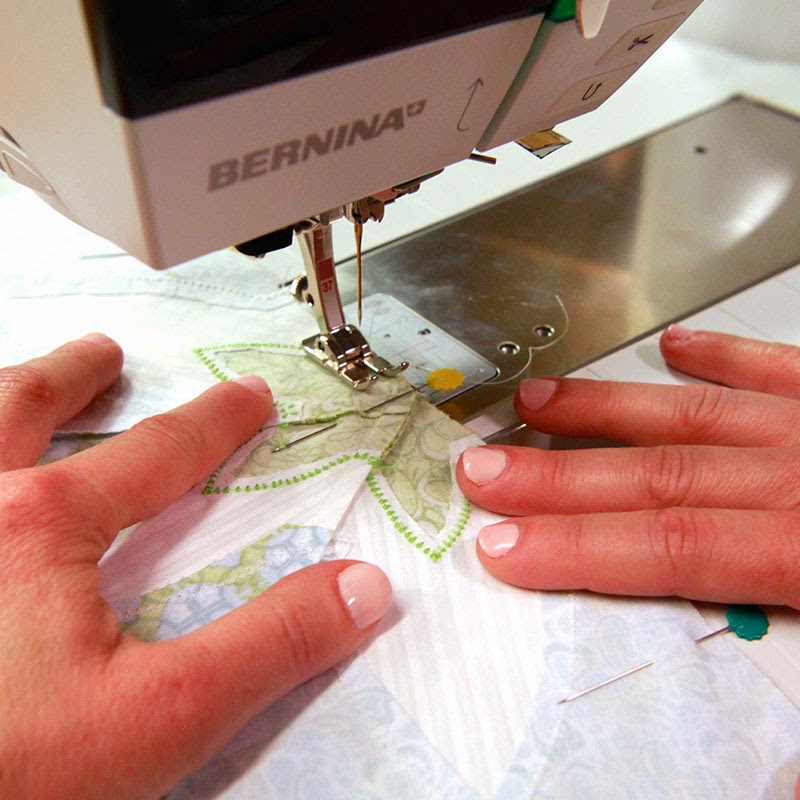
Remove the tape’s paper backing and fuse it down onto the background triangle, being careful not to stretch the triangle’s bias edges!  Use the background fabric to align the quarter circle before trimming it away to reduce bulk.

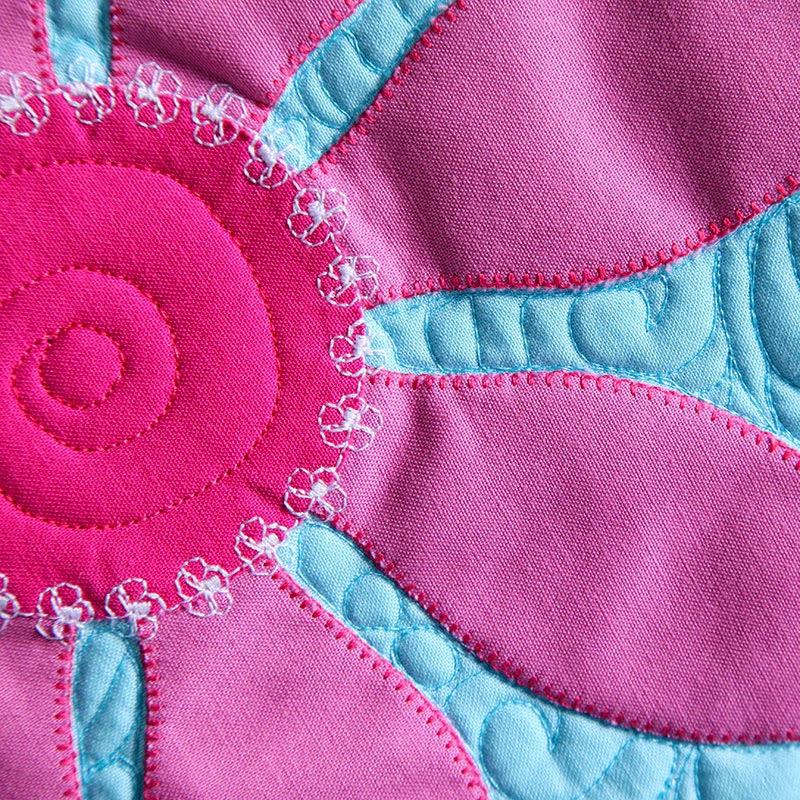
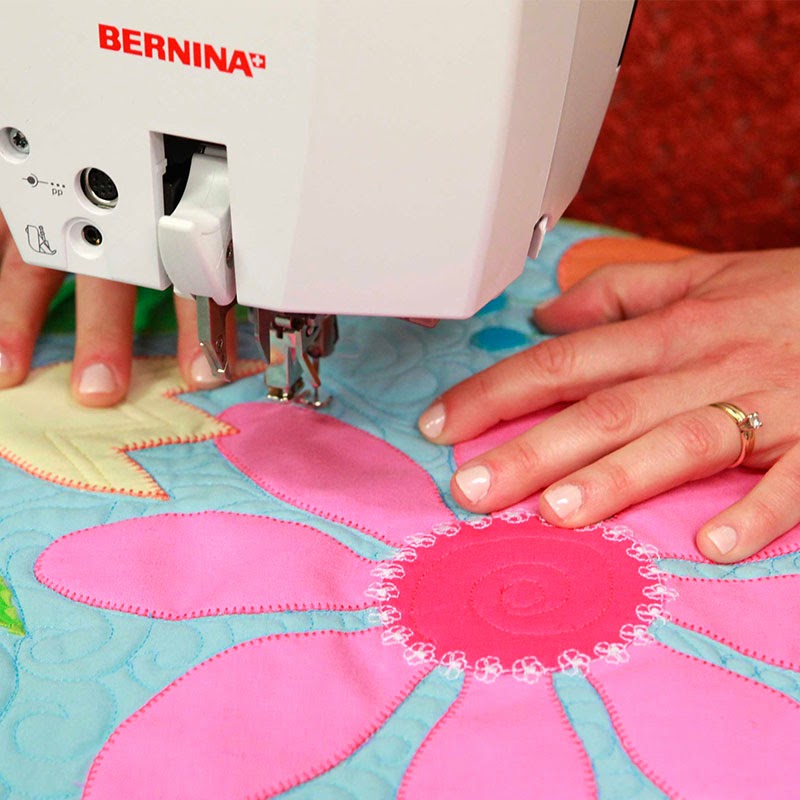
Appliqué the quarter circle.  Pretty simple!

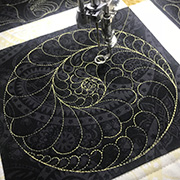
I’ll be back after Market to piece the quilt top together.  I’m waiting to quilt this one on a BERNINA long arm – I can’t wait!

If you are sewing along be sure to post your progress on Instagram using the hashtags #berninausa #sundancequilt.

Hope you enjoy the last days of summer!
Amanda

Some thoughts on Social Media…

Posted on 21 Comments

Note: This is a very different post for me.  I normally don’t post my thoughts about these types of things online… but these issues have been on my mind in recent weeks.  If you just want to quilt, please skip this post!

Hi everyone,

The quilting community has heavily embraced social media and it has been a really great thing.  It is seems strange that something so big and all-encompassing has actually made the world seem like a smaller place, but I think venues like Instagram and Facebook have accentuated the similarities between us all.  We’ve seen amazing things happen on these platforms that couldn’t have happened ten years ago, from people sharing creative ideas and thoughts to online communities providing support to those who have been sick or are going through a particularly tough time. It has been nothing short of incredible.

But having a teenage son and daughter has caused me to think about the influence of social media a lot lately.  Our kids are growing up in an age where every aspect of their lives is public in a way they probably won’t realize for years to come.  And while the “selfie” phenomenon can be fun, its overuse is disturbing.  What does it say about our society, or even about the way our daughters (especially) perceive or choose to project themselves?  Comments like, “You’re perfect!” followed by “You’re more perfect” are so perfunctory they are almost meaningless, and yet their popularity says so much about our times and culture.

A selfie, however well-staged, does not project the totality of who person is.  So, what “post-able things” might be fun to share?

The world around us.  Have you been somewhere amazing lately and just have to share?
Friends.  What do especially value in a particular person or people?  (Not yourself.)
What are your hobbies?  What do you like to do in your free time?
Something funny that happened to you.  (My mother – hi Mom! –  is forever telling people about the time she sat on a frappuccino.  I’d worry about embarrassing her here, but she probably has already told you so no worries.)
Something beautiful that you experience.  Maybe there was a beautiful garden you walked through or a store display that was really amazing?  
Pay it forward.  If you have a great idea for making the world a better place share it!  Maybe this morning you helped someone feel part of a group or maybe they helped you!  Just thinking about these things may start a trend!

If you have teens (or if you don’t) what are your thoughts?  I’d love to hear.

Thanks for listening.  Back to quilting the next time… I promise!  Have a good weekend!
Amanda

“20 Fresh Appliqué Techniques” now on Craftsy!

Posted on 2 Comments

I’m so excited to announce my third class with Craftsy – “20 Fresh Appliqué Techniques!”

As many of you know, I love machine appliqué and all the design possibilities it makes possible.  In this class, I cover the basics you need to achieve beautiful machine stitches and then we move on together to covering more advanced techniques.  You’ll see so many possibilities for incorporating these techniques into your own projects!

We’ll start with my swirl quilt, where we’ll master the blanket stitch on convex and concave turns and inner and outer corners, which is really the secret to great-looking machine appliqué.  This is a quick, charm-square-friendly quilt and all the threads end in the seams so there is no need to knot them!

Next we will tackle my Cutting Garden Runner.

This features two types of appliqué – the large blossoms are appliquéd before joining the blocks and the small blossoms are added afterward.  And you’ll learn how and why to “window” your fusible in this project.

Then we’ll tackle my Flower Power pillow.  This is a companion piece to my Flower Garden pattern (available in Craftsy and in my shop).  We’ll learn how to appliqué with speciality stitches, where to pivot stitches for a beautiful finish, and how accentuate your design with quilting to make it sing!

And along the way we’ll learn three different methods you can use to create bias bars…

Finally, we’ll add extra dimension to my Hawaiian Table Topper design using a Trapunto technique.  It is so much easier than it looks and you’ll find uses for it in all sorts of projects!
And I’ll teach you how to “face” an unusually shaped project along the way.
The projects are small and quick and make great gifts – and you’ll learn lots of new things along the way.
I hope you will joint me in “20 Fresh Appliqué Techniques”!  
Happy sewing!
Amanda
P.S.  Ann.ost was the lucky winner of the Craftsy class.  Congratulations, Ann!