It has been a blur of activity here this week.

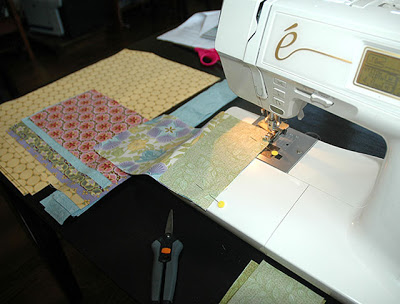
(I find this picture so funny. Considering there are three pairs of scissors on the table – one just out of the image area, I really should be able to find my scissors more easily than I do!)
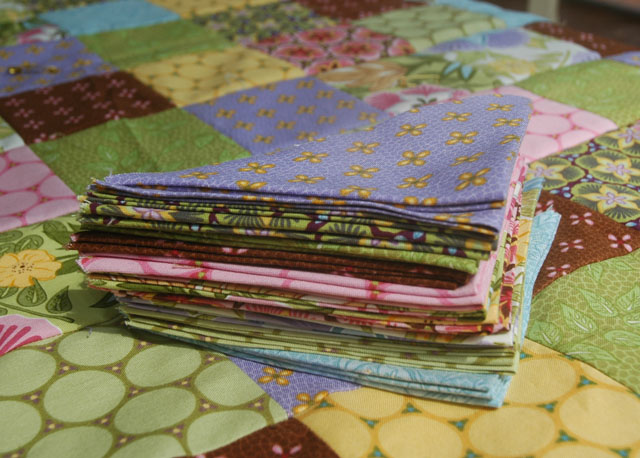
In addition to working on drawings for a new line for Robert Kaufman (and fighting off a cold with the rest of the crew), I’ve been sewing an Ambrosia quilt for a magazine which will be on newsstands later this year. It is a fun, quick-to-piece pattern that you can piece in a weekend that features playful prairie point borders. Now I can’t say which magazine it will be featured in yet, nor can I show you the quilt, but I can show you how to add a prairie point border to this quilt – or any quilt you might be currently working on. My model/assistant has made this lovely pile of prairie points for me to sew into the border of this quilt.
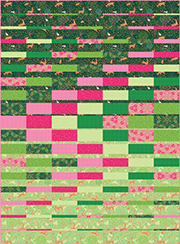
In case you aren’t familiar with prairie points, they are triangular pieces of fabric that are sandwiched between the layers of a quilt at its edges, forming a decorative border. (They can also be sewn into seams within a quilt for an entirely different look.) Typically you see prairie points used in conjunction very traditional pieced or appliquéd blocks, but I love how they contrast with the simple lines of many quilts that are popular today. They are also a perfect fit for baby quilts – babies love to play with the folded fabric that peeks out from the border. I used prairie points on my “Circus Parade” pattern for Laurie Wisbrun’s Urban Circus line for Robert Kaufman.

This 48″ x 66″ pattern is free at the Robert Kaufman site and is a great fit for these playful animal prints. You can fit 12 (4″) prairie points across the top and bottom of this quilt, provided they don’t overlap. Heidi Pridemore, who wrote the instructions, suggests that you sandwich the points between the quilt top and backing, right sides together, layer it with batting, and stitch around the edge with 1/4″ inch seam allowance, leaving an opening to turn it right side out. This is the perfect way to finish a quilt of this size. More on how to make points that finish 4″ at the base later…
If you are dealing with a large quilt, or dimensions that don’t divide up evenly with ease, you can also use another technique. The quilt I am working on is 72-1/2″ wide. I’d like to run prairie points across the top and bottom of its borders. The first thing I have to decide is the size of the prairie points. A good rule of thumb is look at your blocks and size your prairie points accordingly. My blocks for this quilt are large. In fact, I have cut several 6-1/2″ strips to make this quilt, and I have leftovers that I can use for the points. So, my prairie points will be made out of 6-1/2″ squares. Once I fold them and subtract 1/4″ at each end for the seam allowance, I am left with a 6″ base for my finished prairie points. (Always add 1/2″ to your desired base dimension to figure out how large to cut your fabric.) If I divide up my 72-1/2″ edge by 6″, I come up with 12 points per edge.
But what if your border dimension doesn’t divide up evenly with ease, or, what if, like me you’ve decided to have your points overlap for more visual interest? To accommodate this, I am going to add in about 3 points for a total of 15. Those 3 extra points (6″ wide each) measure 18″ total at their base. That 18″ will be absorbed by the overlap between the points. There are 15 points and they overlap in 14 places on the border (they don’t overlap at either edge), so I divide up the 18″ by 14 and I come up with about a 1-1/4″ overlap.
So, that is how you calculate the size and number of points you need for a prairie point quilt.
Now on to making the prairie points. Take your fabric square and fold it in half diagonally and press, matching corners. Take the triangle and fold it in half again. Press. (I like to keep a small spray bottle full of water nearby for this step to give the point a nice, crisp finish.)

That’s it! Next lesson, I’ll show you how to attach them on the edge of your quilt. Have a great week!
Amanda