Hi everyone,
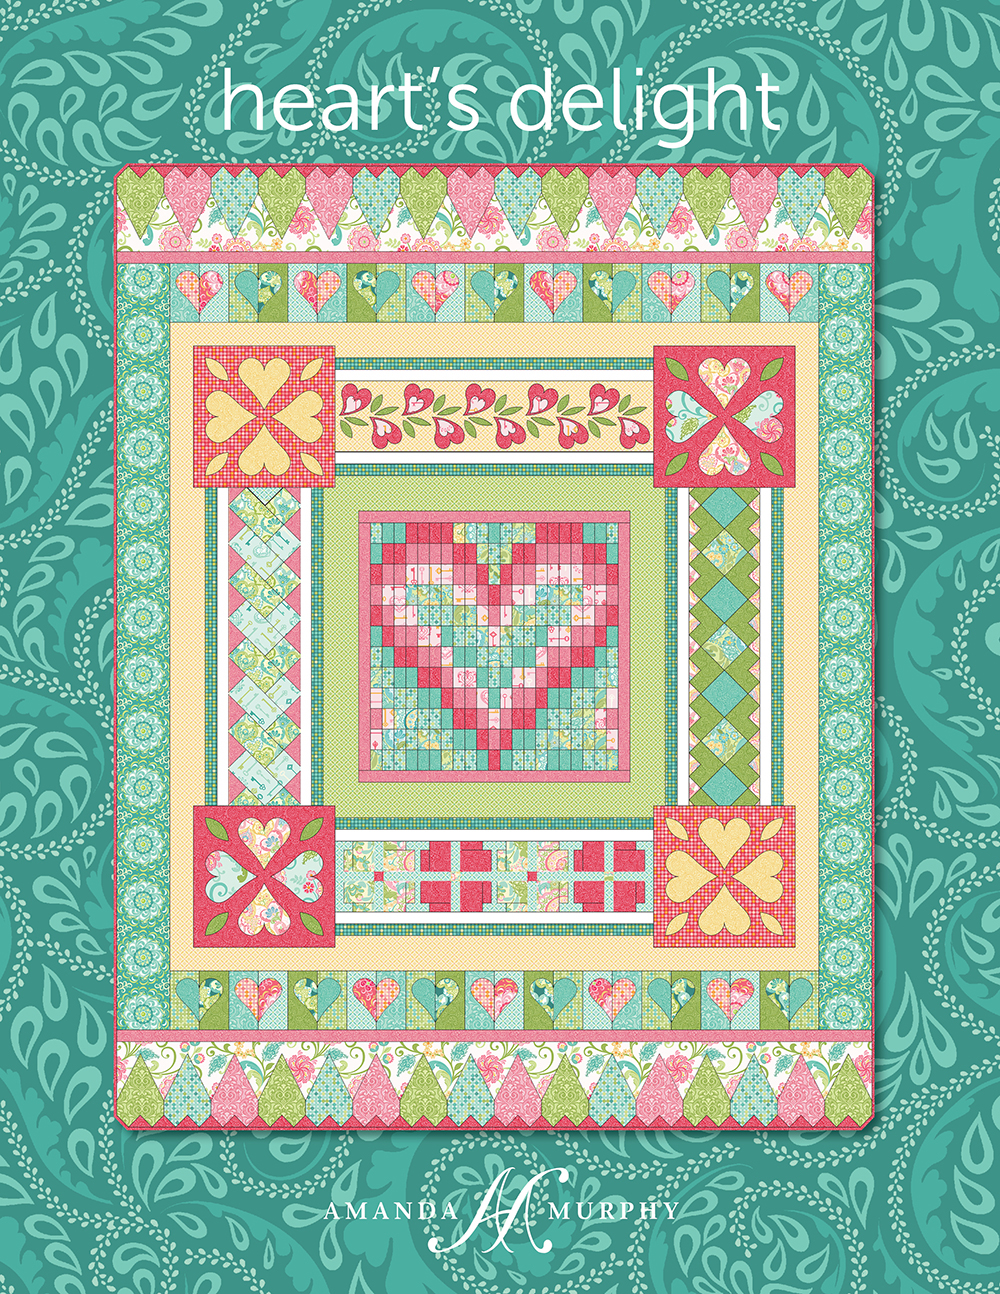
Hope you are having a lovely fall! I’ve been teaching a lot of quilting on the BERNINA Q Series quite a bit over the past couple of months and I usually bring a trunk show along with me. One of the questions I get asked most is how I chose the different quilting motifs on Heart’s Delight, my block of the month for Carina. So I thought I’d take a minute to tell you more about the process.
I do usually start out with a general quilting plan, but I frequently change things alone the way. So, I knew that I, in this case, I wanted to use paisleys and petals and soft shapes, but contrast them with straight quilting lines as well. Just like the piecing really.
The first thing I decided was the thread color. I like quilting with Aurifil 50 wt. cotton but time was of the essence (after all, it was less than a week until Market) so I opted for Aurifil monofilament in the top and Aurifil 50 wt. in the bobbin so that I wouldn’t have to change out colors. I have a large spool of the monofilament that I use both on my BERNINA Q24 and on my 780. When I use it on the 780 I like to use a thread stand to let it unwind, but it works well on both machines. I really love the Aurifil monofilament – it is soft and pliable and not shiny at all – it just sinks into the design.
I started out by stitching in the ditch around all the blocks and elements on my first pass. I stitched in the ditch and added some of the larger fills as I worked down the quilt, but I only added the smaller fills once that process was completed. (For more information on fills see my Free-Motion Quilting Idea Book.) If I had been quilting on a domestic machine, I would have chosen to stitch in the ditch between all the blocks and around the appliqué motifs, etc. and then added in the fills with my free-motion foot after.
So… block by block my quilting plan evolved a like this:
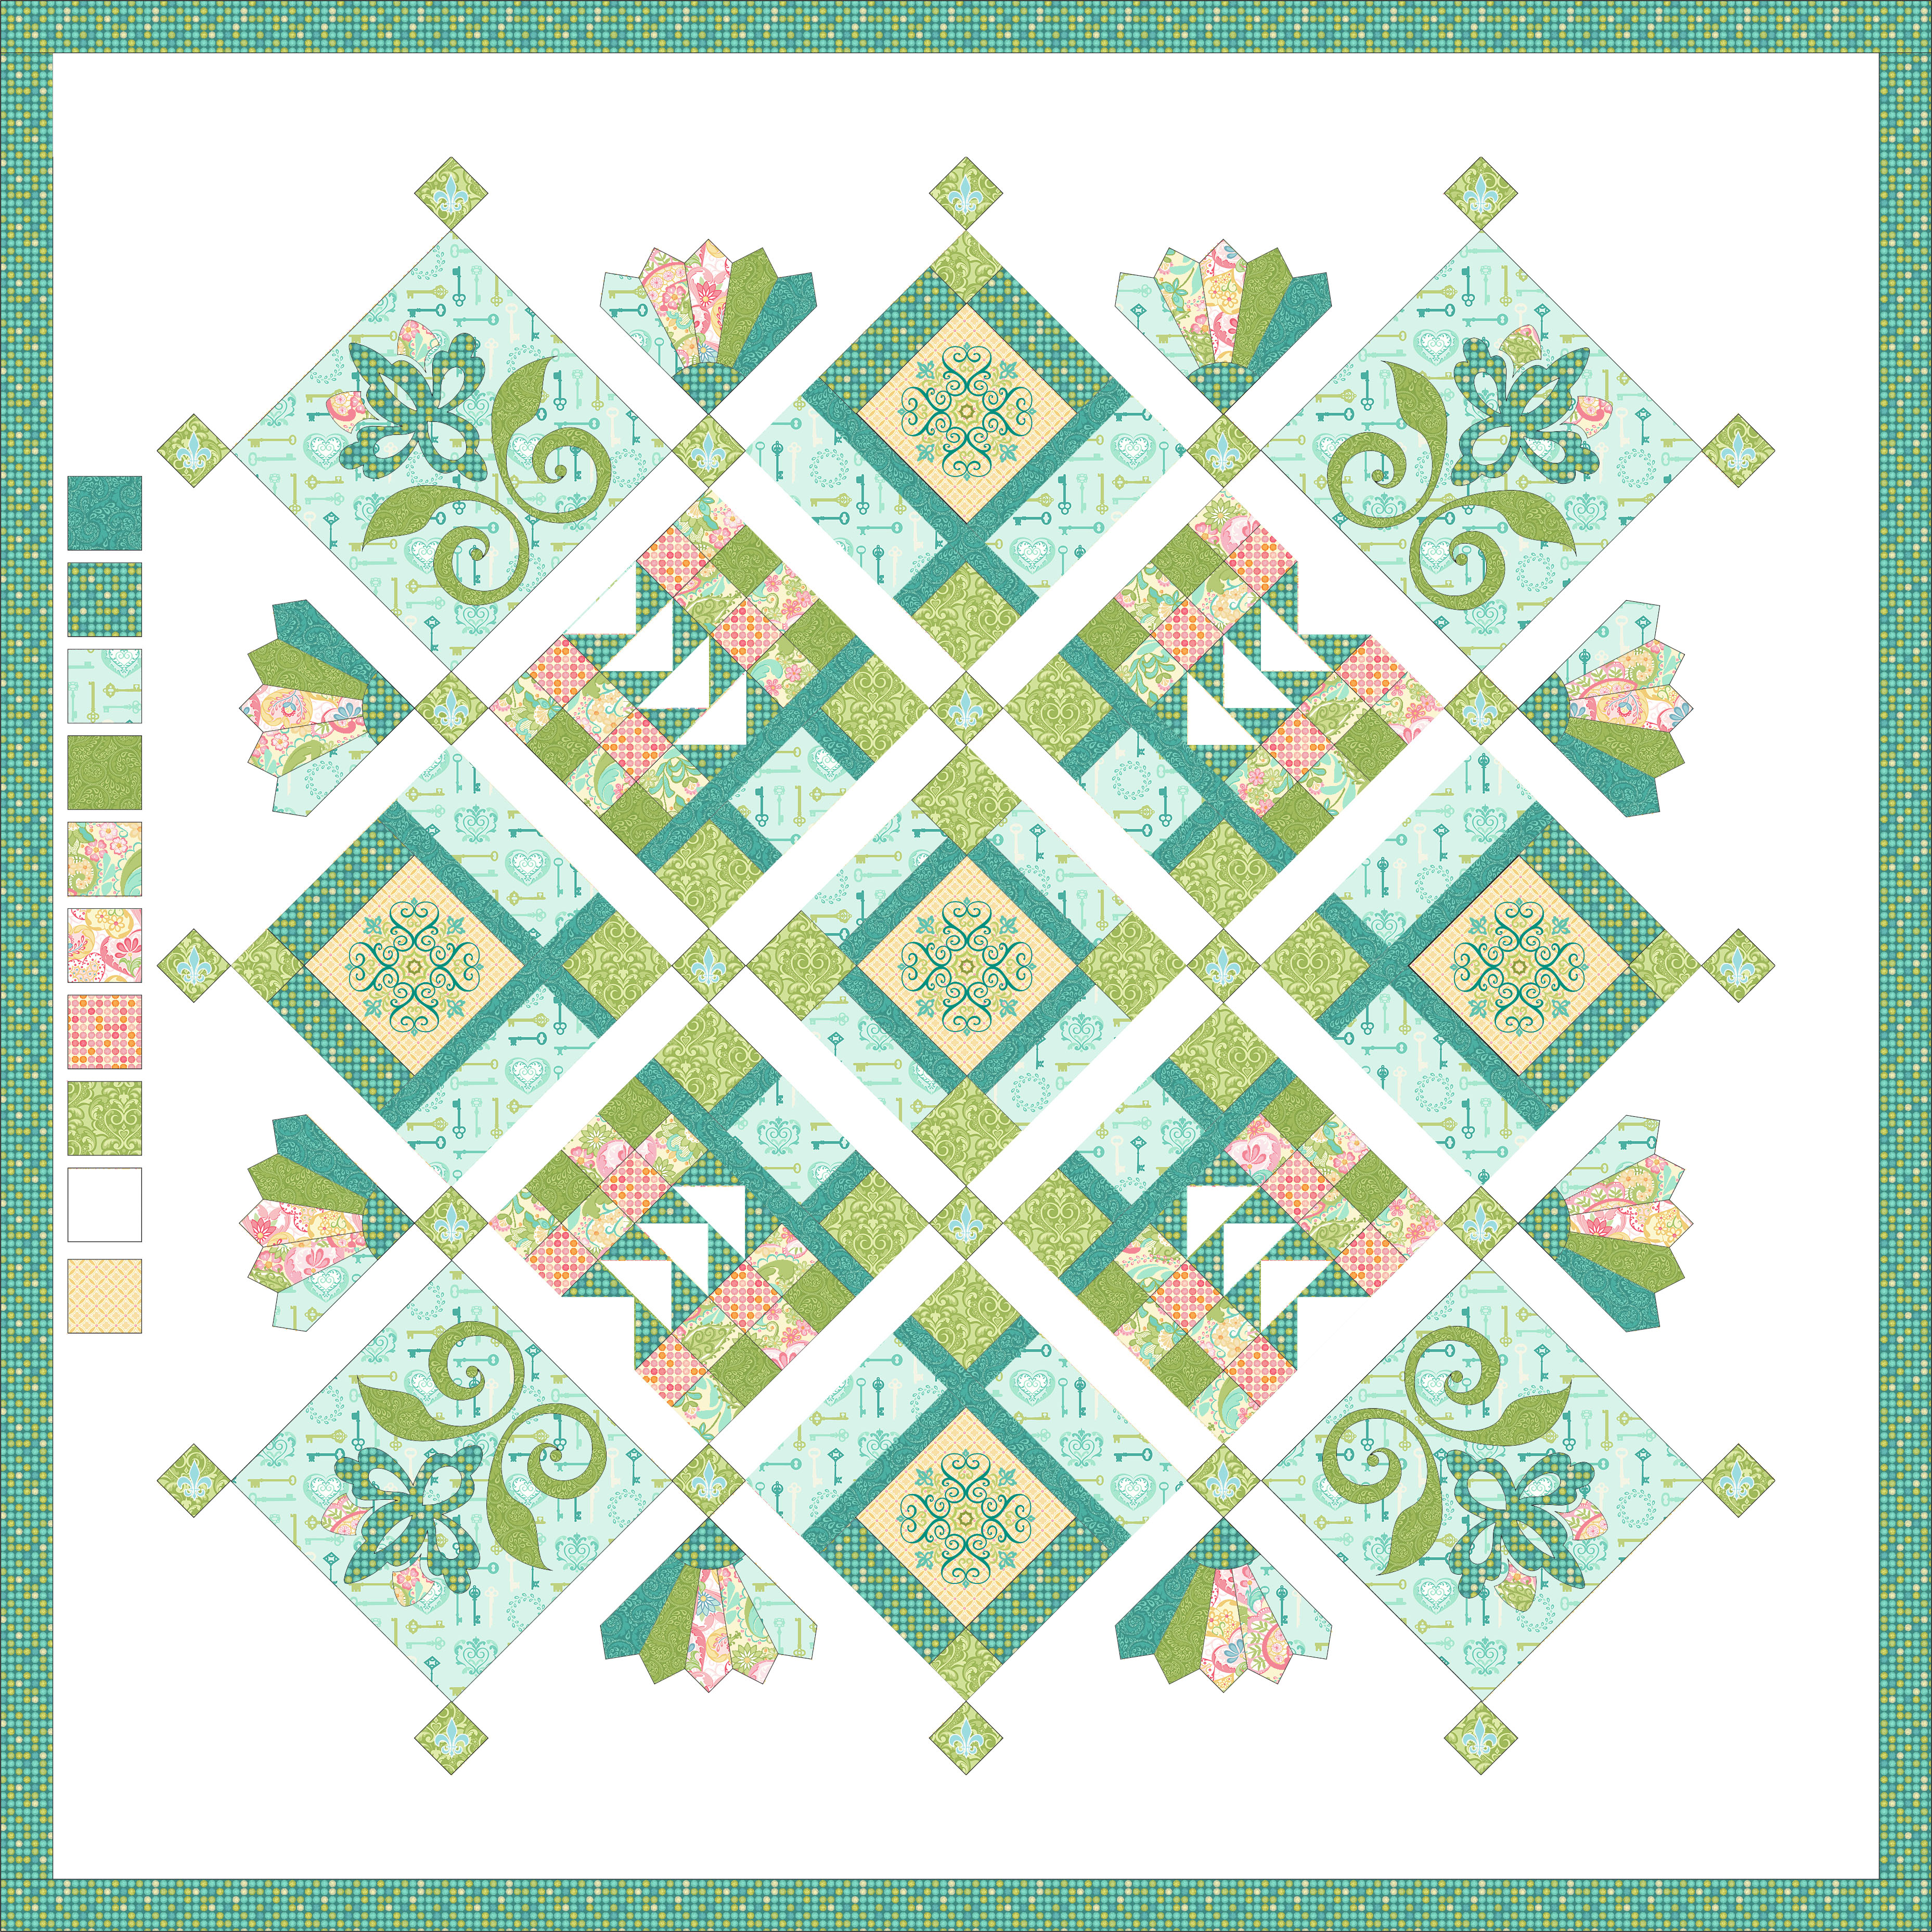
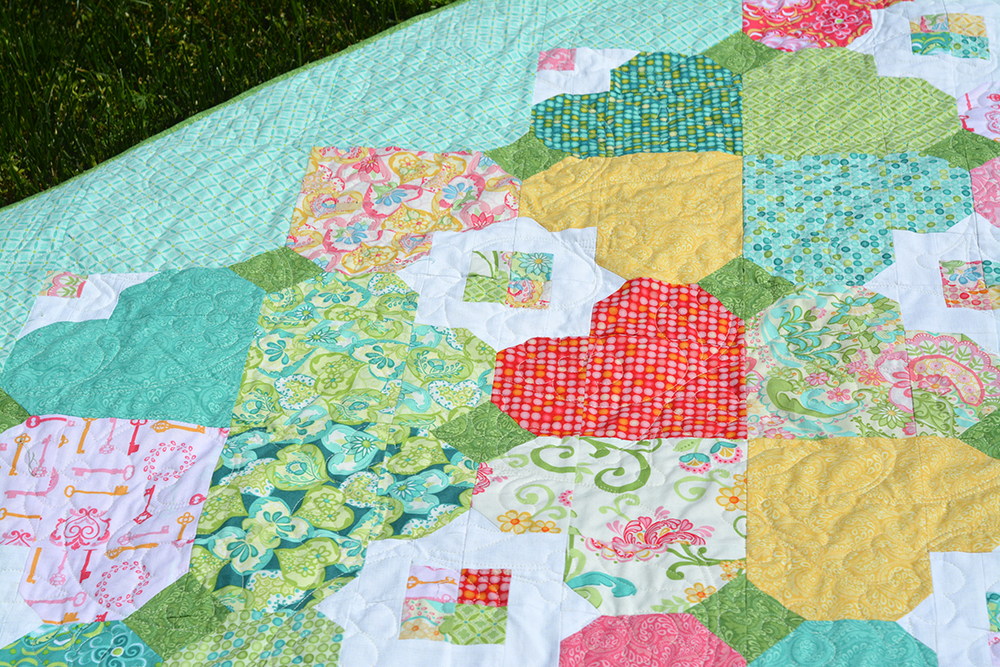
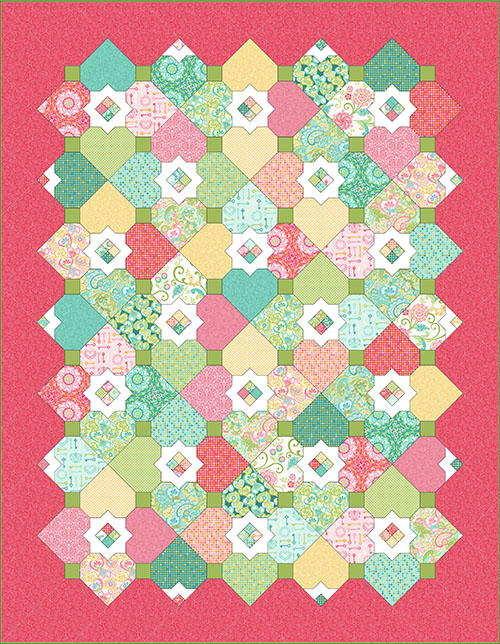
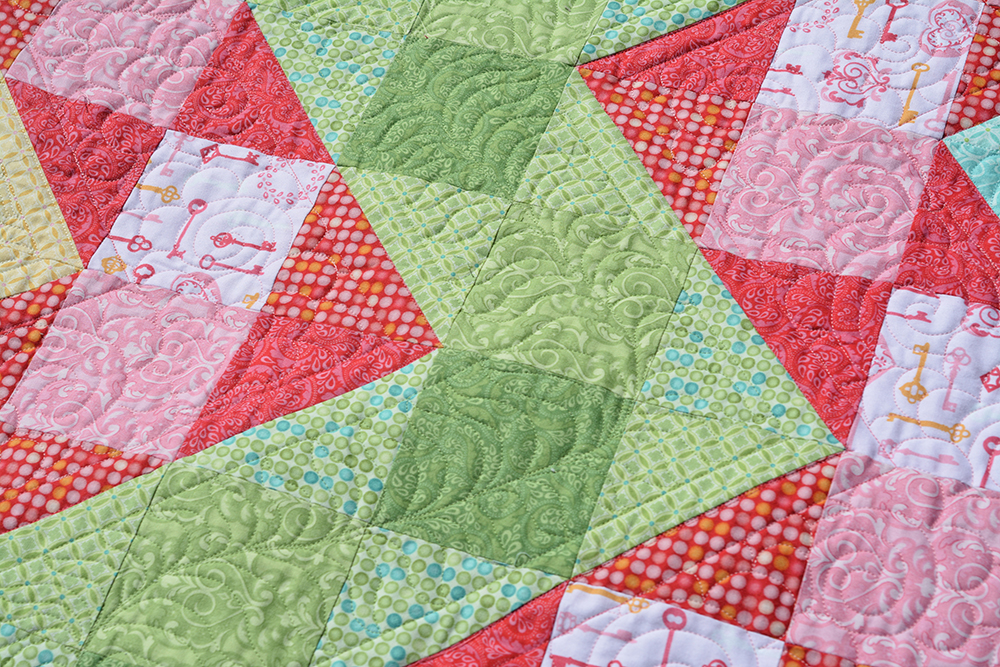
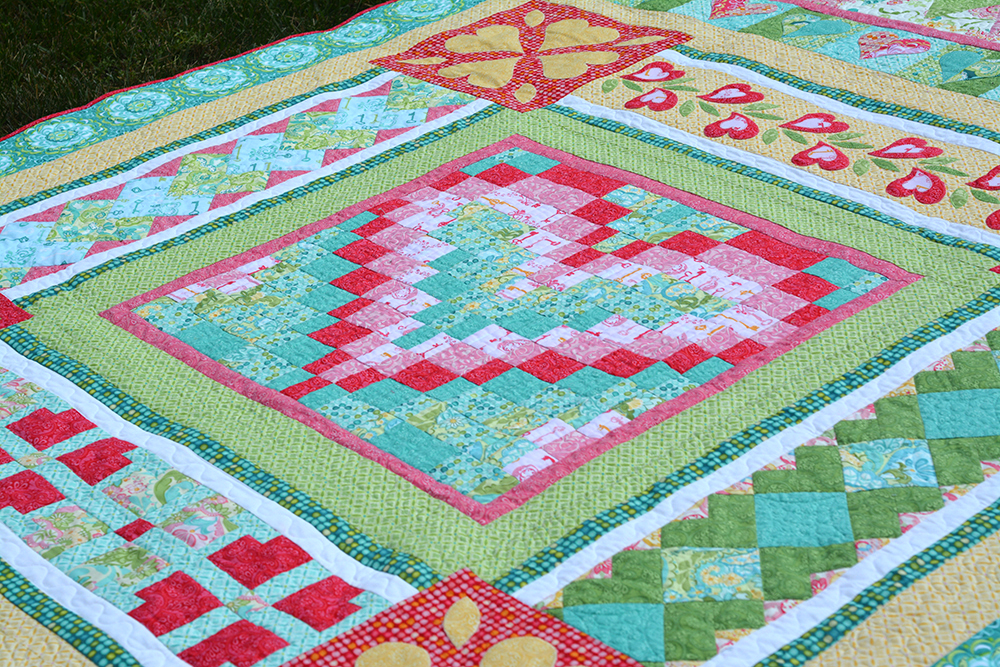
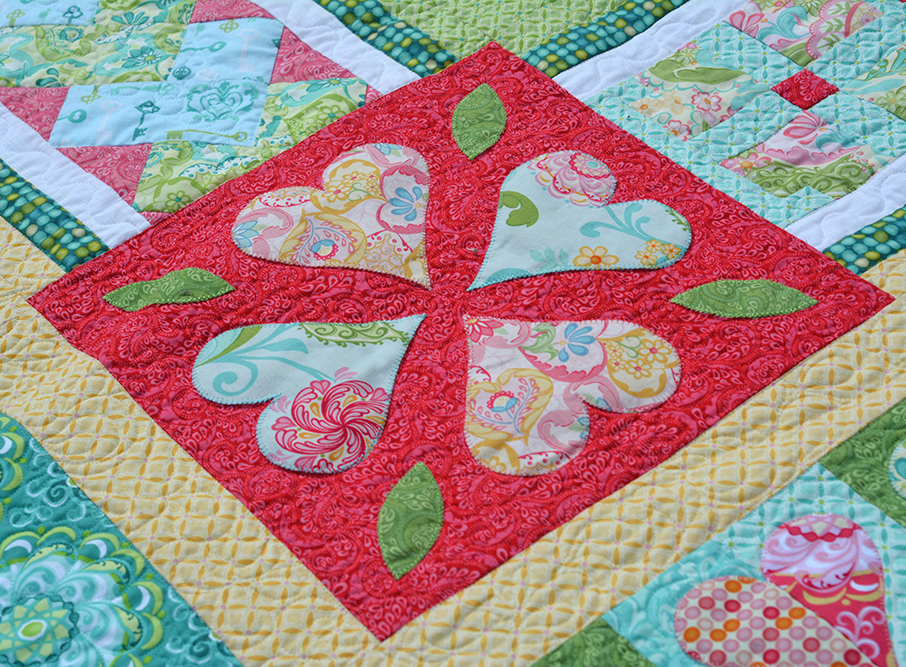
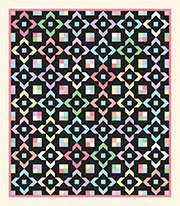
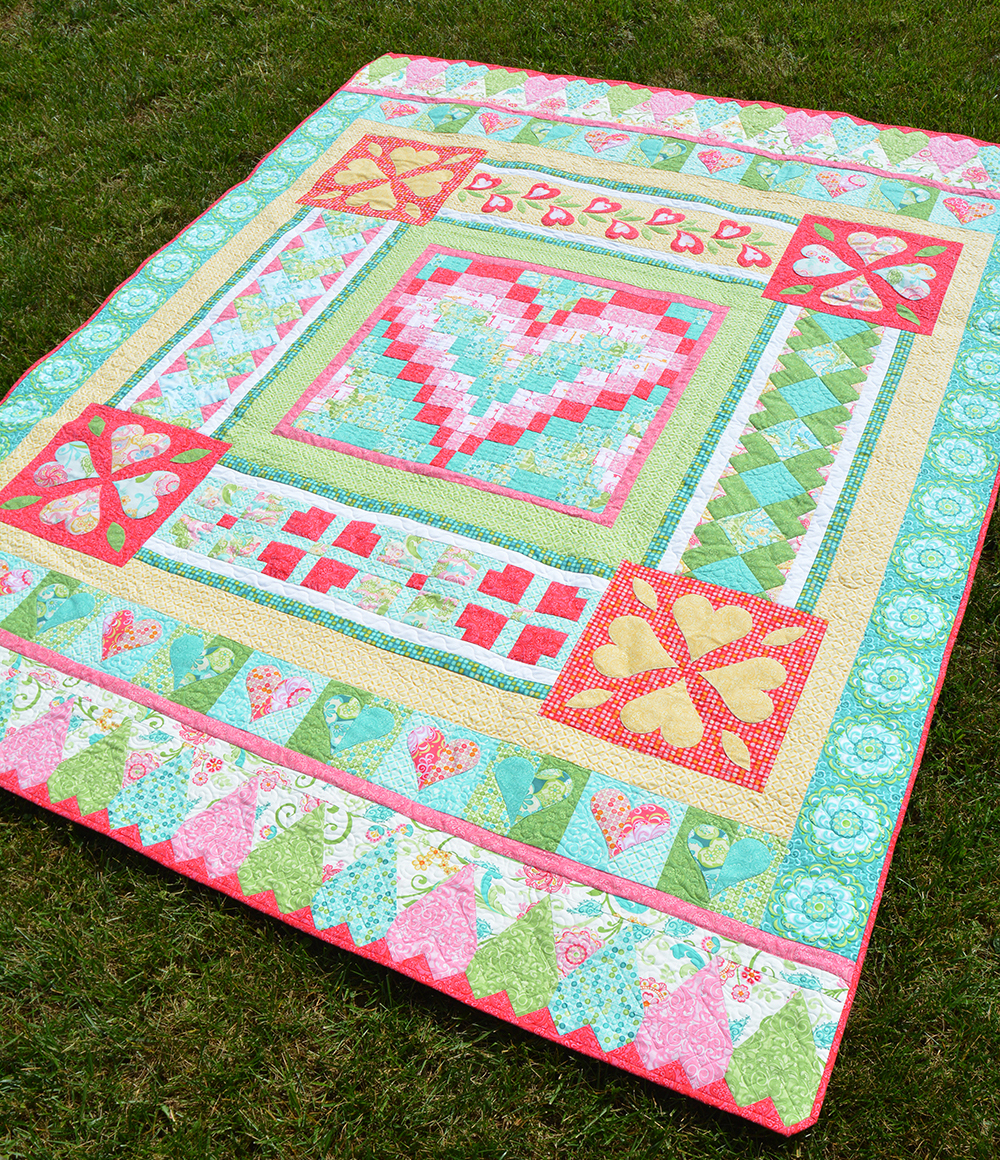
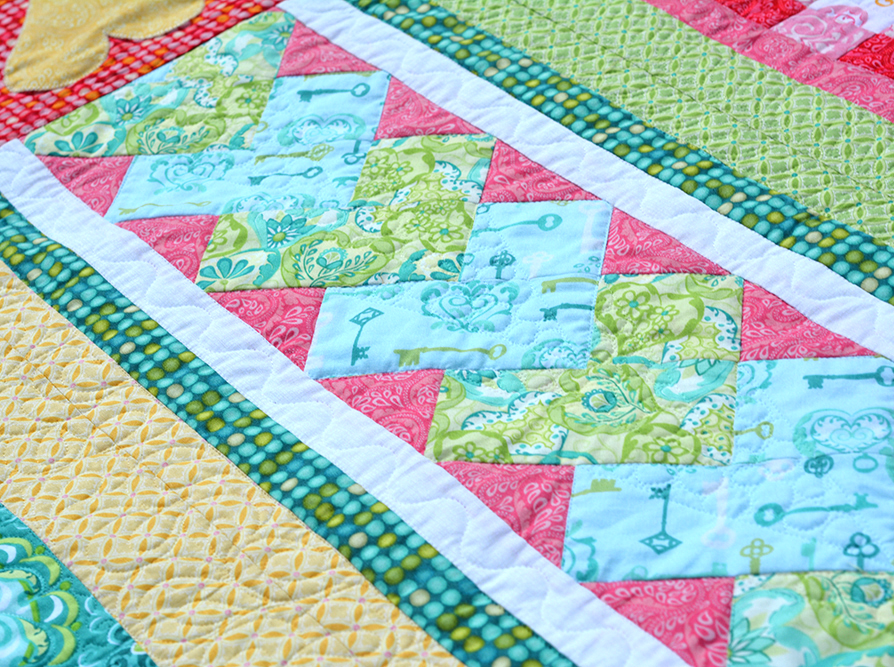
I decided to quilt the central bargello heart by stitching in the ditch on every seam. This really emphasized all of the piecing plus it contrasted nicely with the curving shapes I knew that I going to be adding elsewhere in the piece. Another consideration was that a more wavy design would have been hard to execute cleanly in this area, because even the slightest shifting in the seams would have been noticeable. I used my BERNINA Q Series Ruler Attachment to quilt clean, straight lines.
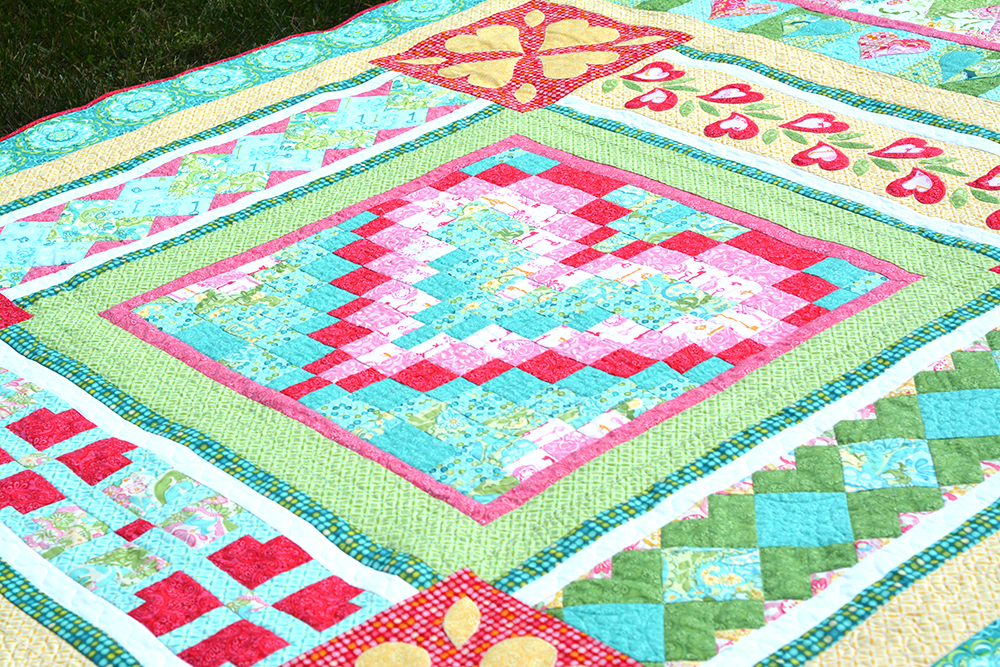
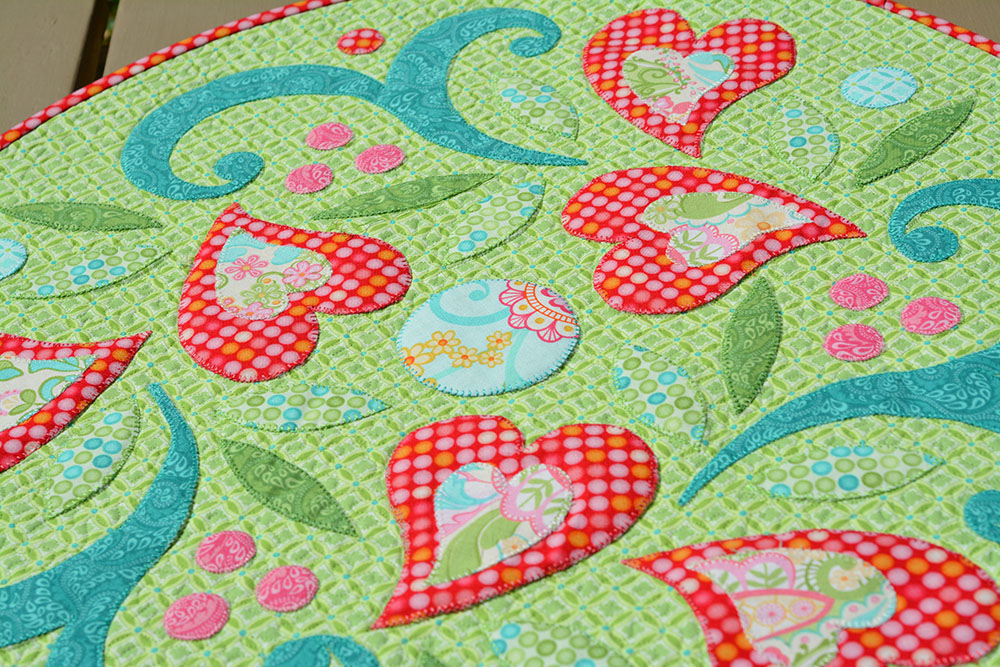
Moving from the center out I chose to quilt a sort of leafy vine in the green area. I quilted a spine around the entire square and then went back and added leaves to the left side of the spine and then to the right. I did not mark this since our eyes are very forgiving of leaf shapes in general – plus I knew it would be hard to see my mistakes on the print! I left the dark teal frames unquilted so that they popped up a bit, and quilted wavy lines in the white areas, using my ruler foot and a ruler again to ensure uniformity. Quilting a white area will draw your eyes if you have lots of fun fabrics in other areas! (Ask me how I know this! Rip rip rip!)
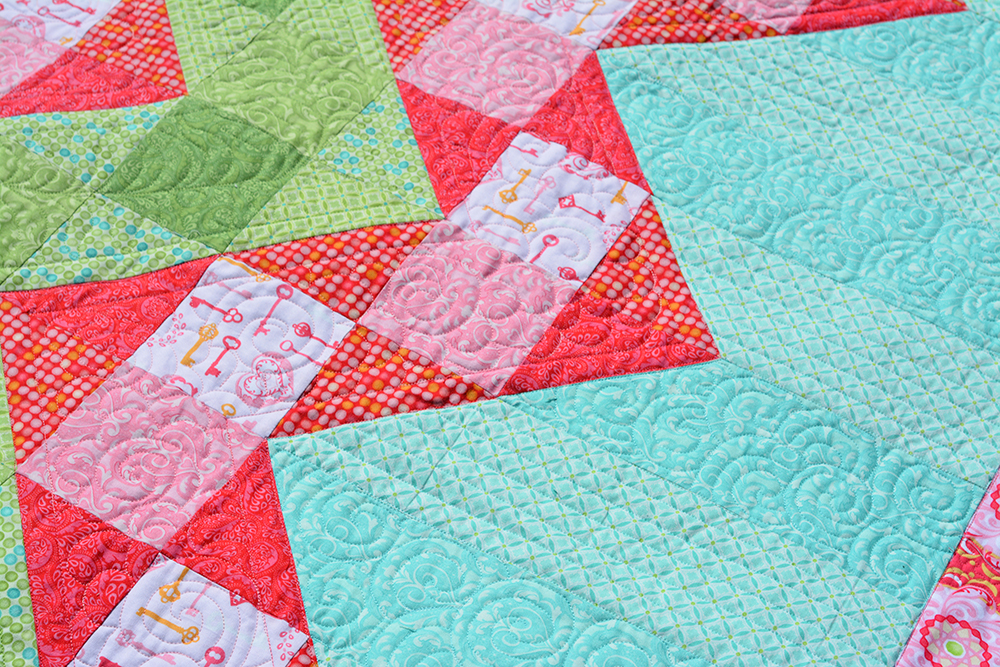
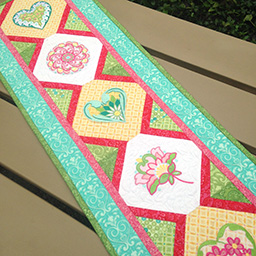
Do you see the diamond border in the lower right hand corner of the above photograph? I choose to bounce from corner to corner of each diamond with a petal shape and fill the interior area with pebbles. Petal shapes are so useful. You can use them in their entirety to create a medallion or a four petal blossom, or you can use just half and bounce from corner to corner of a design.
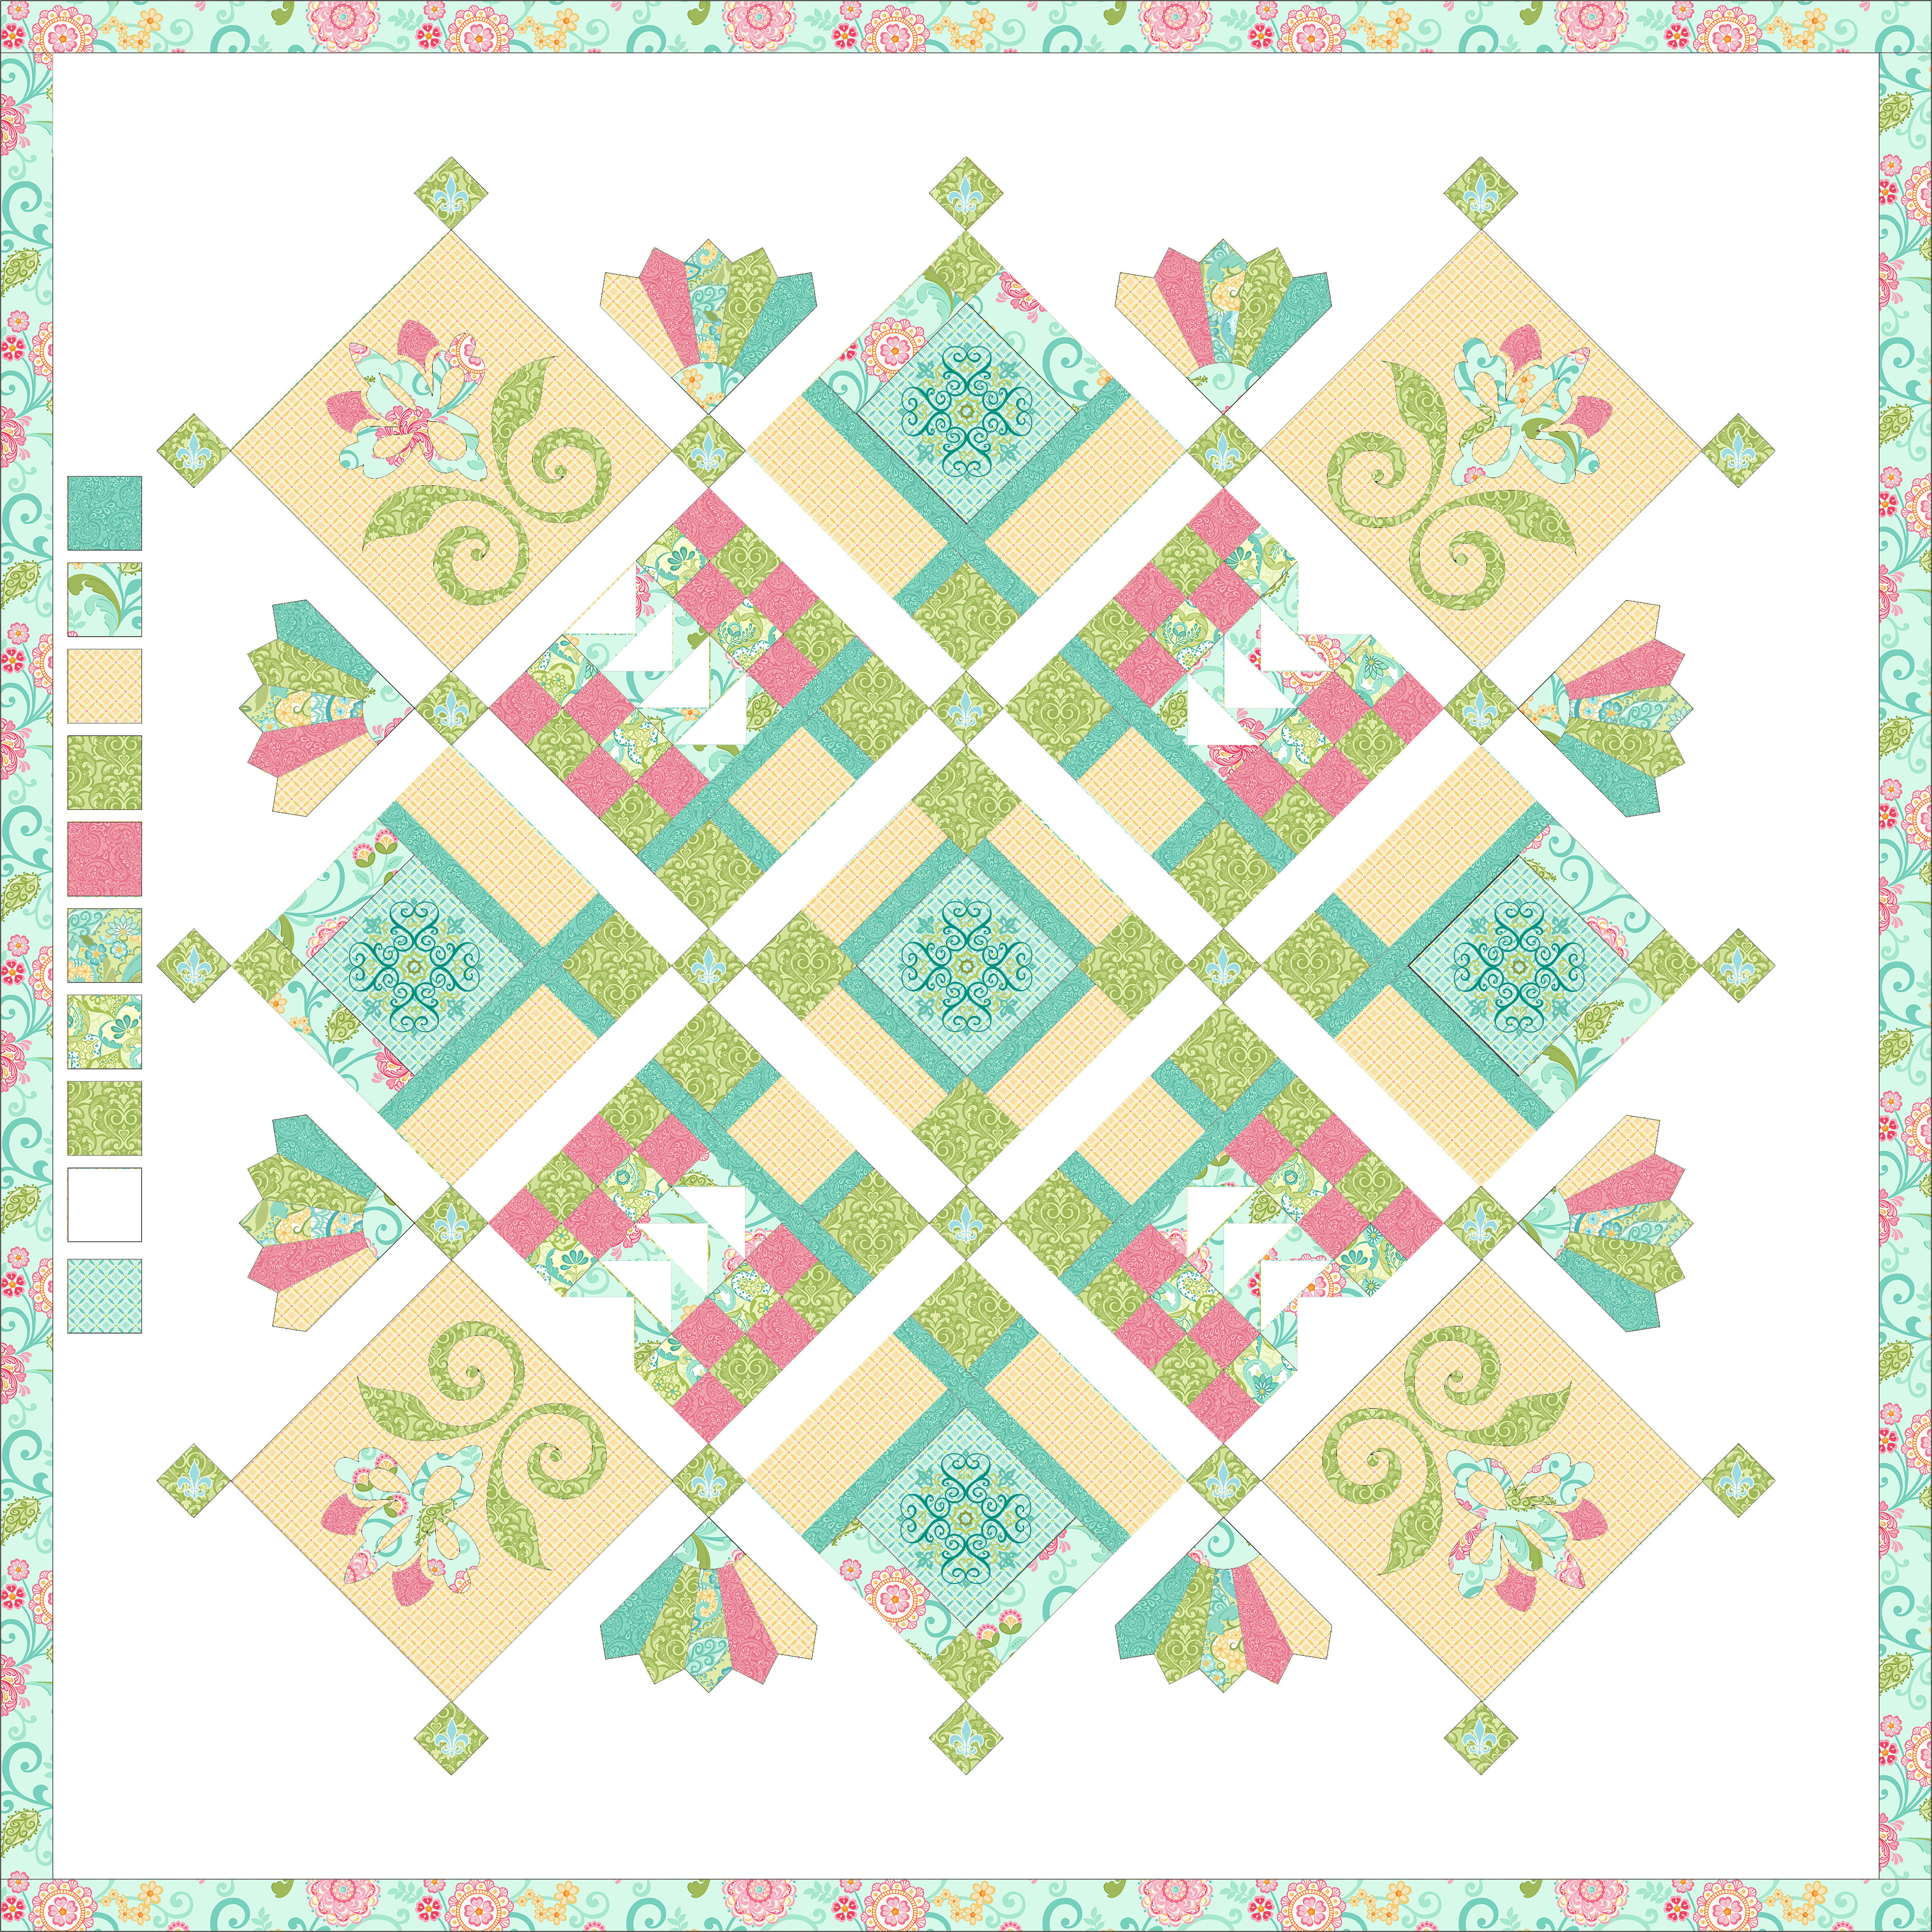
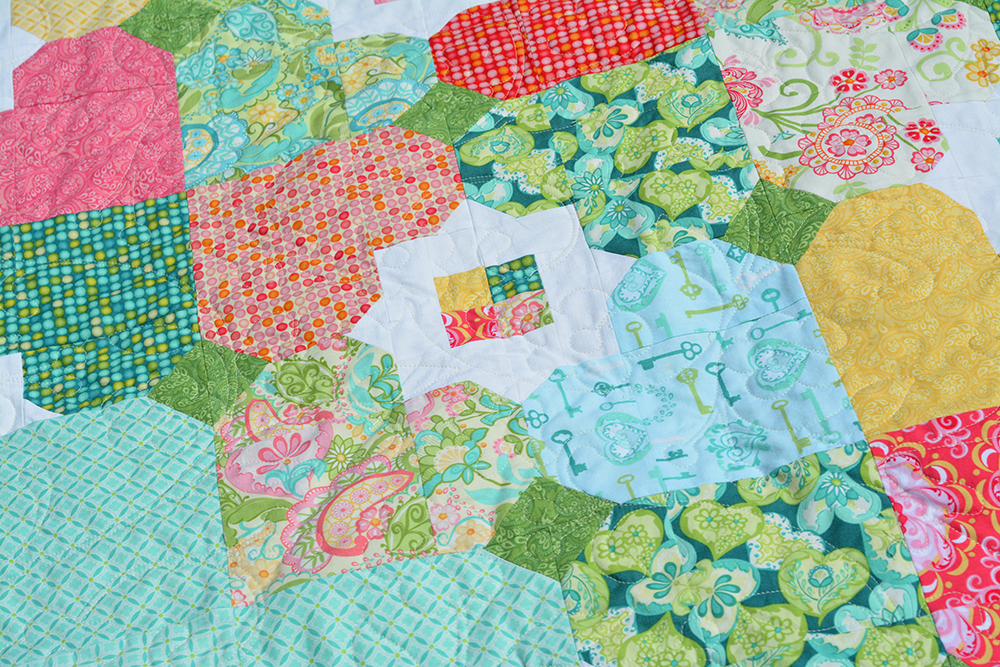
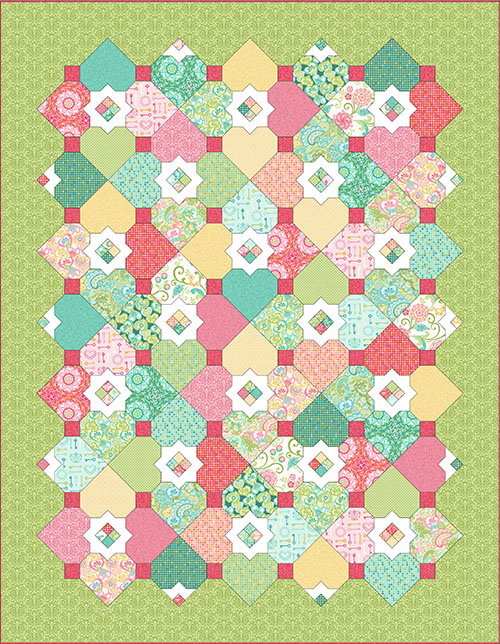
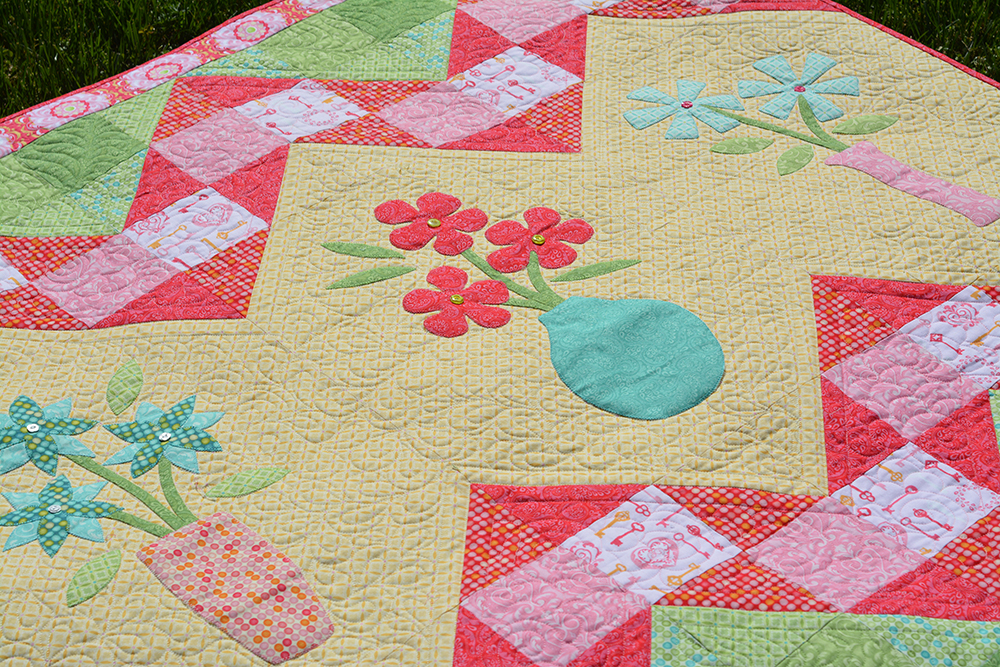
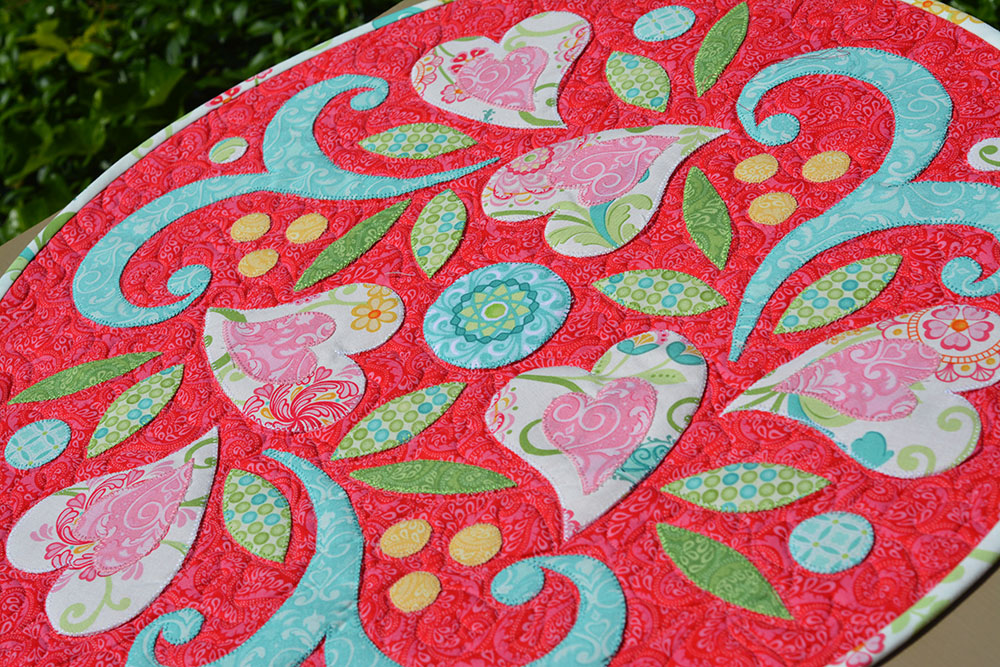
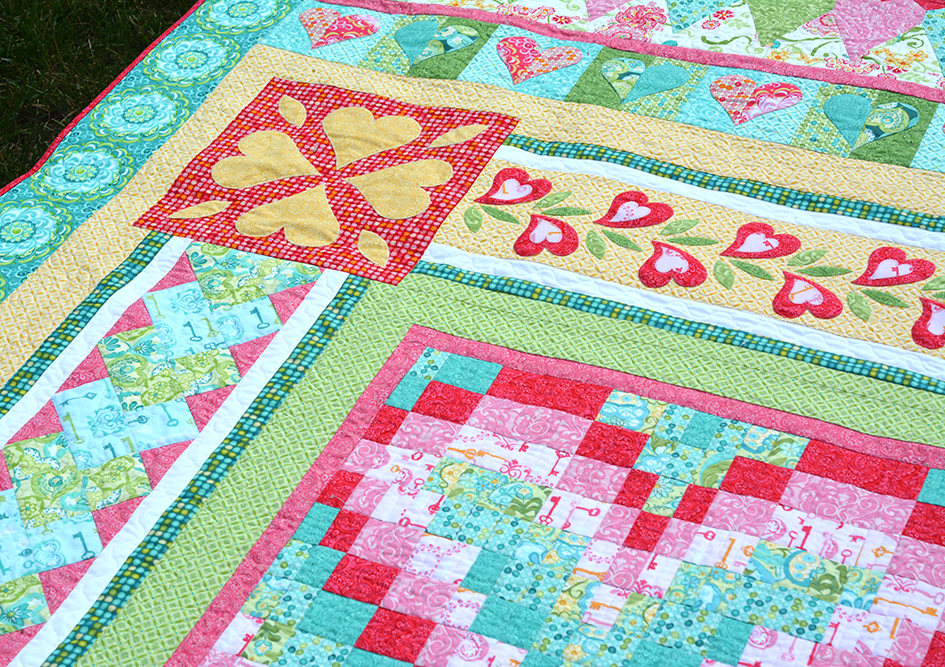 I quilted around each shape in the yellow appliqué border above the bargello heart and then filled in the background small scale paisley design. I love paisleys for the back of appliqués – they are really quick to execute and fit well in a variety of spaces.
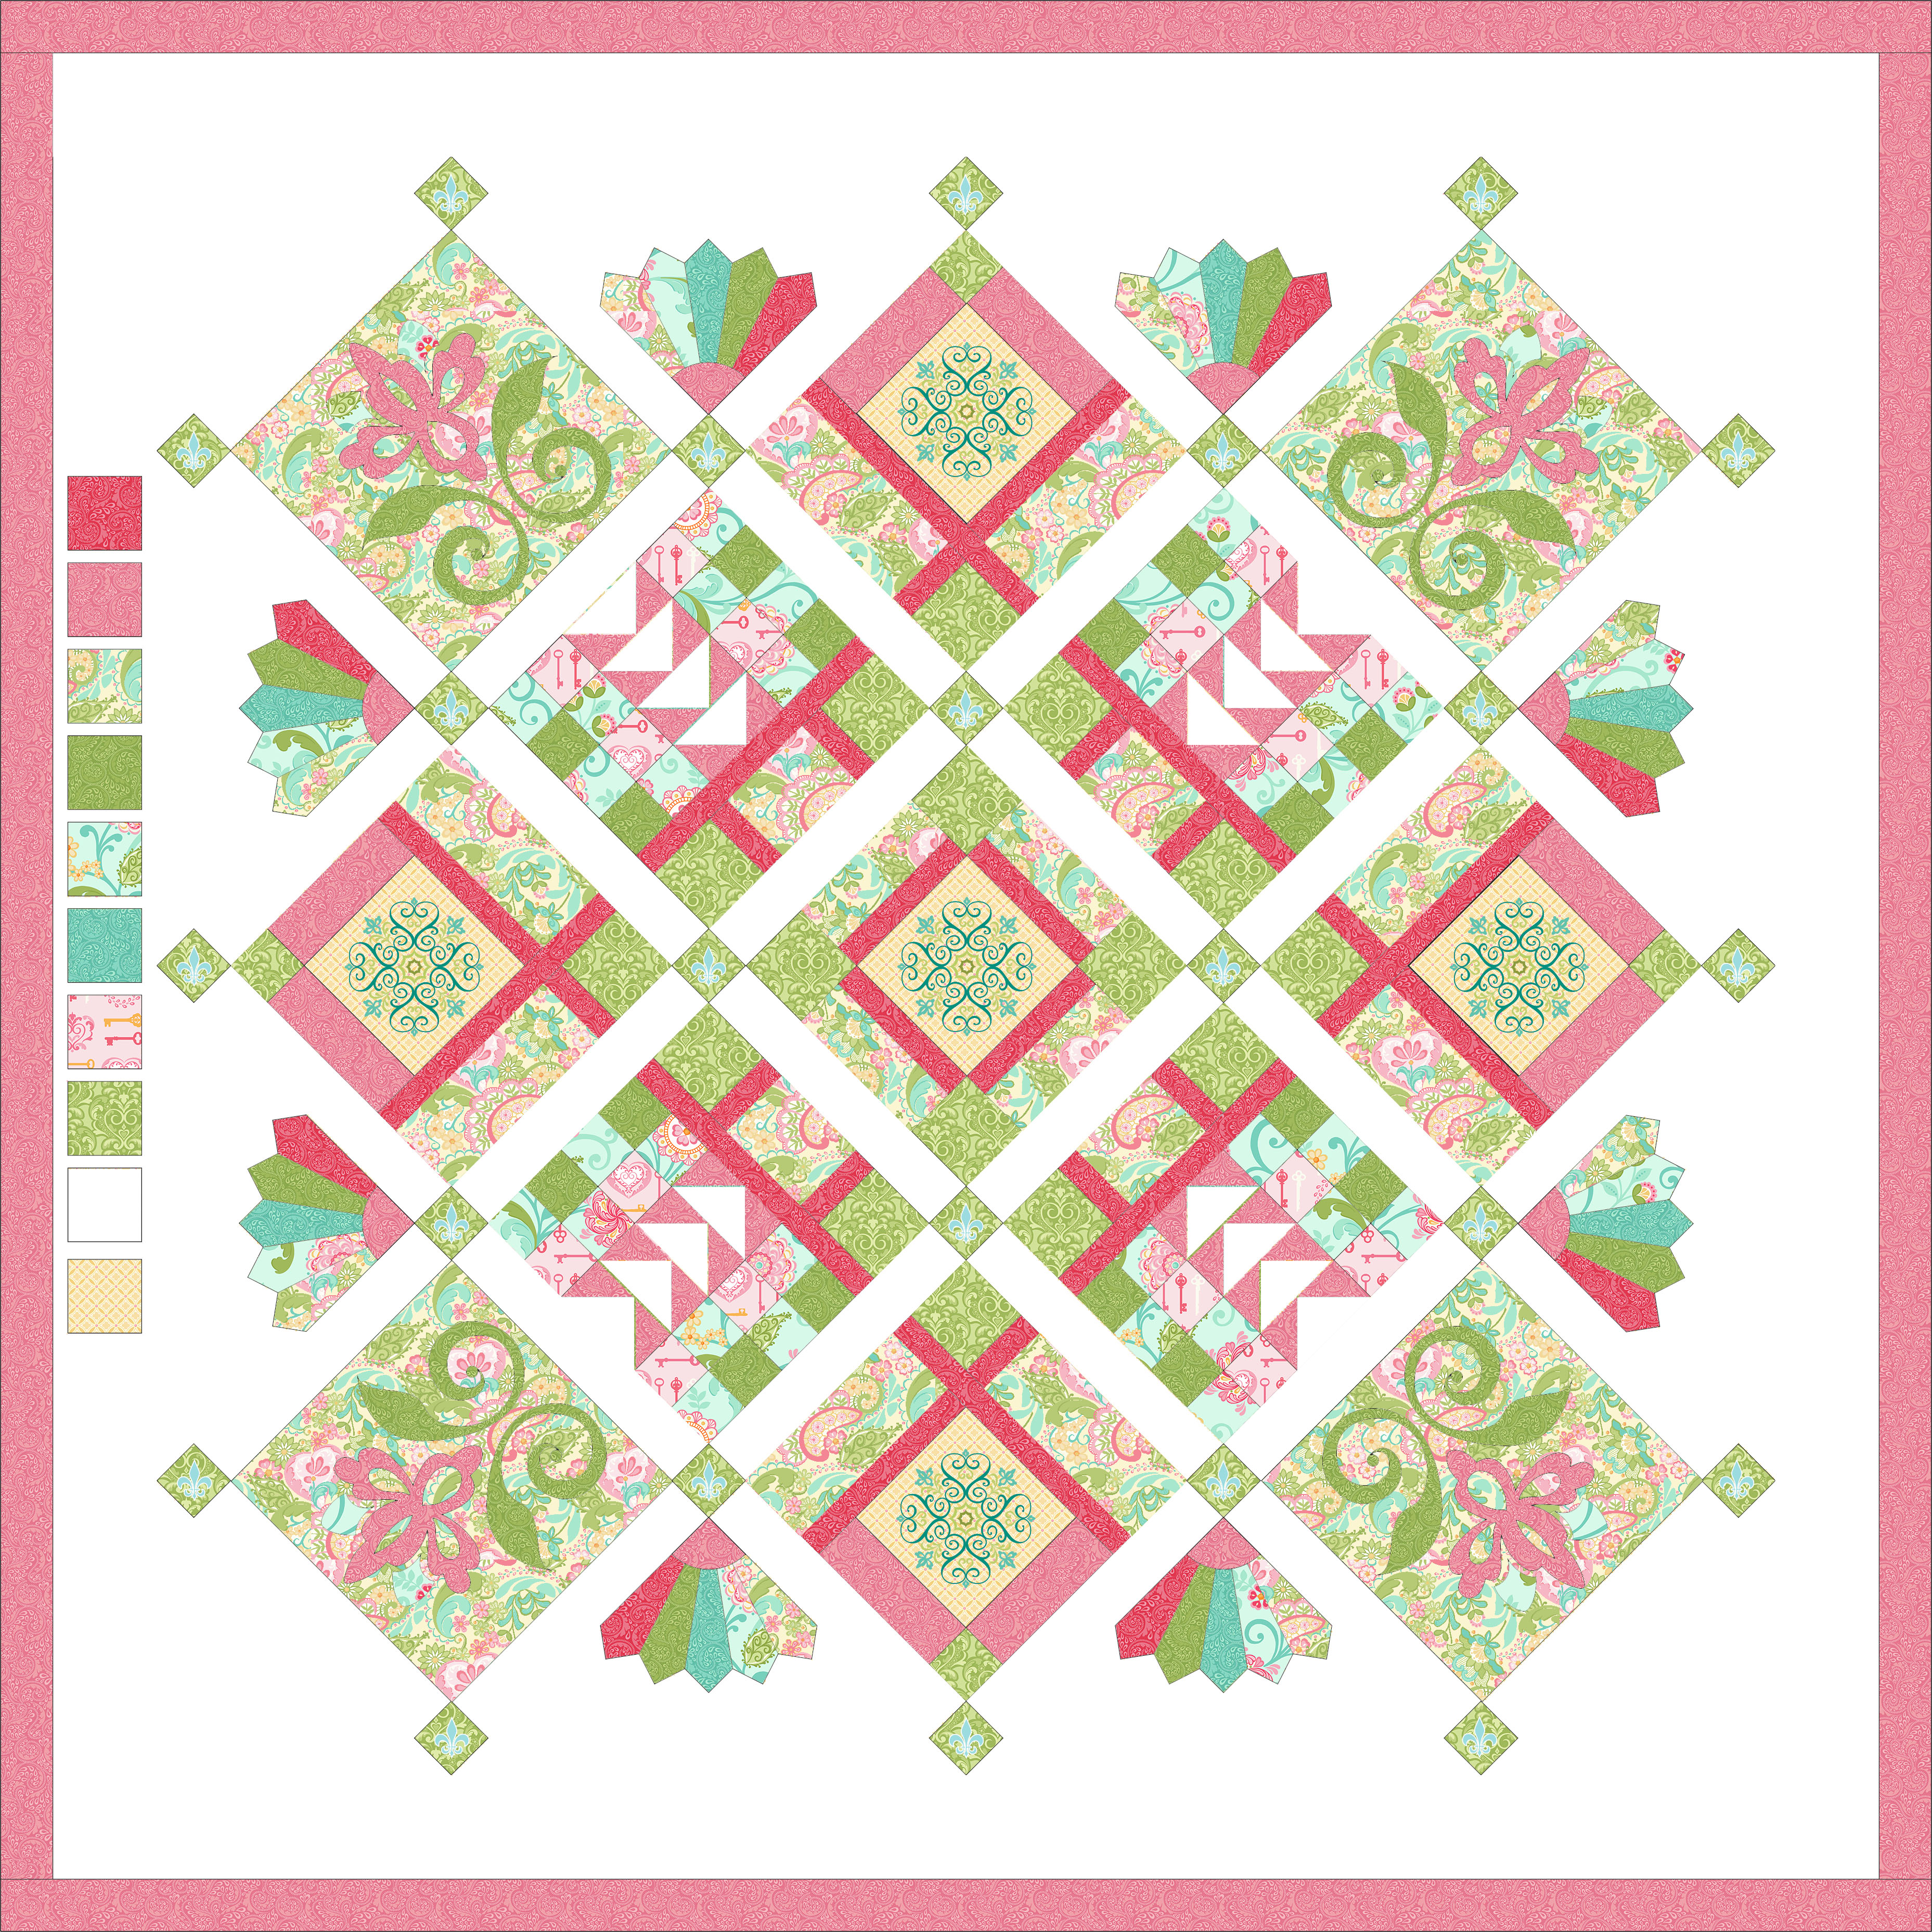
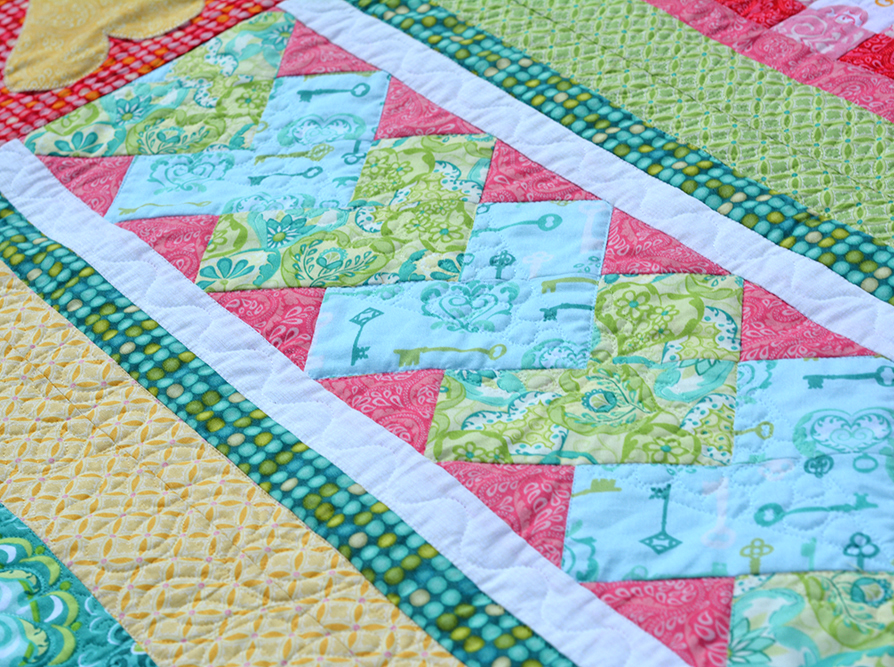
I divided up the hearts in the left border by connecting the two top points of each heart with the bottom point of each. I then filled in the resulting shapes with pebbles. (If you use a fill in one area of the quilt it is nice to repeat the same motif in other areas as well.) I don’t think that quilting designs have to follow the piecing exactly – sometimes it is more fun to use the piecing as inspiration and add another layer of design during the quilting!
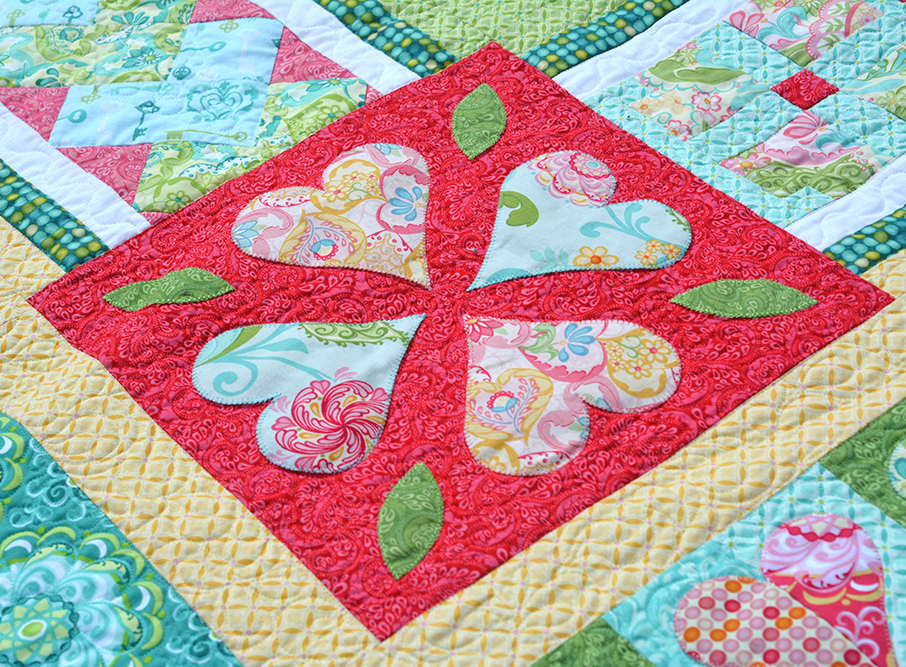
You can see just a hint of the bottom central border in upper right of the above photo. I quilted around each flower and filled in the background with simple ribbons. For the cornerstones, like the pink one in the photo, I simply quilted around each motifs and then did a background fill. I think I started with hearts, but I couldn’t see anything on the dark pink, so I ended up migrating to a medley of swirls, hearts, and pebbles – or whatever I felt like in the moment that would let the appliqué pop! I figured if I couldn’t see while quilting neither could anyone else.
I quilted a medium scale paisleys in the yellow border. What can I say? I REALLY LIKE PAISLEYS!
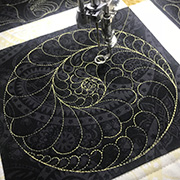
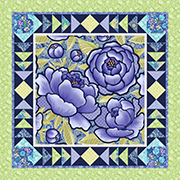
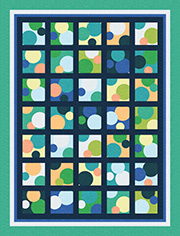
On some of the above you can see a glimpse on the side border with the teal Carina medallion quilt. For medallions I like to let the print do the work for me. I quilted around each, and then traveled into the center and went around the circle, and then followed the petal shapes to quilt “feathers” all the way around before exiting the way I came in. (I have some video of this down in my instagram feed that I took at the time. If interested you can check it out – my user name is AMANDAMURPHYDESIGN.)
The top and bottom inner heart borders were quilted much like the cornerstones. I quilted around each heart shape and filled in the background.
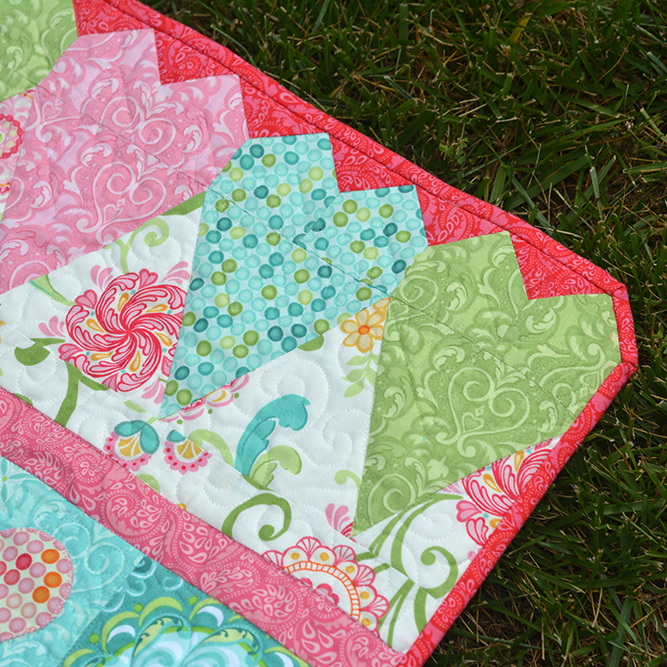
I stabilized the top and bottom outer border, pictured above, by quilting all the way across the top of the hearts and all the way across the bottom of the hearts. I then quilted echoed lines within the hearts, leaving a smaller heart shape. I filled these shapes with a fishbone motif. And I could go right across the quilt without stopping because the motifs were connected and I was using monofilament thread! Finally, I willed in the white floral print area with swirls. Yes, I thought about paisleys because I REALLY LIKE PAISLEYS but I threw caution to the wind and went for swirls instead.
And that is how I quilted Heart’s Delight! If you are quilting it send me a picture – I’d love to see!
Have a lovely weekend and happy quilting!
Amanda